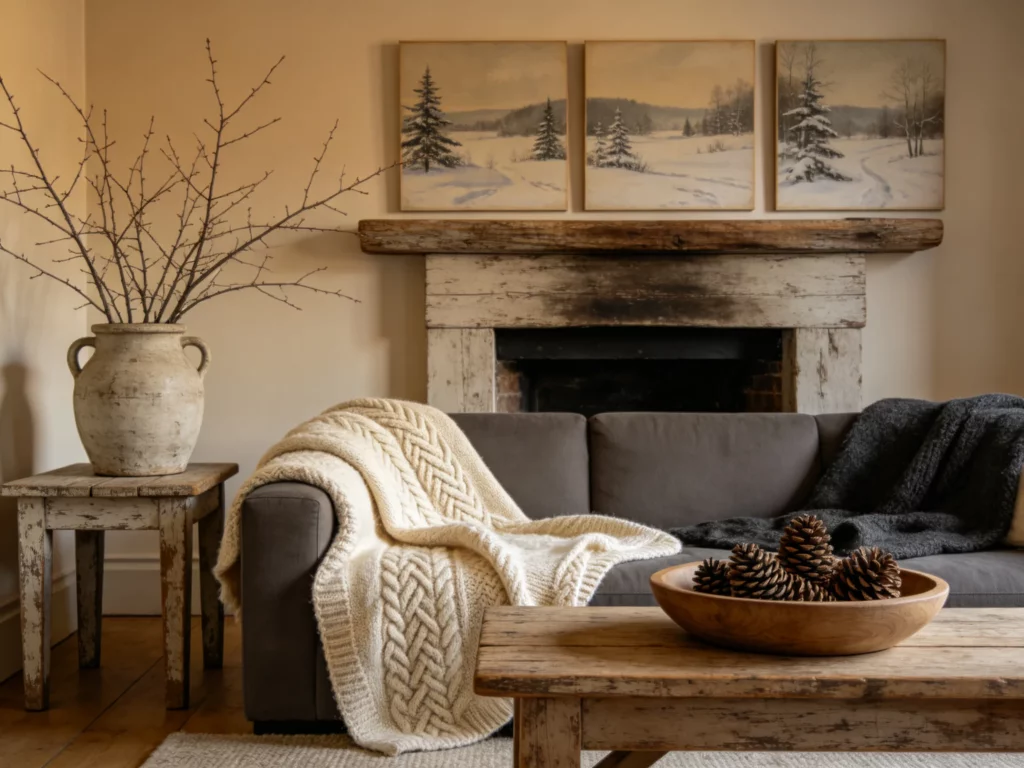
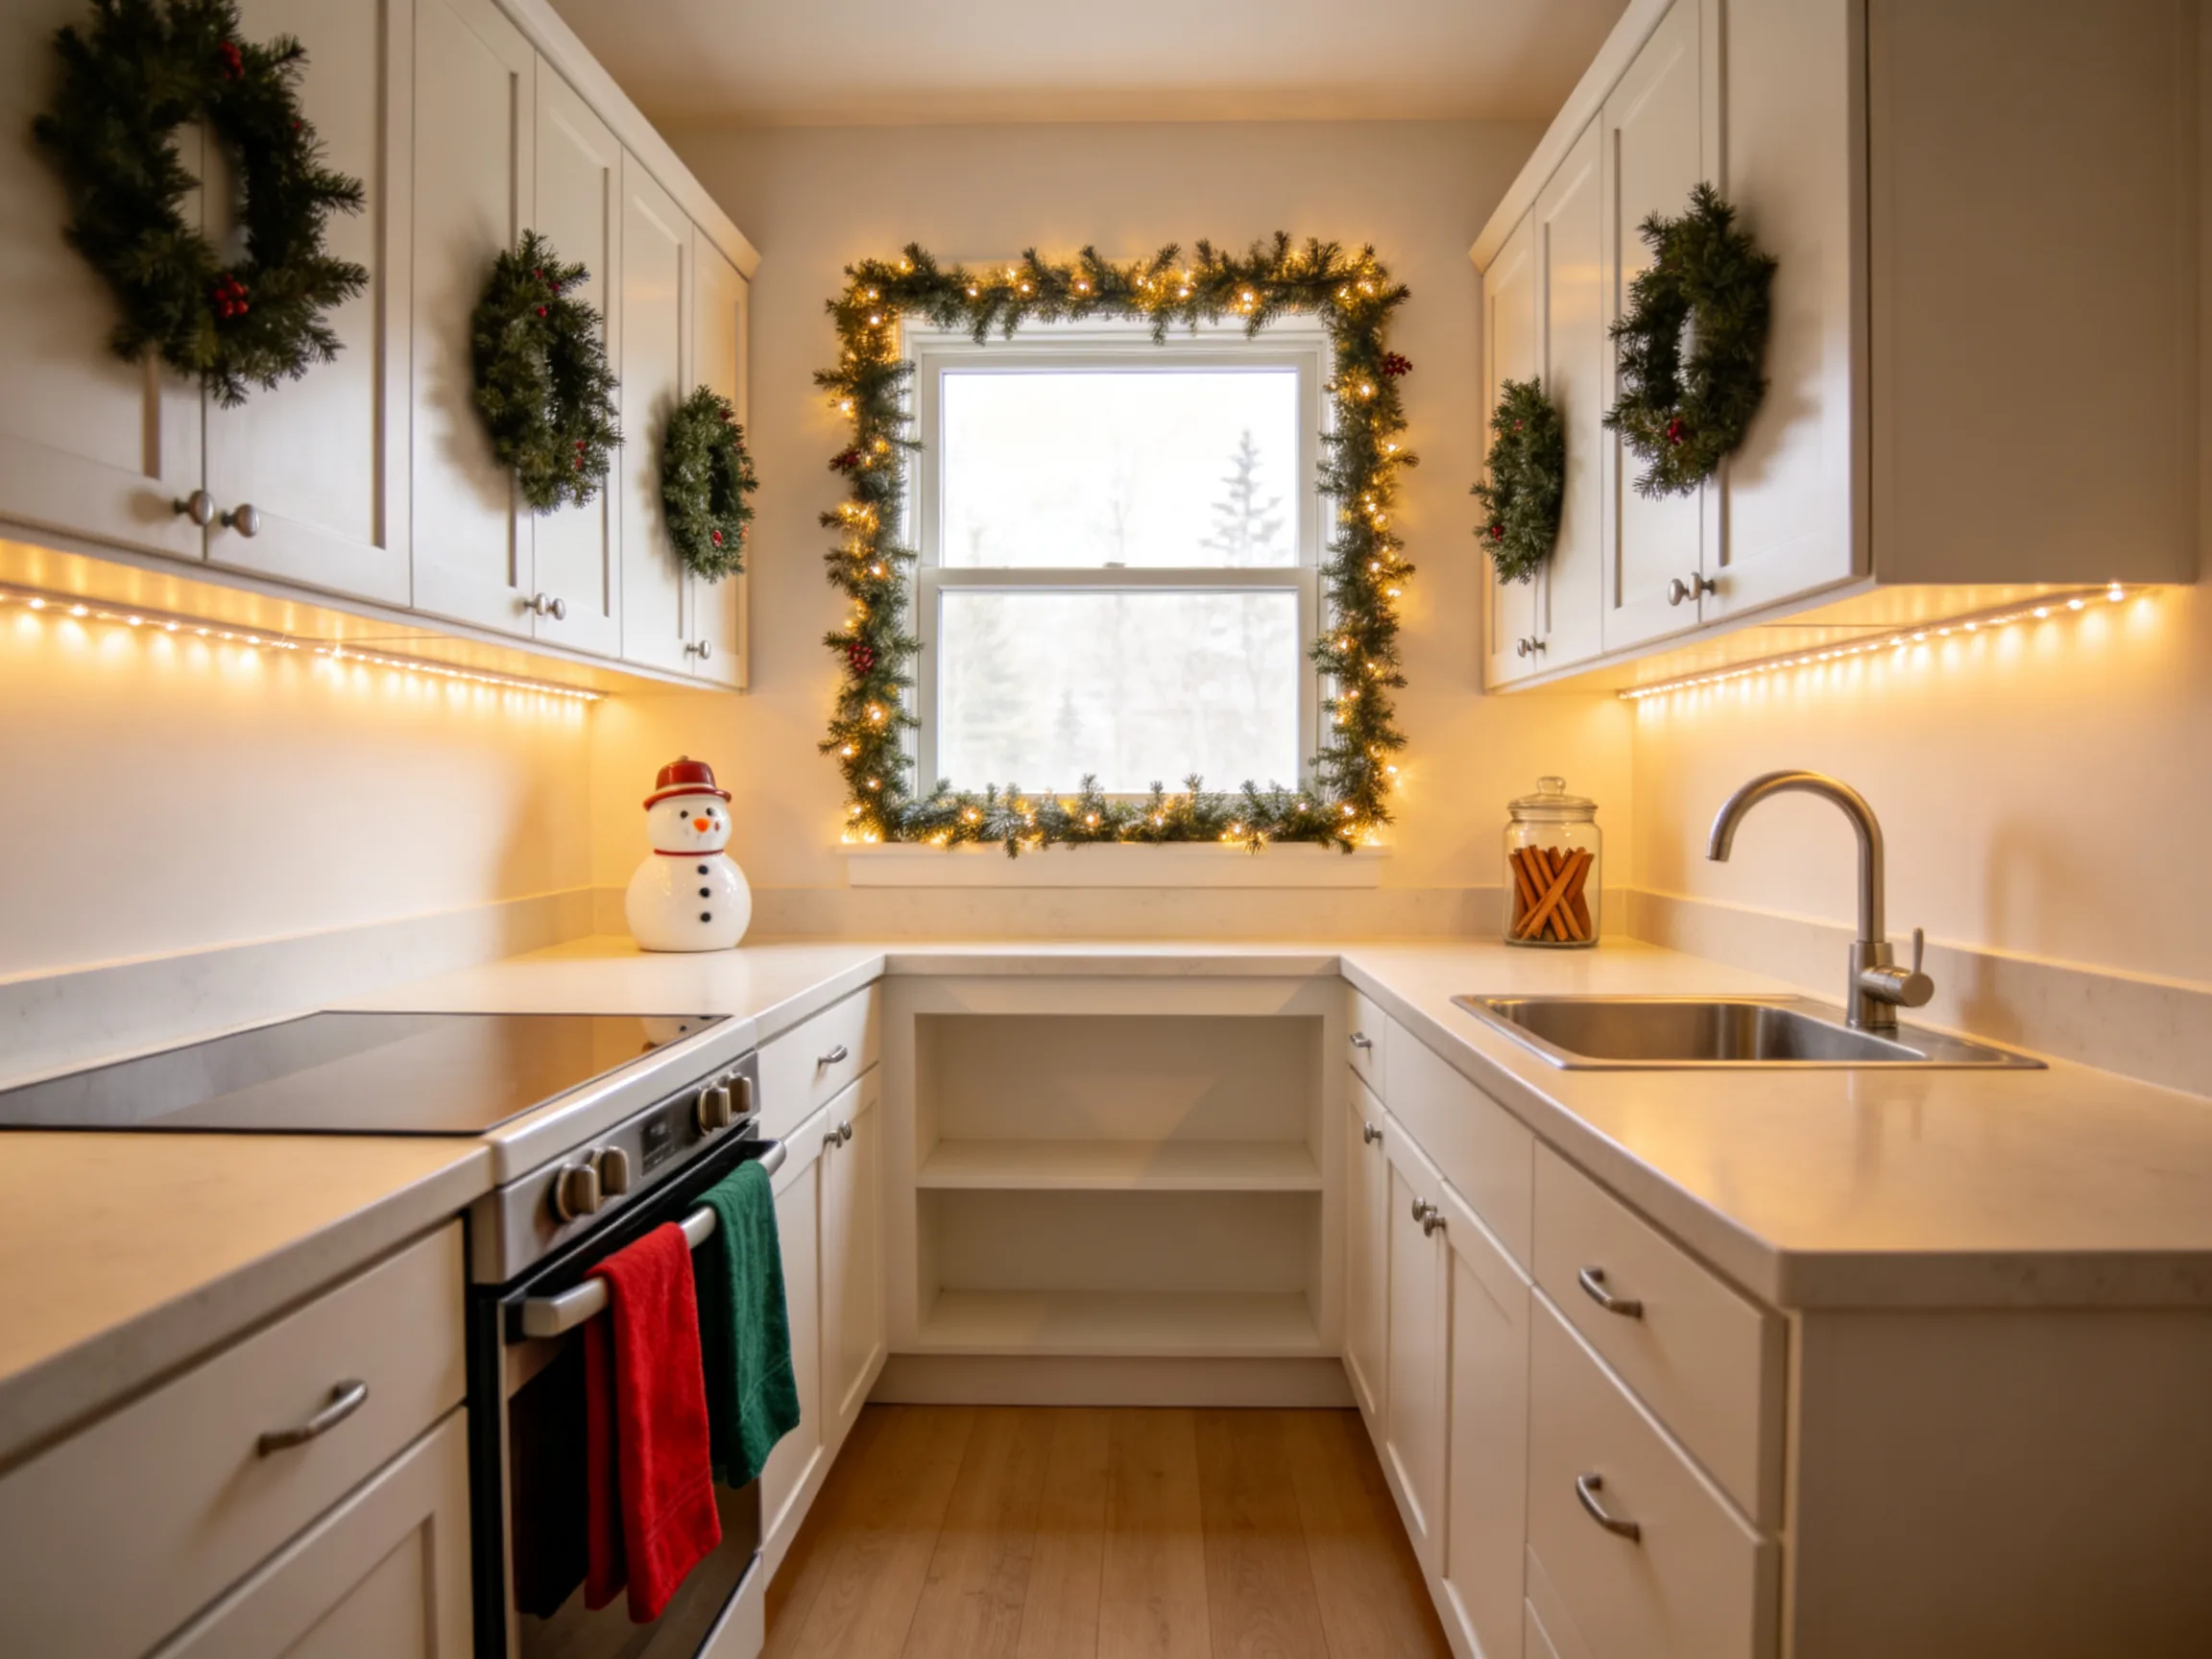
Small kitchen Christmas decor works best when it uses surfaces that are already available—cabinet doors, windows, shelves, walls, and lighting—rather than filling valuable counters. These festive ideas add color, greenery, texture, and warm light while protecting prep space, clear sightlines, and easy traffic flow.
1. Hang Mini Wreaths on Upper Cabinet Doors
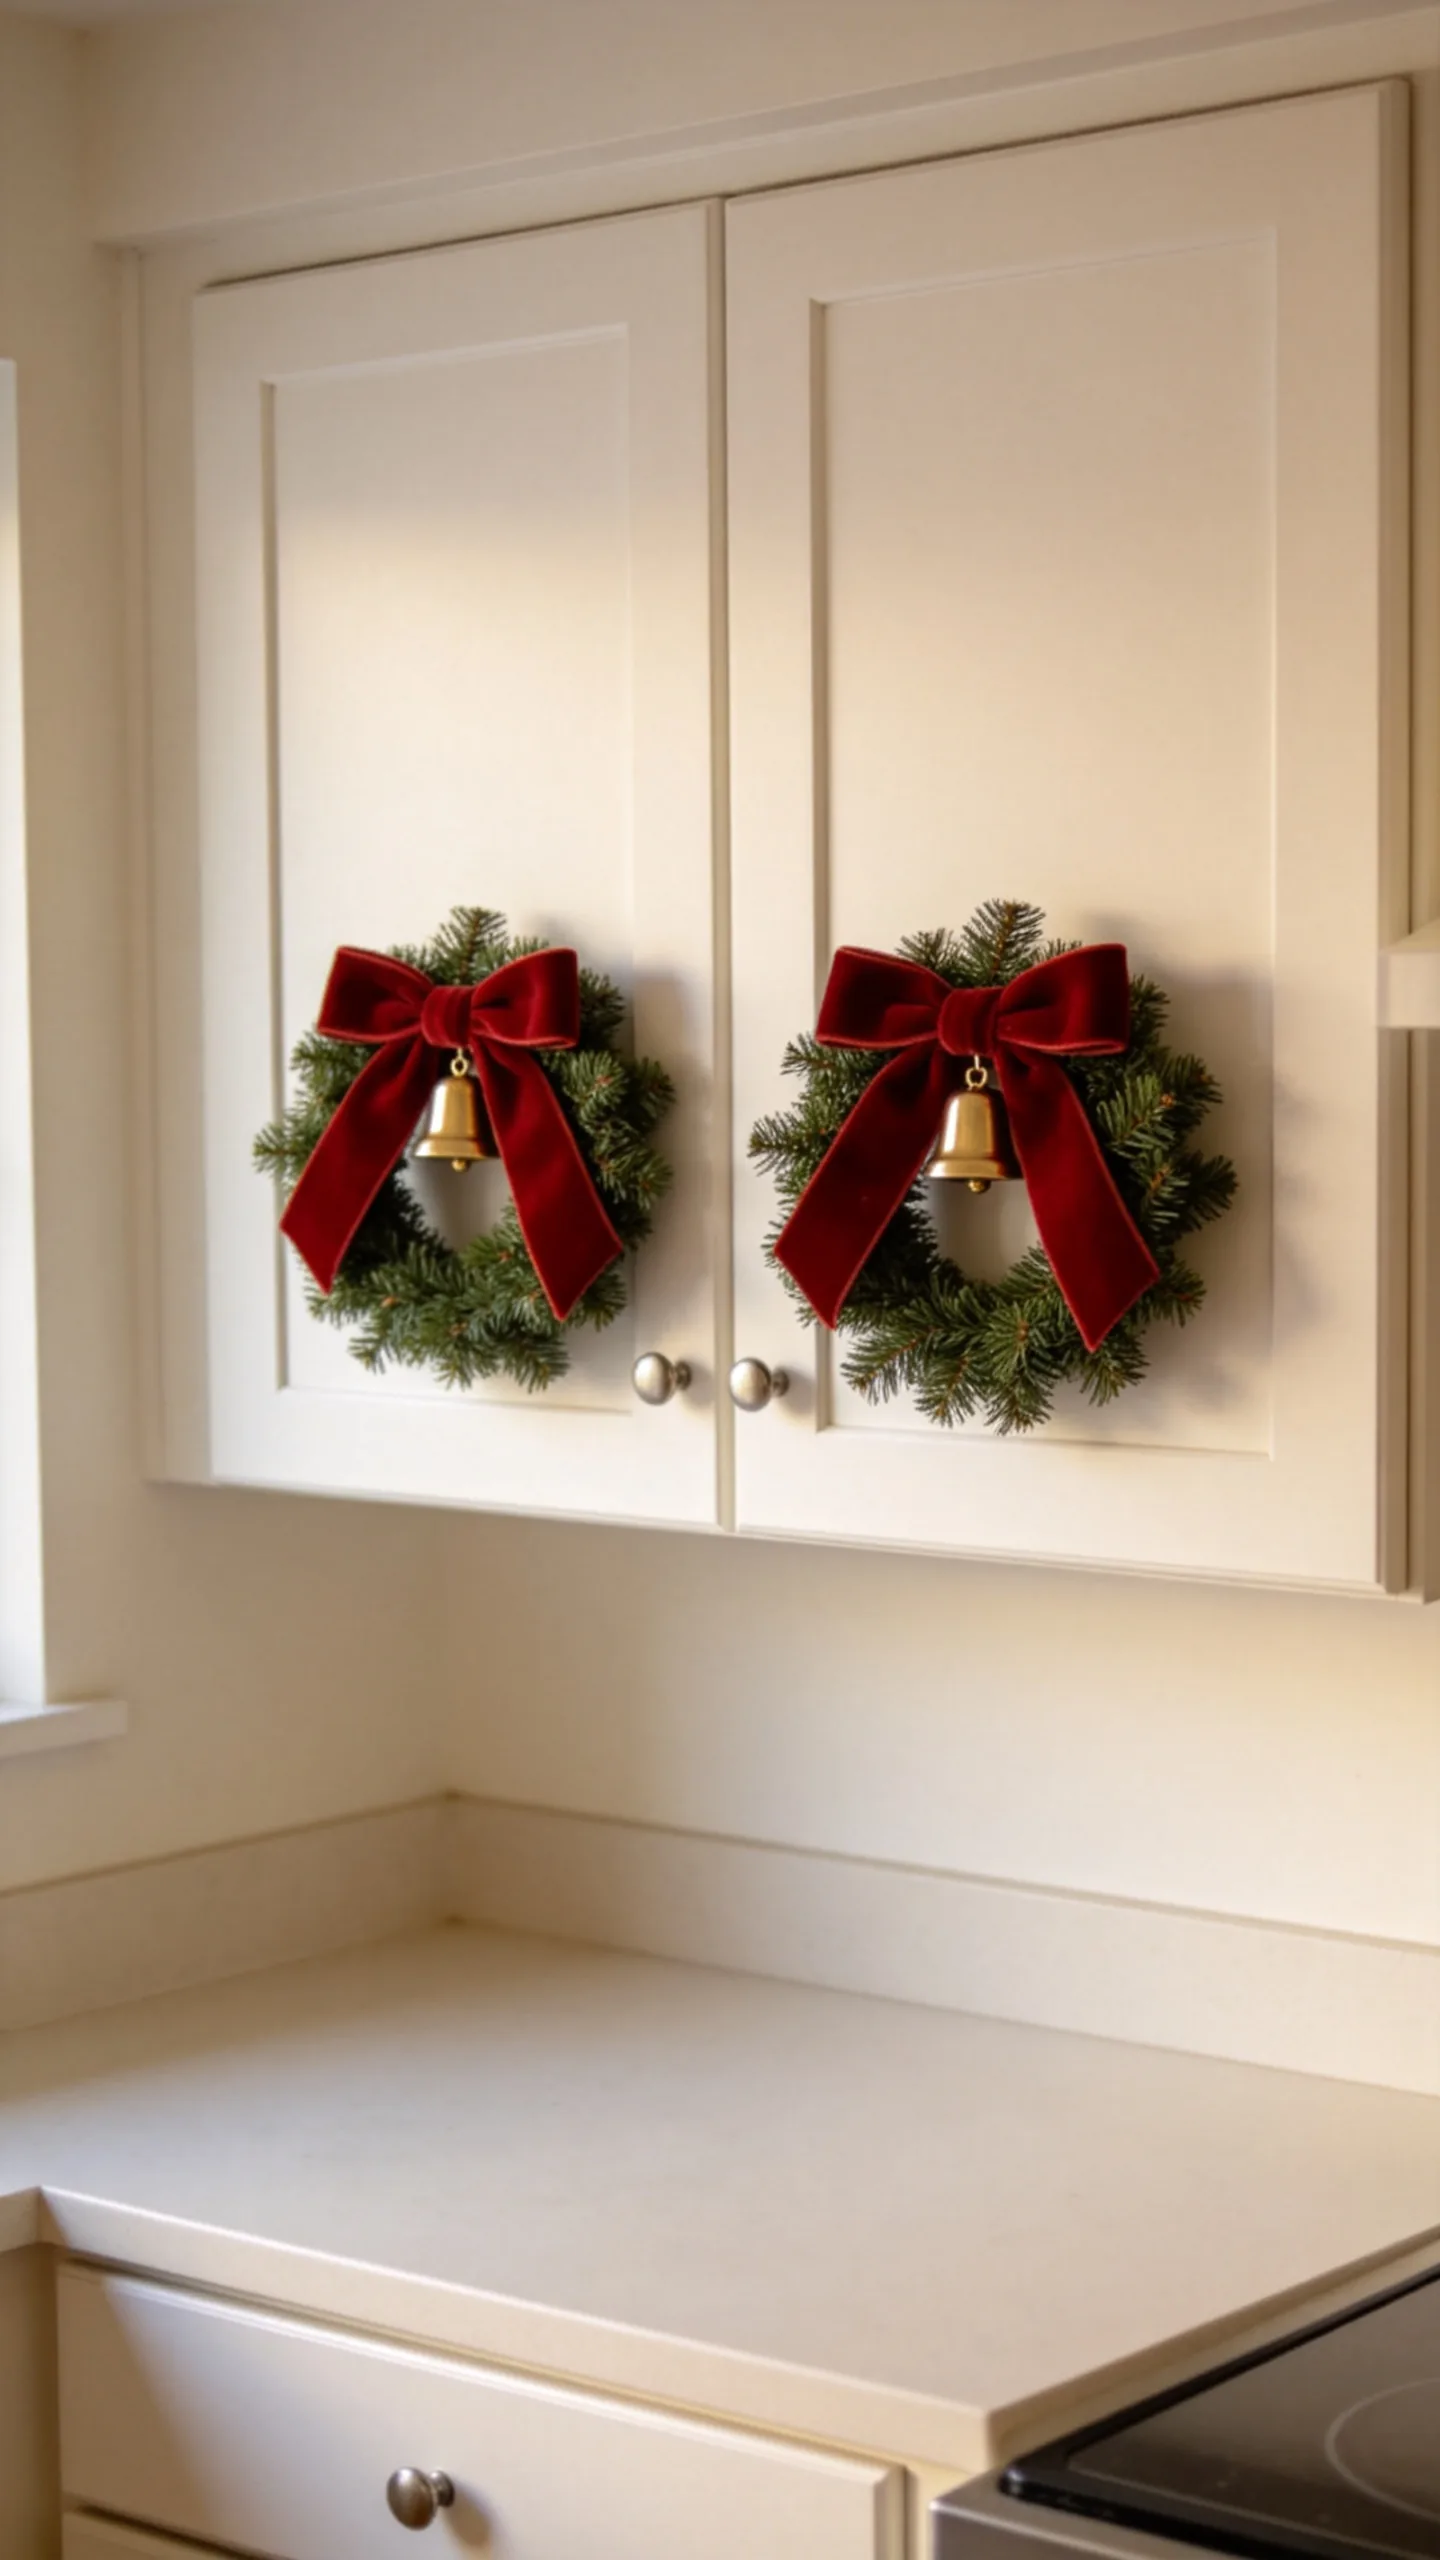
Attach small evergreen or faux cedar wreaths to upper cabinet doors with removable hooks or ribbon looped over the door tops. Choose slim wreaths that sit flat so they do not interfere with handles, hinges, or nearby appliances.
Repeating the same wreath across two or three cabinets creates a coordinated focal point without placing anything on the countertop. Dark green foliage looks crisp against white cabinets, while frosted greenery, red velvet ribbon, or brass bells can complement wood or painted cabinetry.
2. Frame the Kitchen Window With a Slim Garland
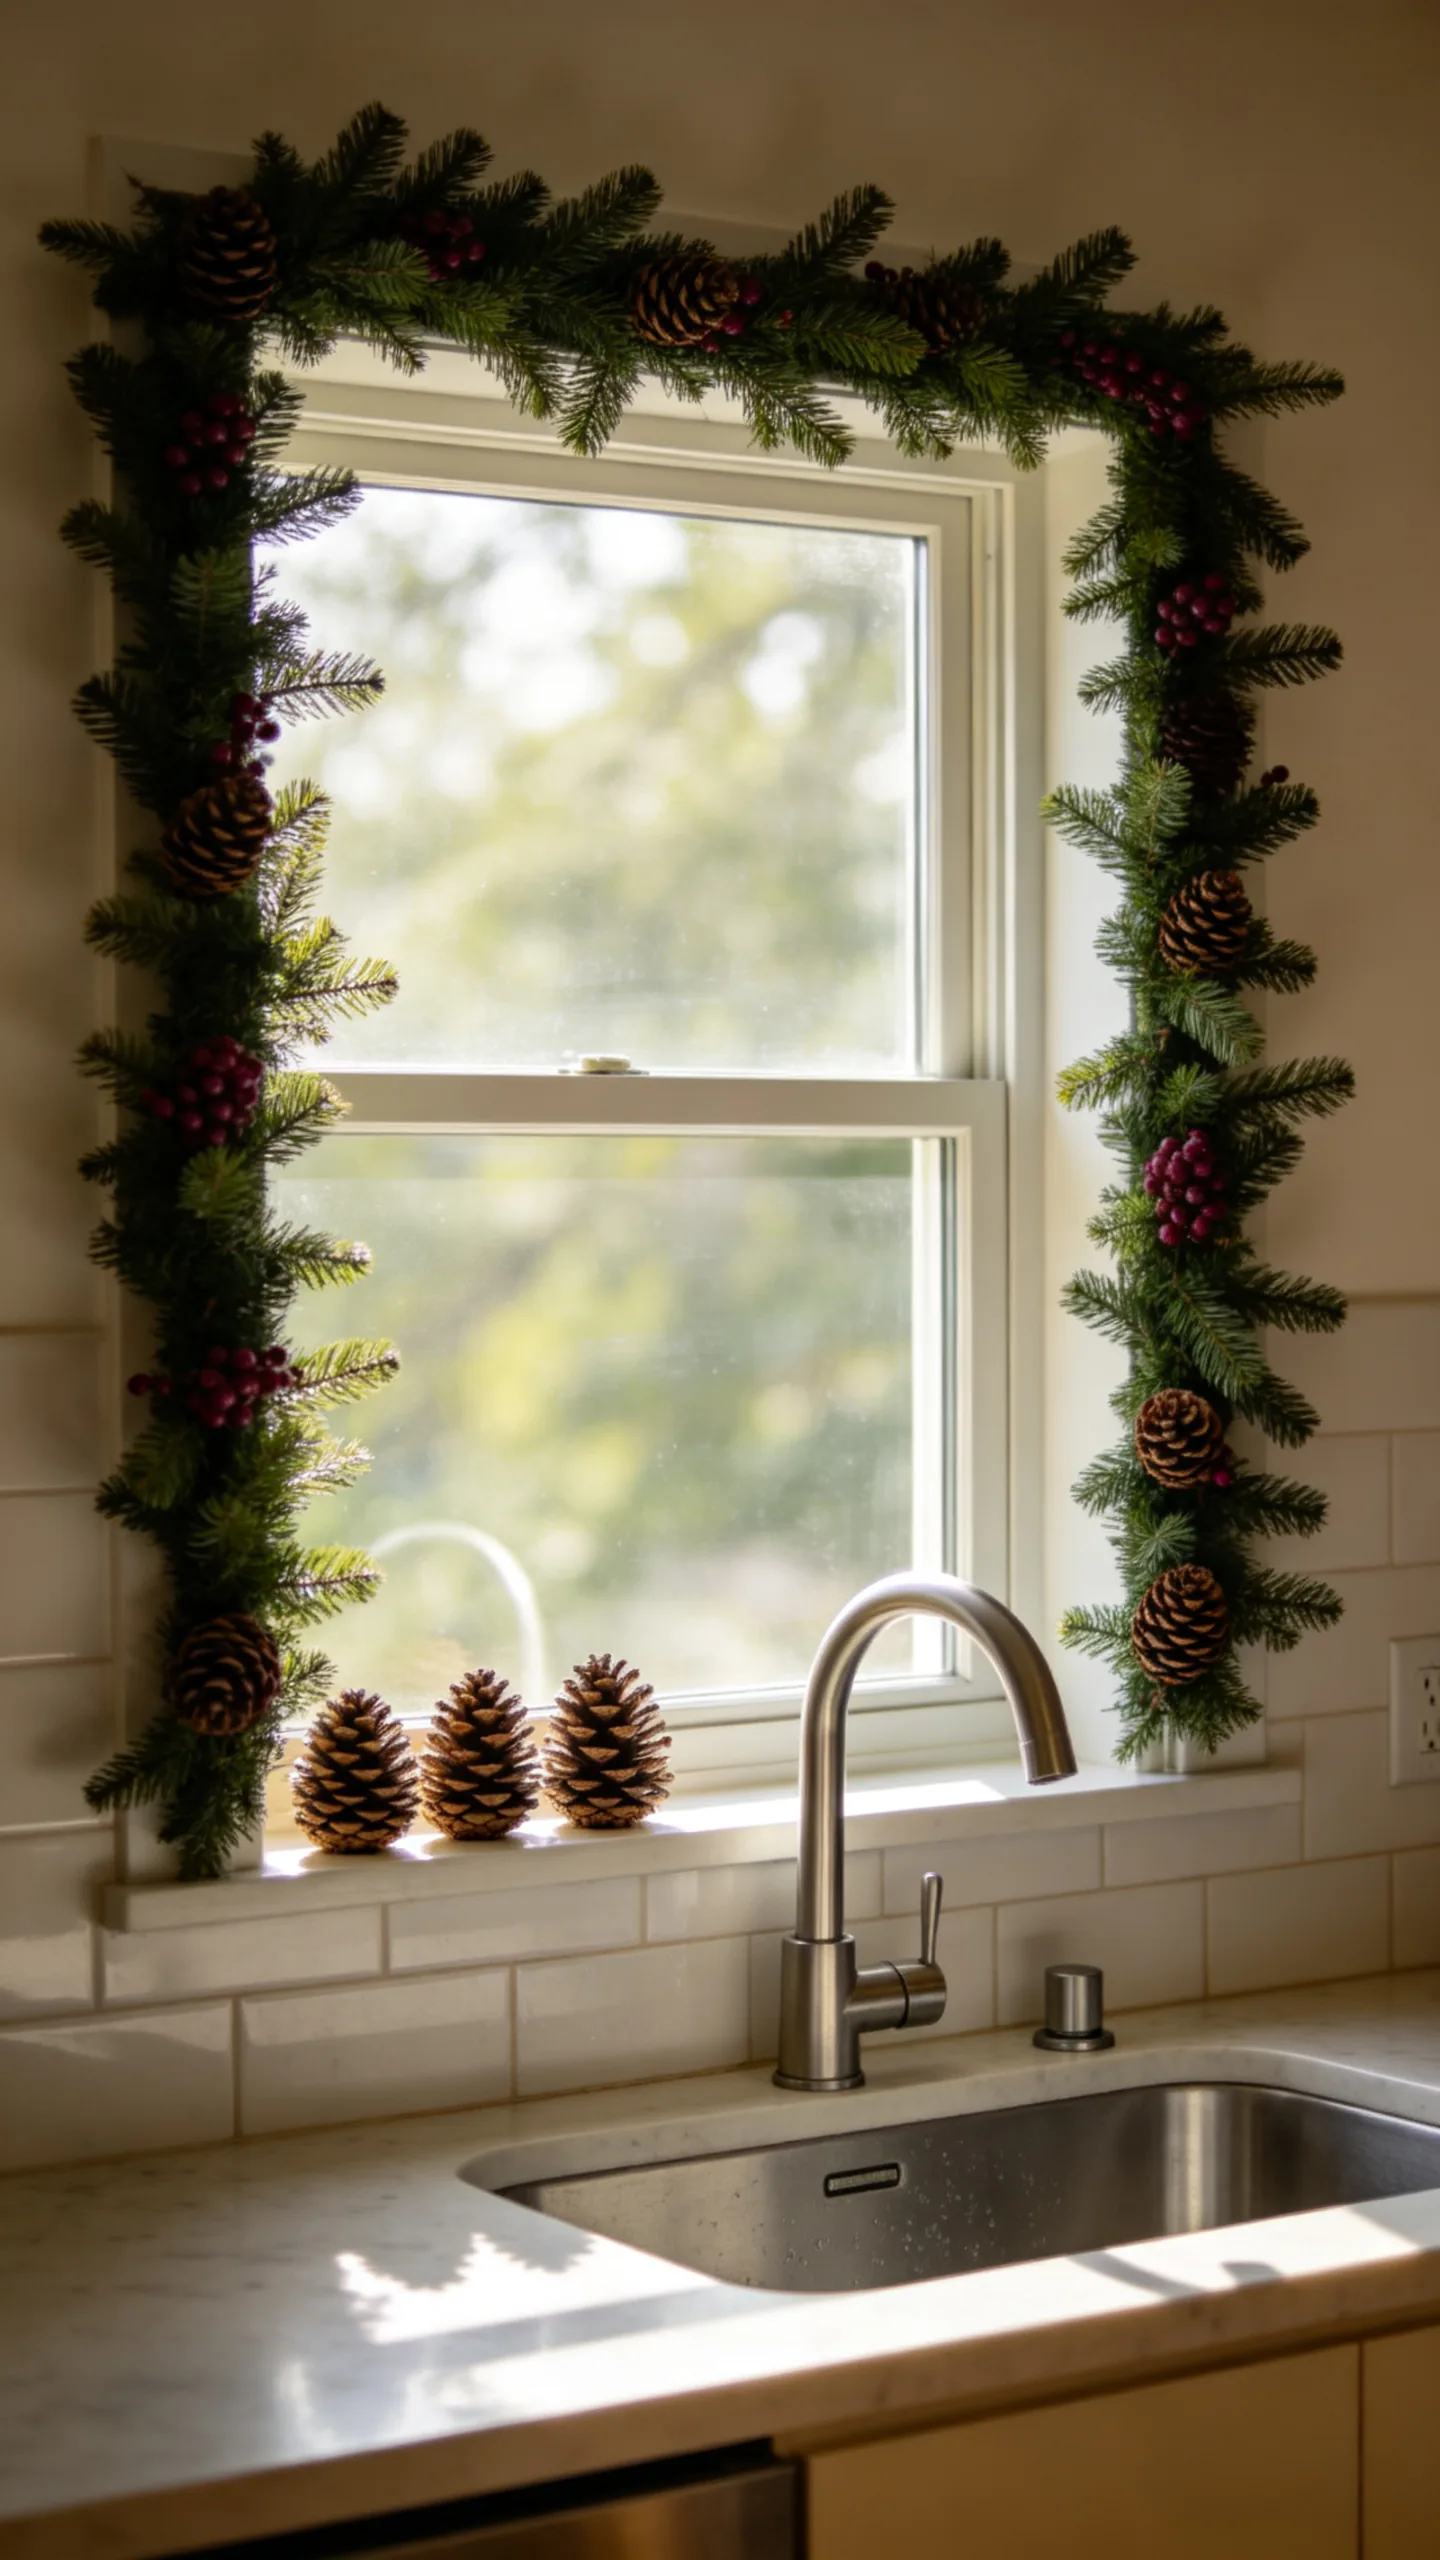
Run a narrow pine, eucalyptus, or cedar garland around the kitchen window using clear removable clips. Keeping the greenery on the outer edge preserves daylight and prevents branches from crowding the sink or blocking the view.
For a tidy finish, use one garland style and a limited color palette, such as green with burgundy ribbon or green with natural pinecones. Keep foliage away from the faucet, wet backsplash areas, and any open flame.
3. Add Warm Lights Beneath the Cabinets
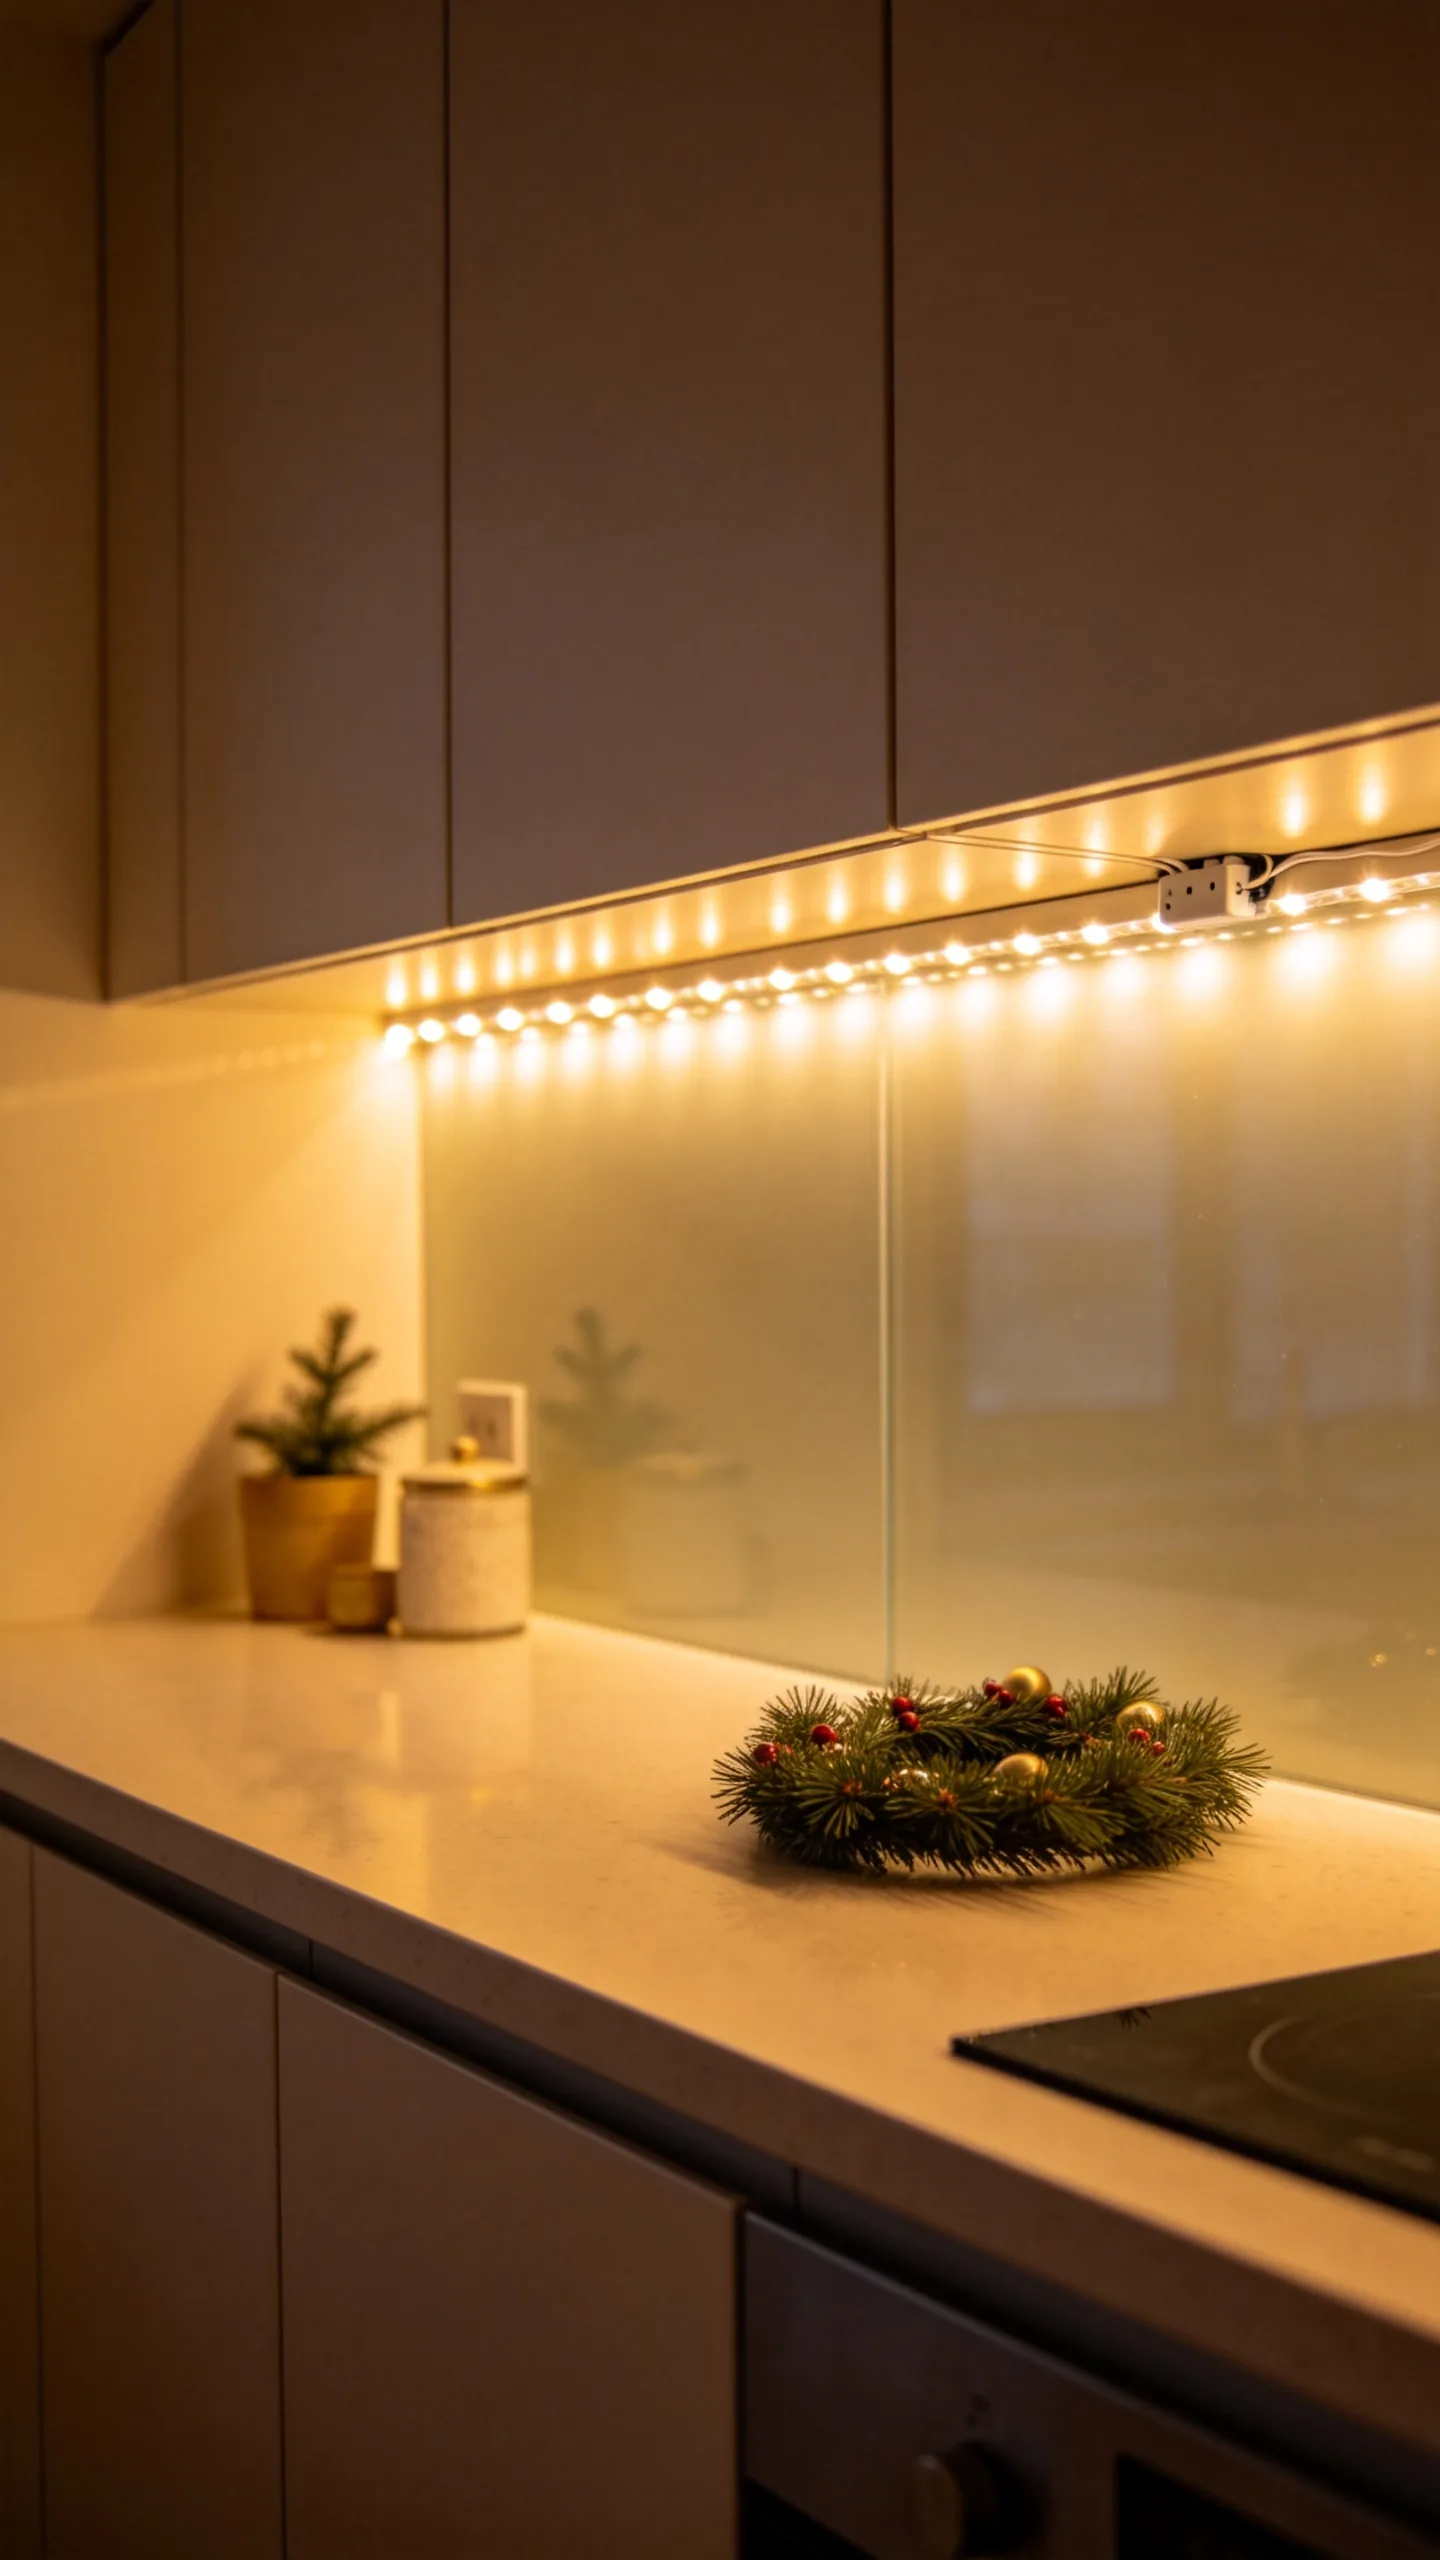
Install battery-operated micro lights beneath upper cabinets to create a warm holiday glow across the backsplash. Secure the wire with transparent clips so it remains hidden and does not hang into food-preparation areas.
Choose warm white lights rather than multicolored strands if the kitchen already contains several finishes or bold colors. The low, horizontal lighting visually widens a compact room and provides festive atmosphere without adding physical objects.
4. Replace Everyday Towels With Coordinated Holiday Textiles
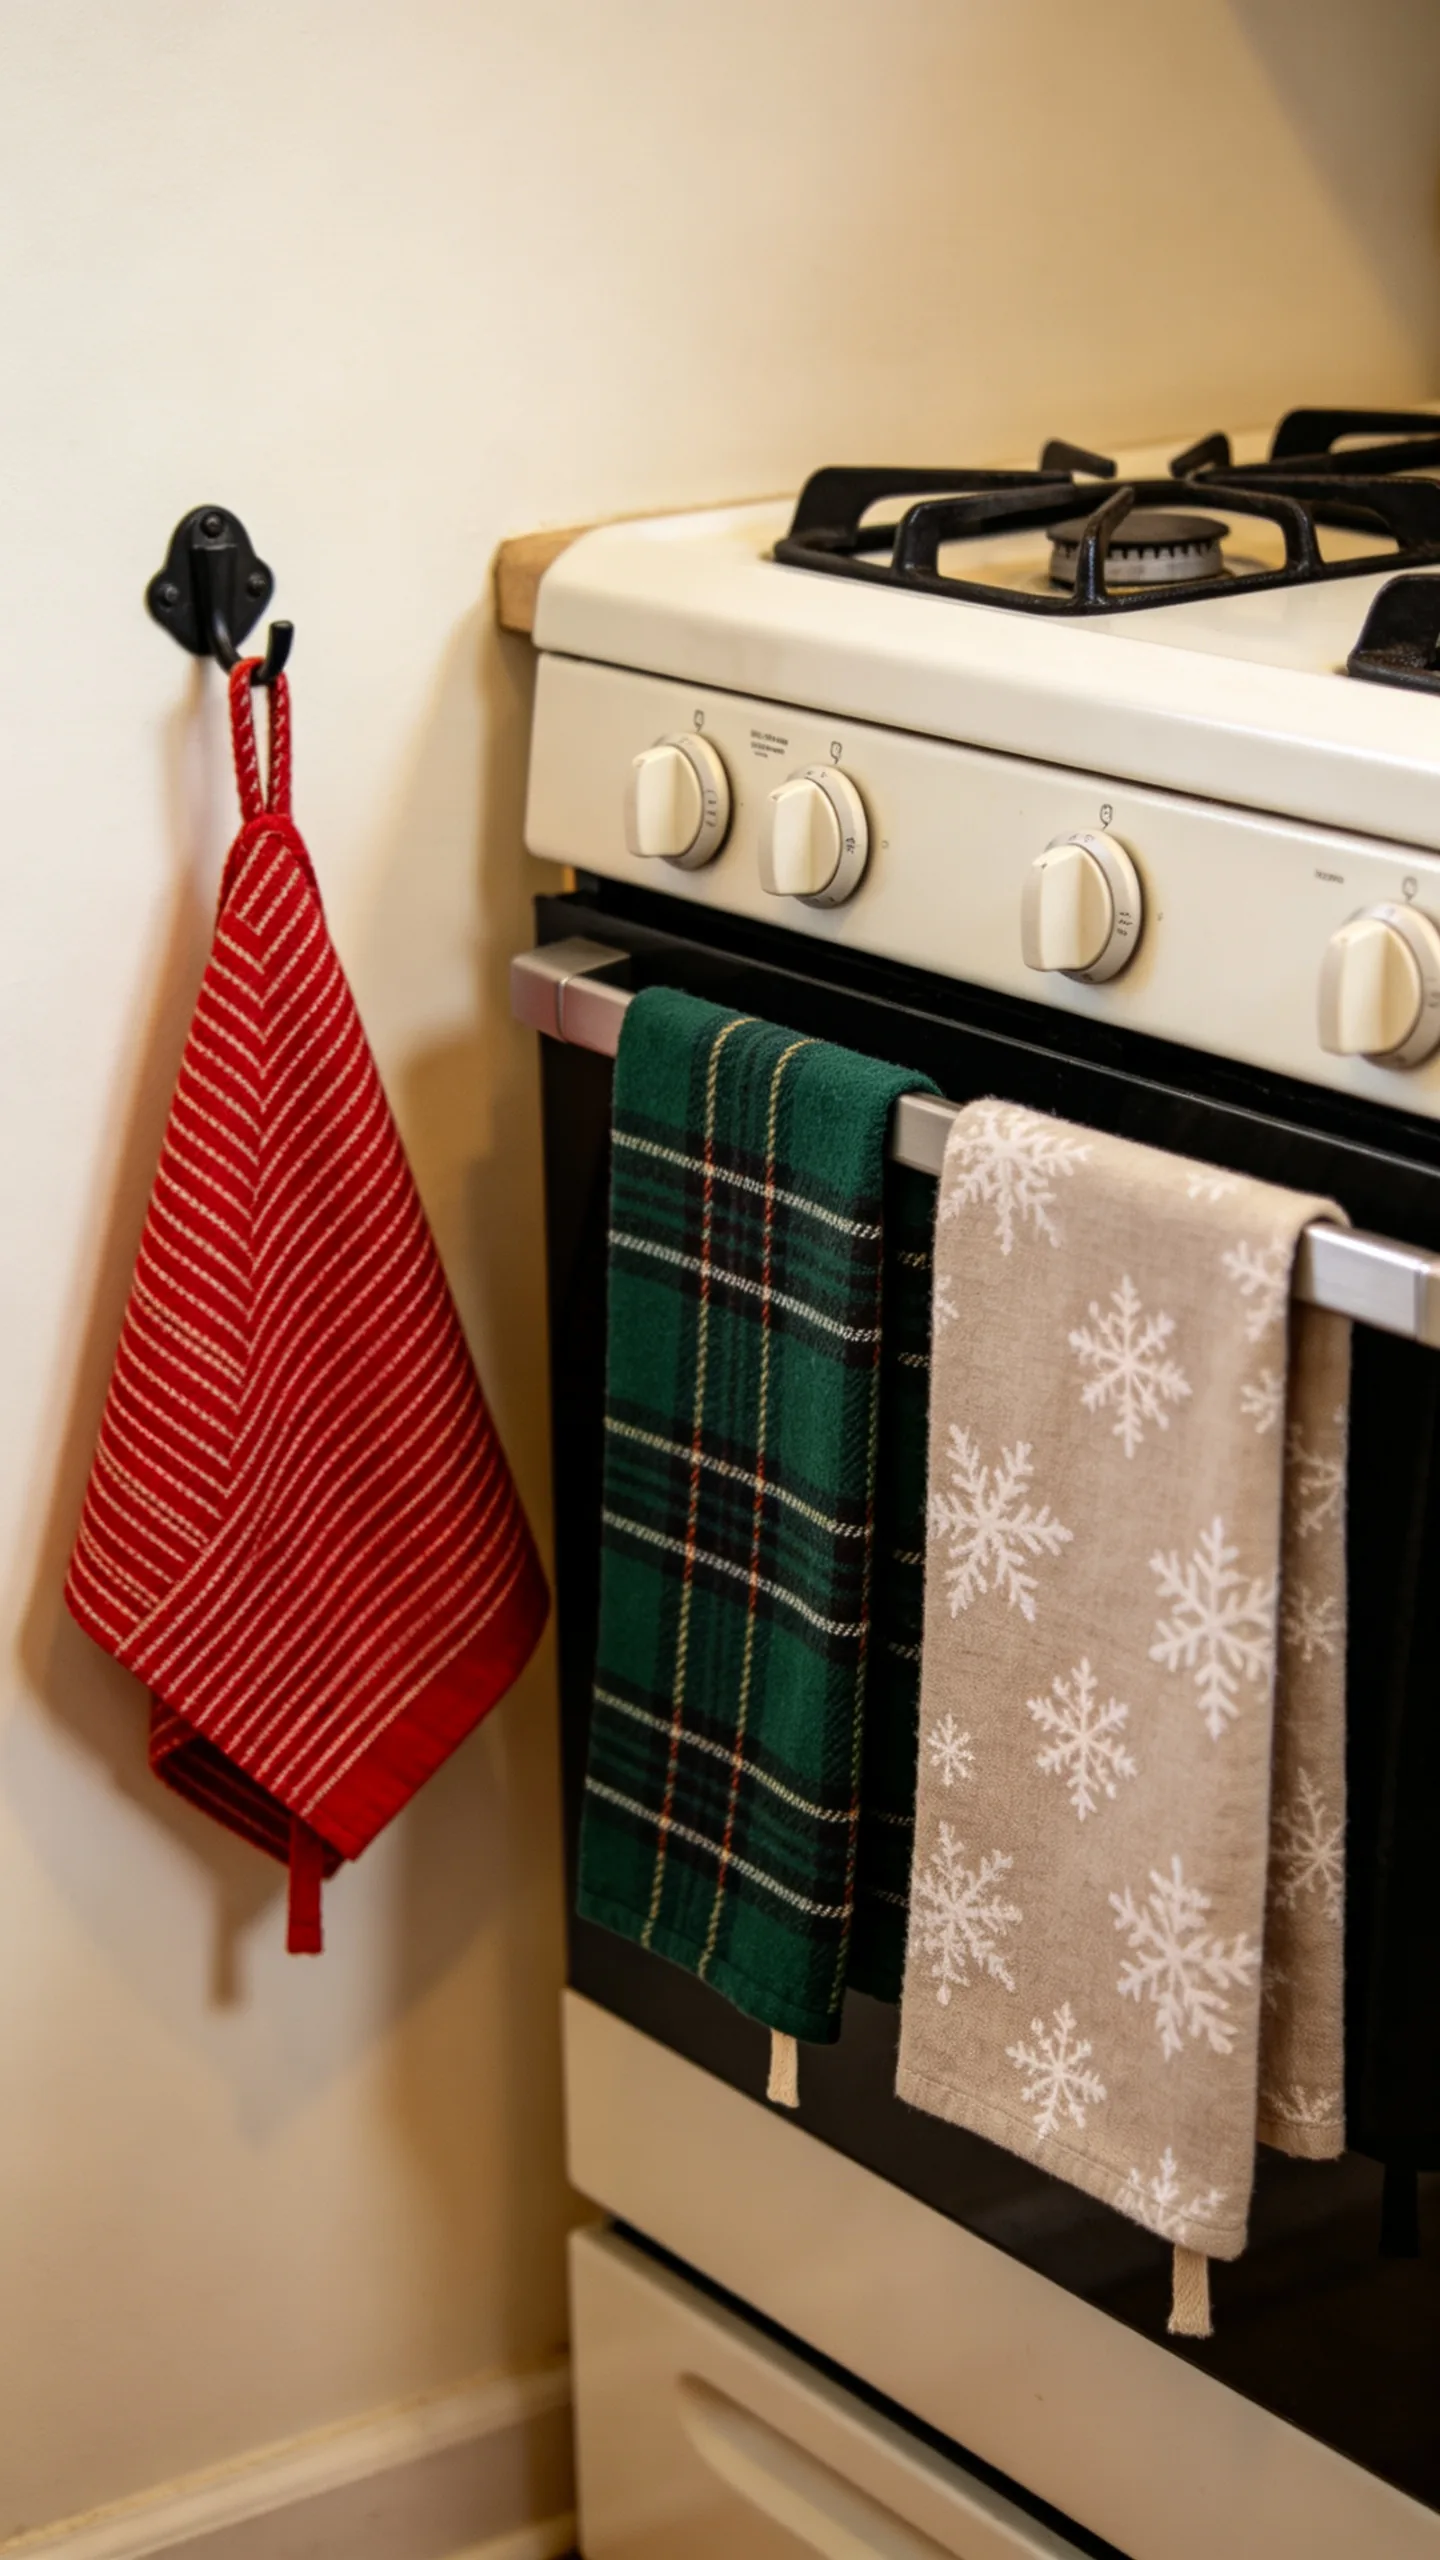
Swap regular dish towels for two or three Christmas towels in a consistent pattern or color scheme. Hang them from the oven handle, a wall hook, or a towel bar instead of folding them on the counter.
Simple textiles—such as red ticking stripes, green plaid, embroidered trees, or neutral snowflakes—bring in seasonal color while remaining practical. Avoid heavily tasseled towels near burners, and keep the oven handle clear if hanging fabric could interfere with cooking.
5. Use a Washable Holiday Runner to Define the Floor
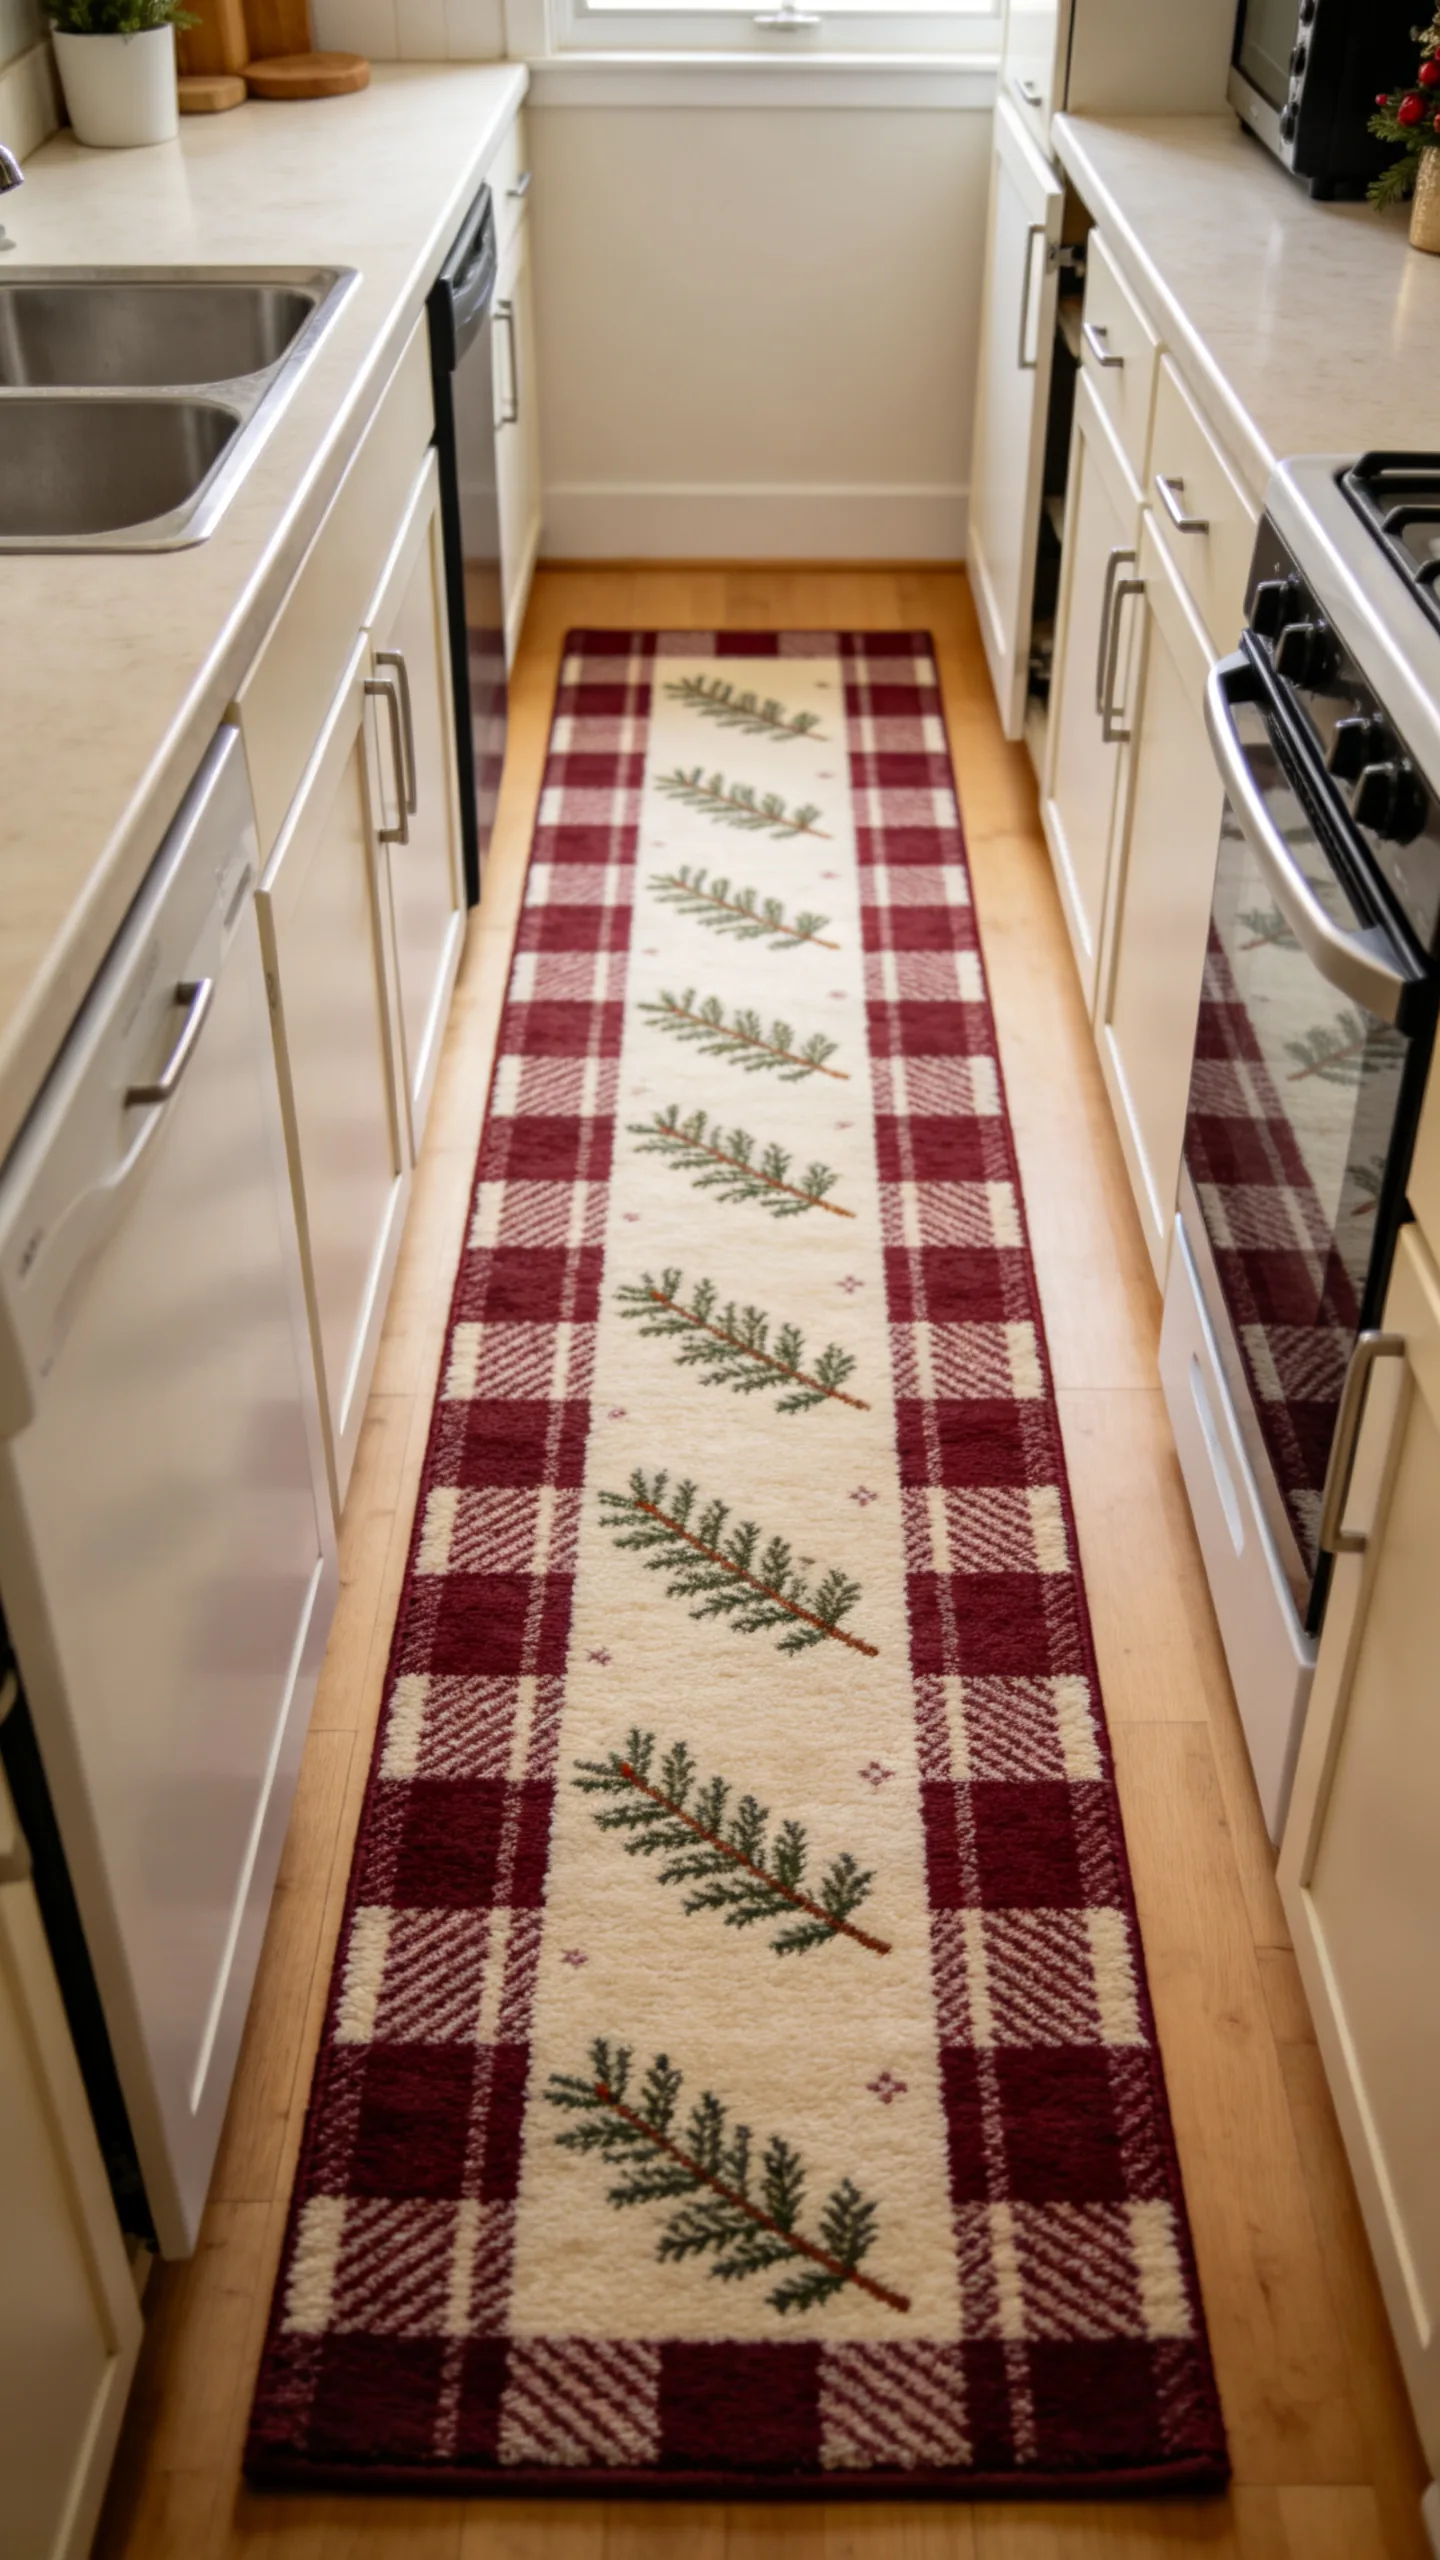
Place a narrow, low-pile runner between the sink and island or along a galley kitchen walkway. A washable rug adds a large area of holiday color without taking up storage or work surfaces.
Select a runner that leaves enough exposed floor for cabinet and appliance doors to open fully. Subtle patterns such as evergreen branches, burgundy checks, or cream-and-red stripes feel festive while keeping the floor visually calm and the traffic path easy to follow.
6. Apply Removable Snowflake Decals to the Backsplash
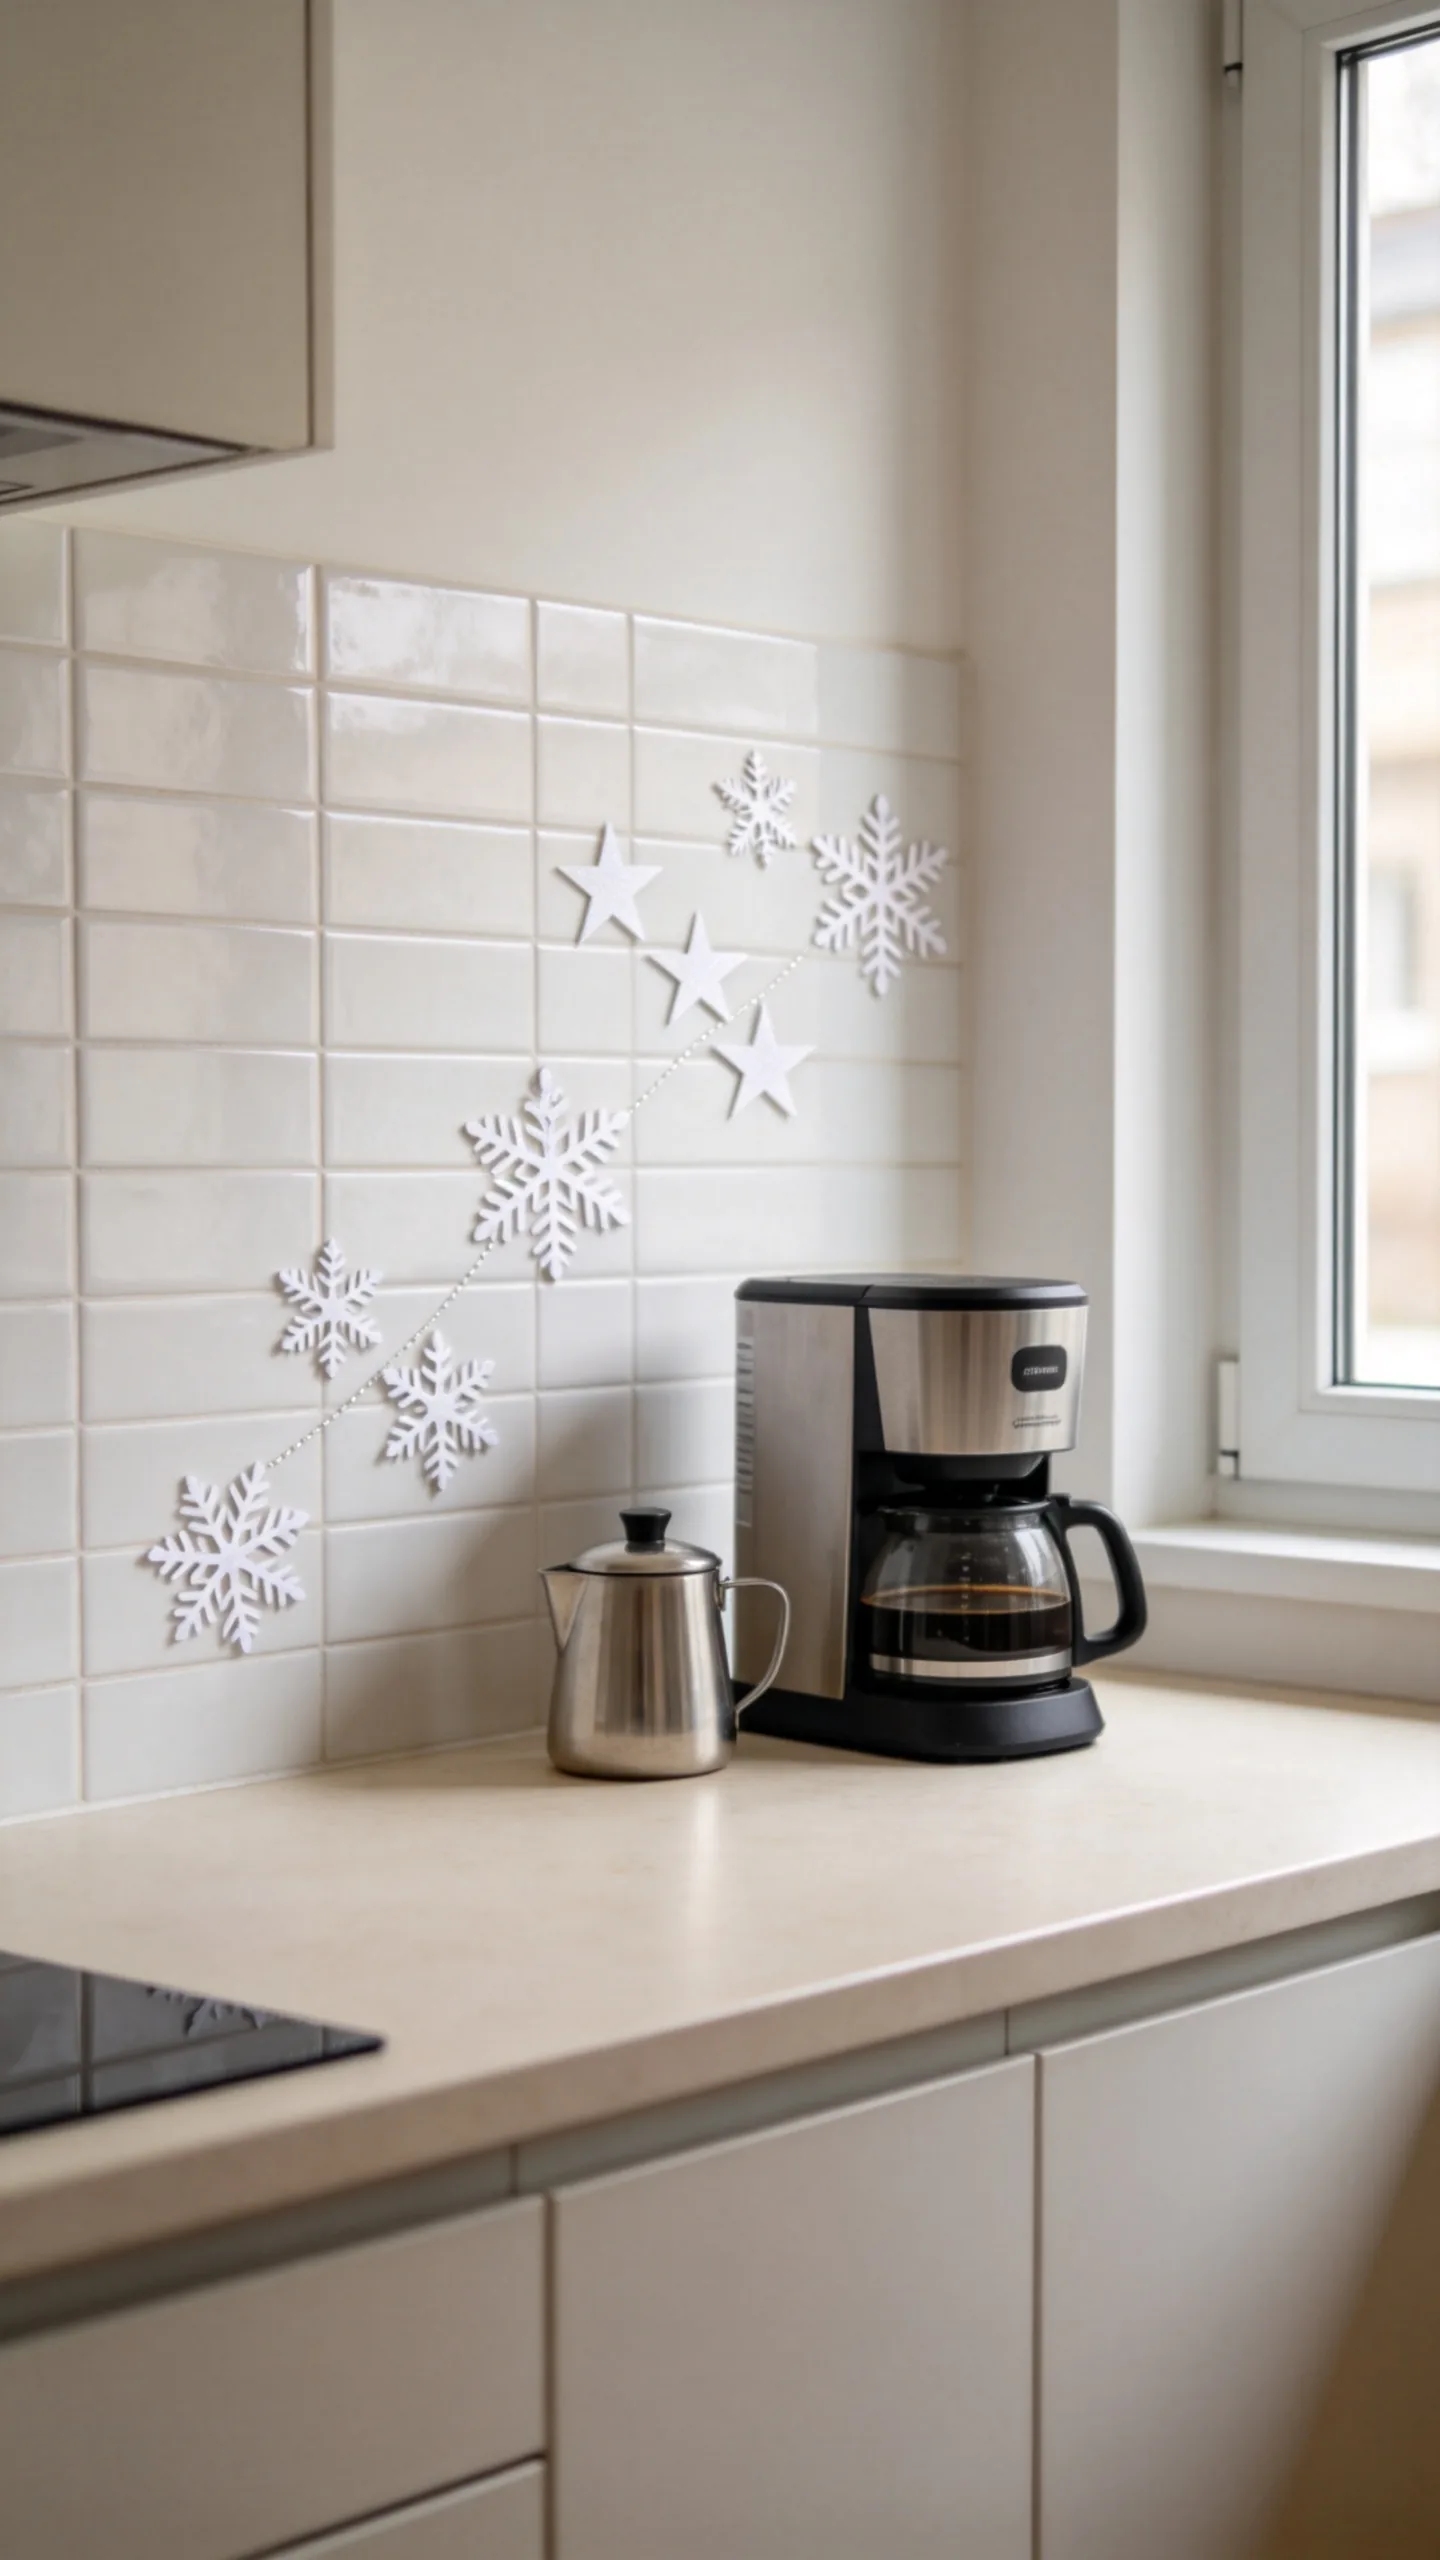
Use removable vinyl snowflakes, stars, or miniature trees on a smooth tile backsplash. Arrange them in a loose line behind a coffee station or along an unused section of wall rather than covering every tile.
A restrained decal arrangement creates seasonal detail without collecting grease or occupying counter space. Confirm that the decals are suitable for the surface, and keep them away from areas that receive direct heat, steam, or frequent scrubbing.
7. Create One Compact Open-Shelf Vignette
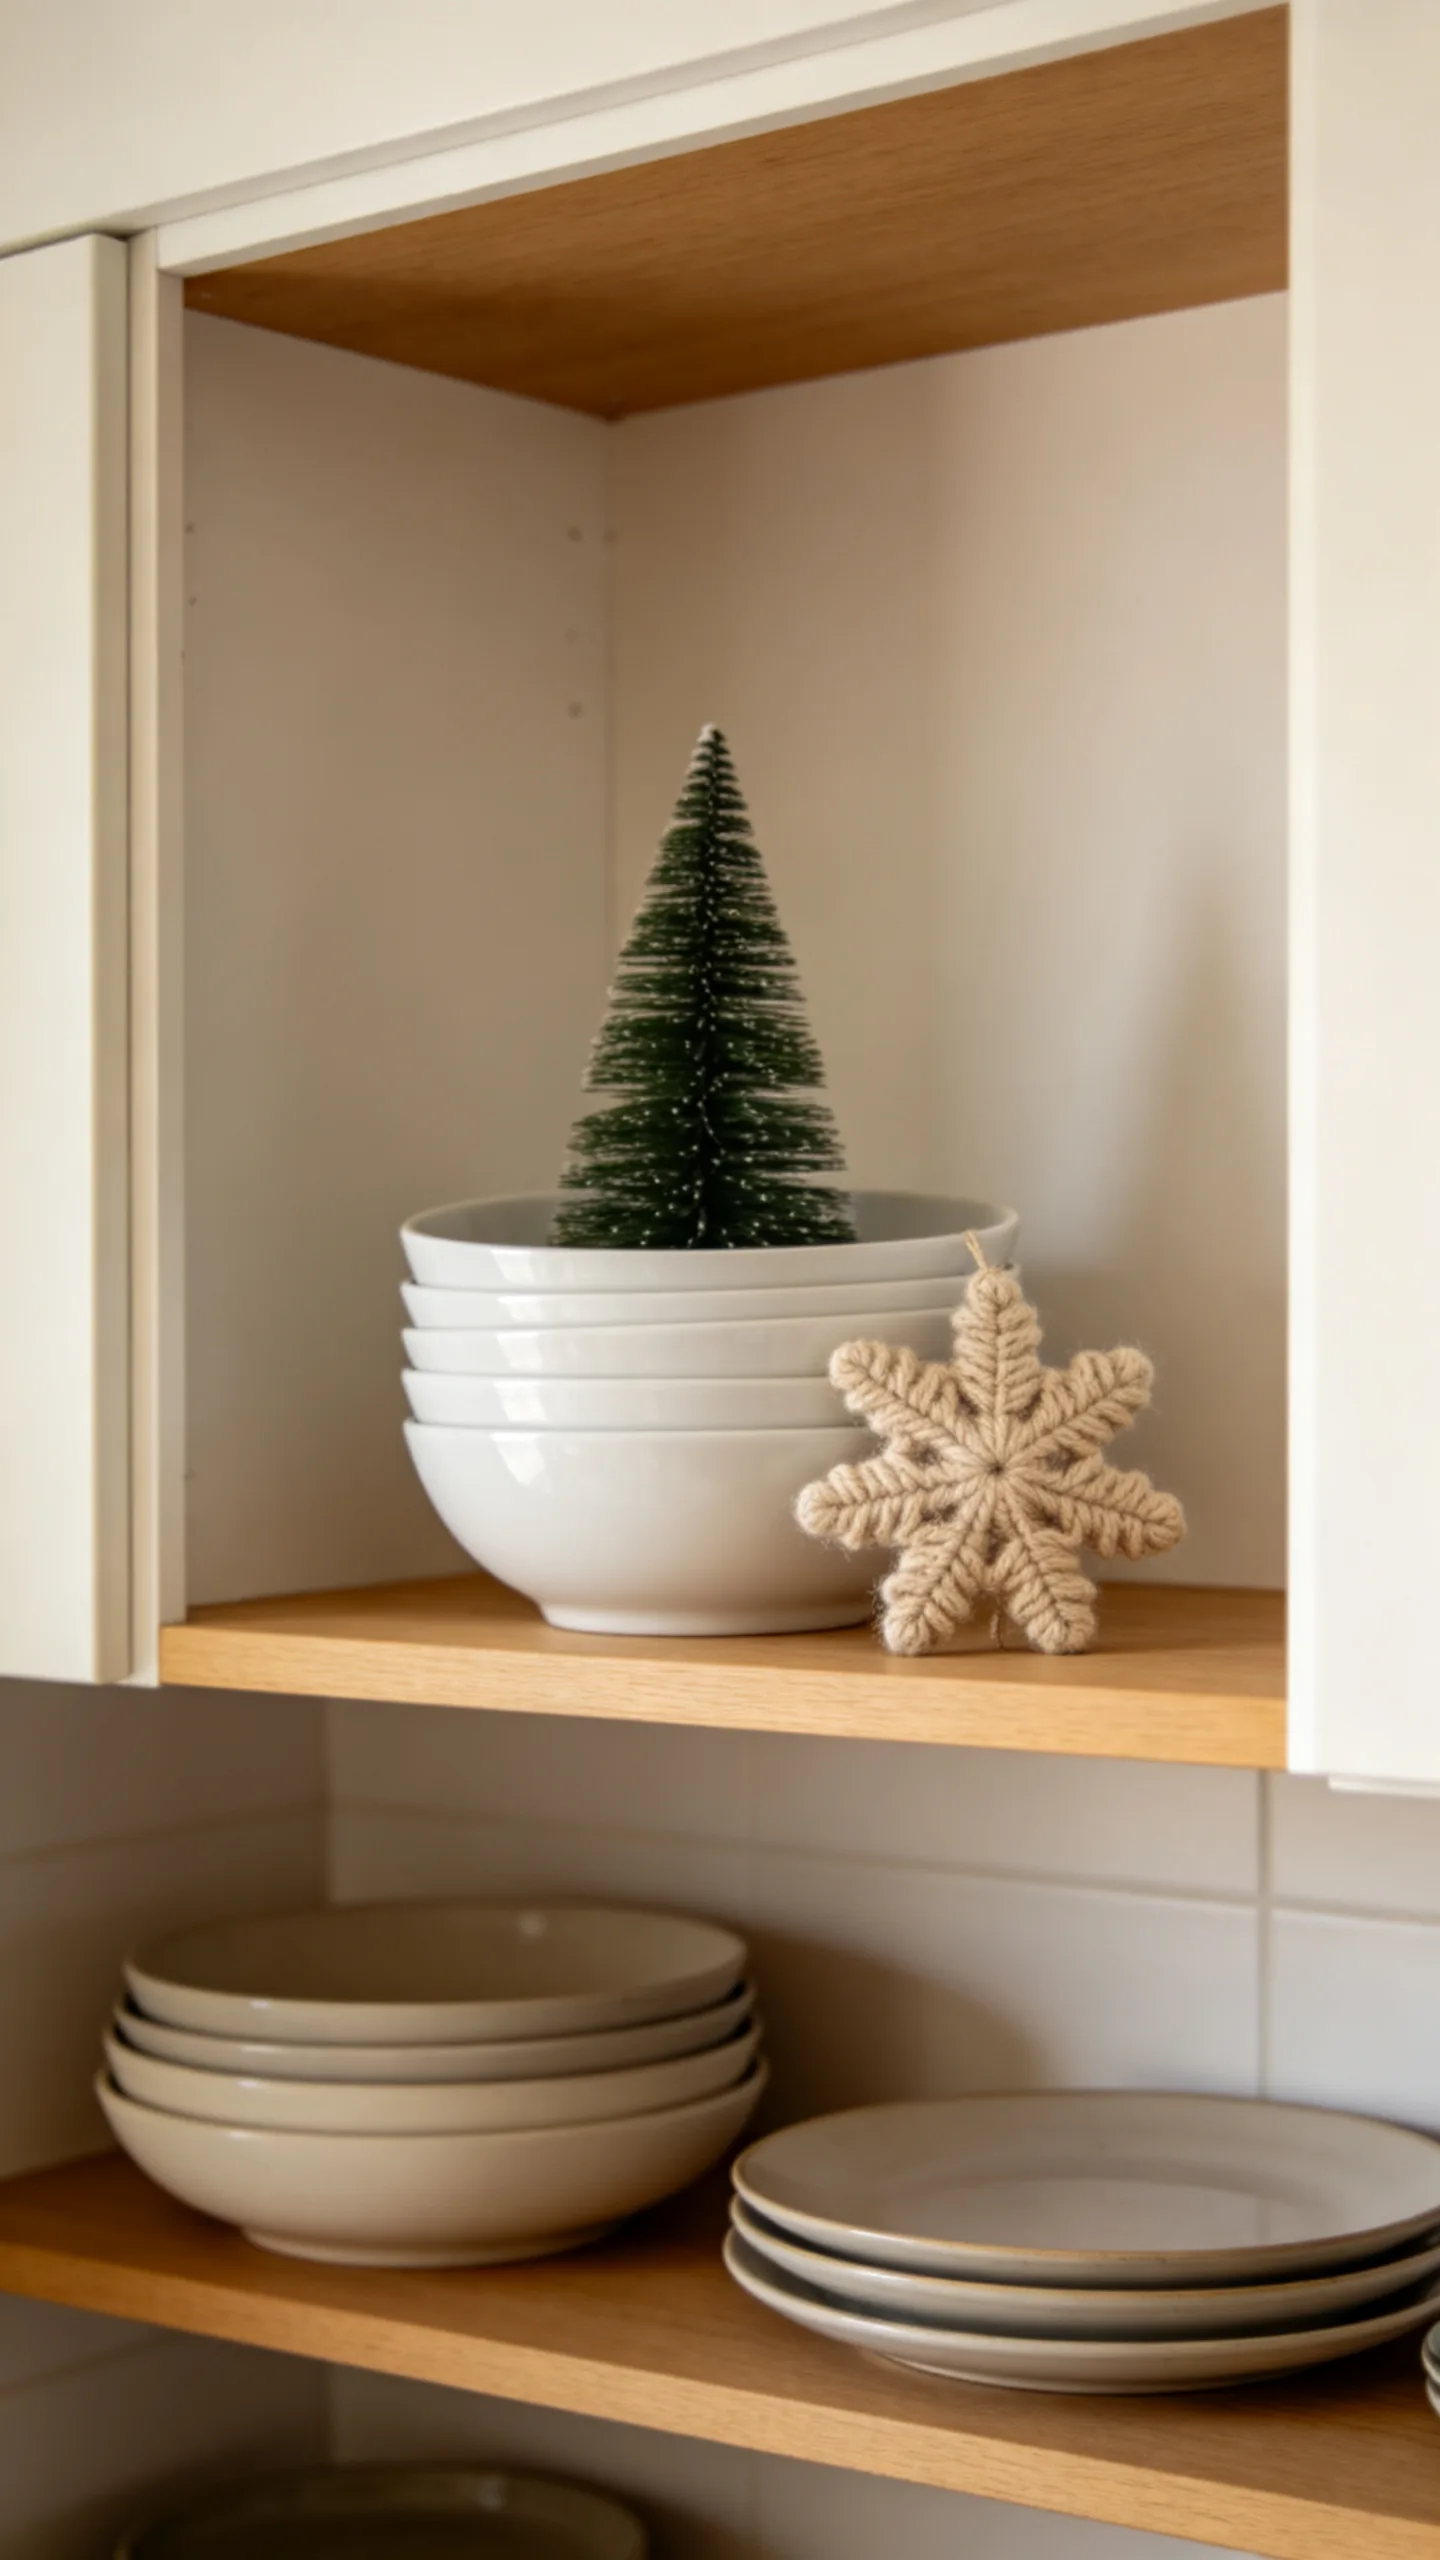
Dedicate a single open shelf to a small Christmas arrangement instead of scattering decorations throughout the kitchen. Combine three useful or decorative pieces, such as stacked white bowls, a miniature evergreen, and a framed holiday print.
Leave visible space around the grouping so the shelf does not look crowded. Keeping frequently used dishes on the lower shelves and the seasonal vignette above eye level protects function while drawing attention upward, which can make a small kitchen feel taller.
8. Suspend Lightweight Ornaments From a Wall Rail
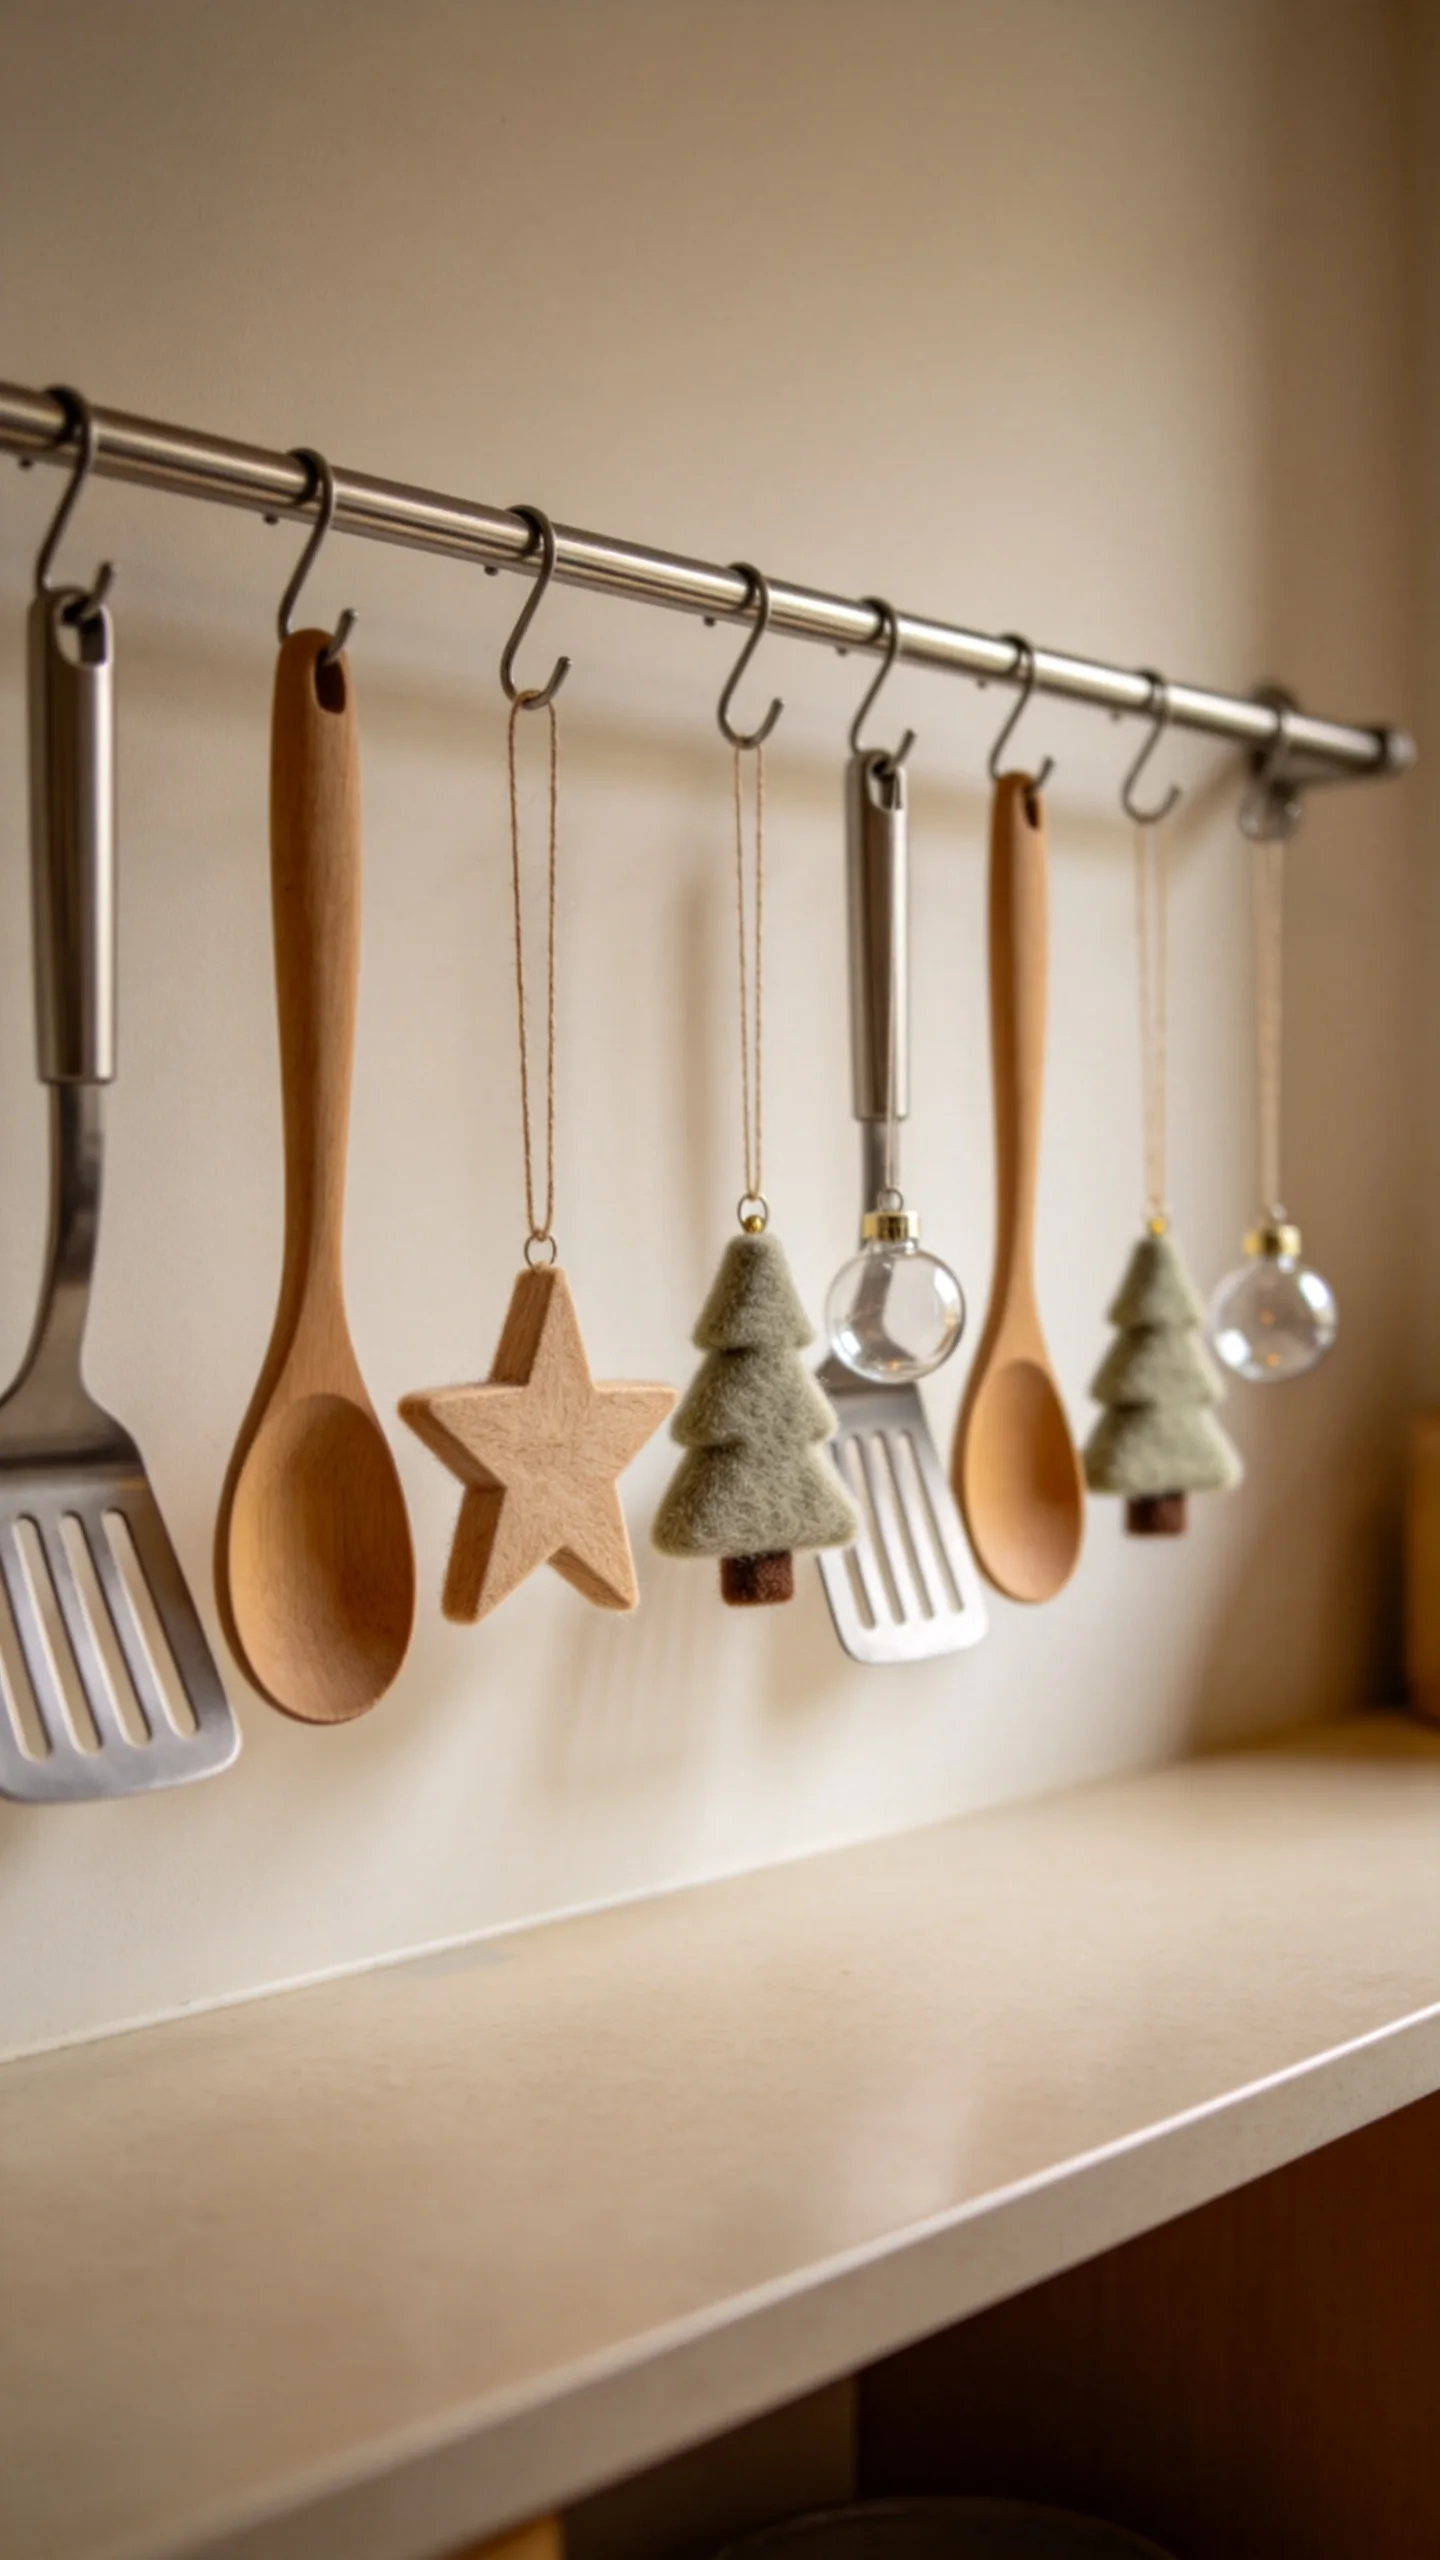
If the kitchen has a utensil rail, peg rail, or pot rack, hang a few lightweight ornaments between existing tools. Wood stars, felt trees, and unbreakable baubles are safer choices than heavy glass ornaments.
Space the decorations far enough apart that utensils remain easy to reach. Repeating one material or color gives the display a deliberate look and avoids the visual clutter created by a mix of unrelated ornaments.
9. Tie Velvet Ribbons Around Pendant Light Cords
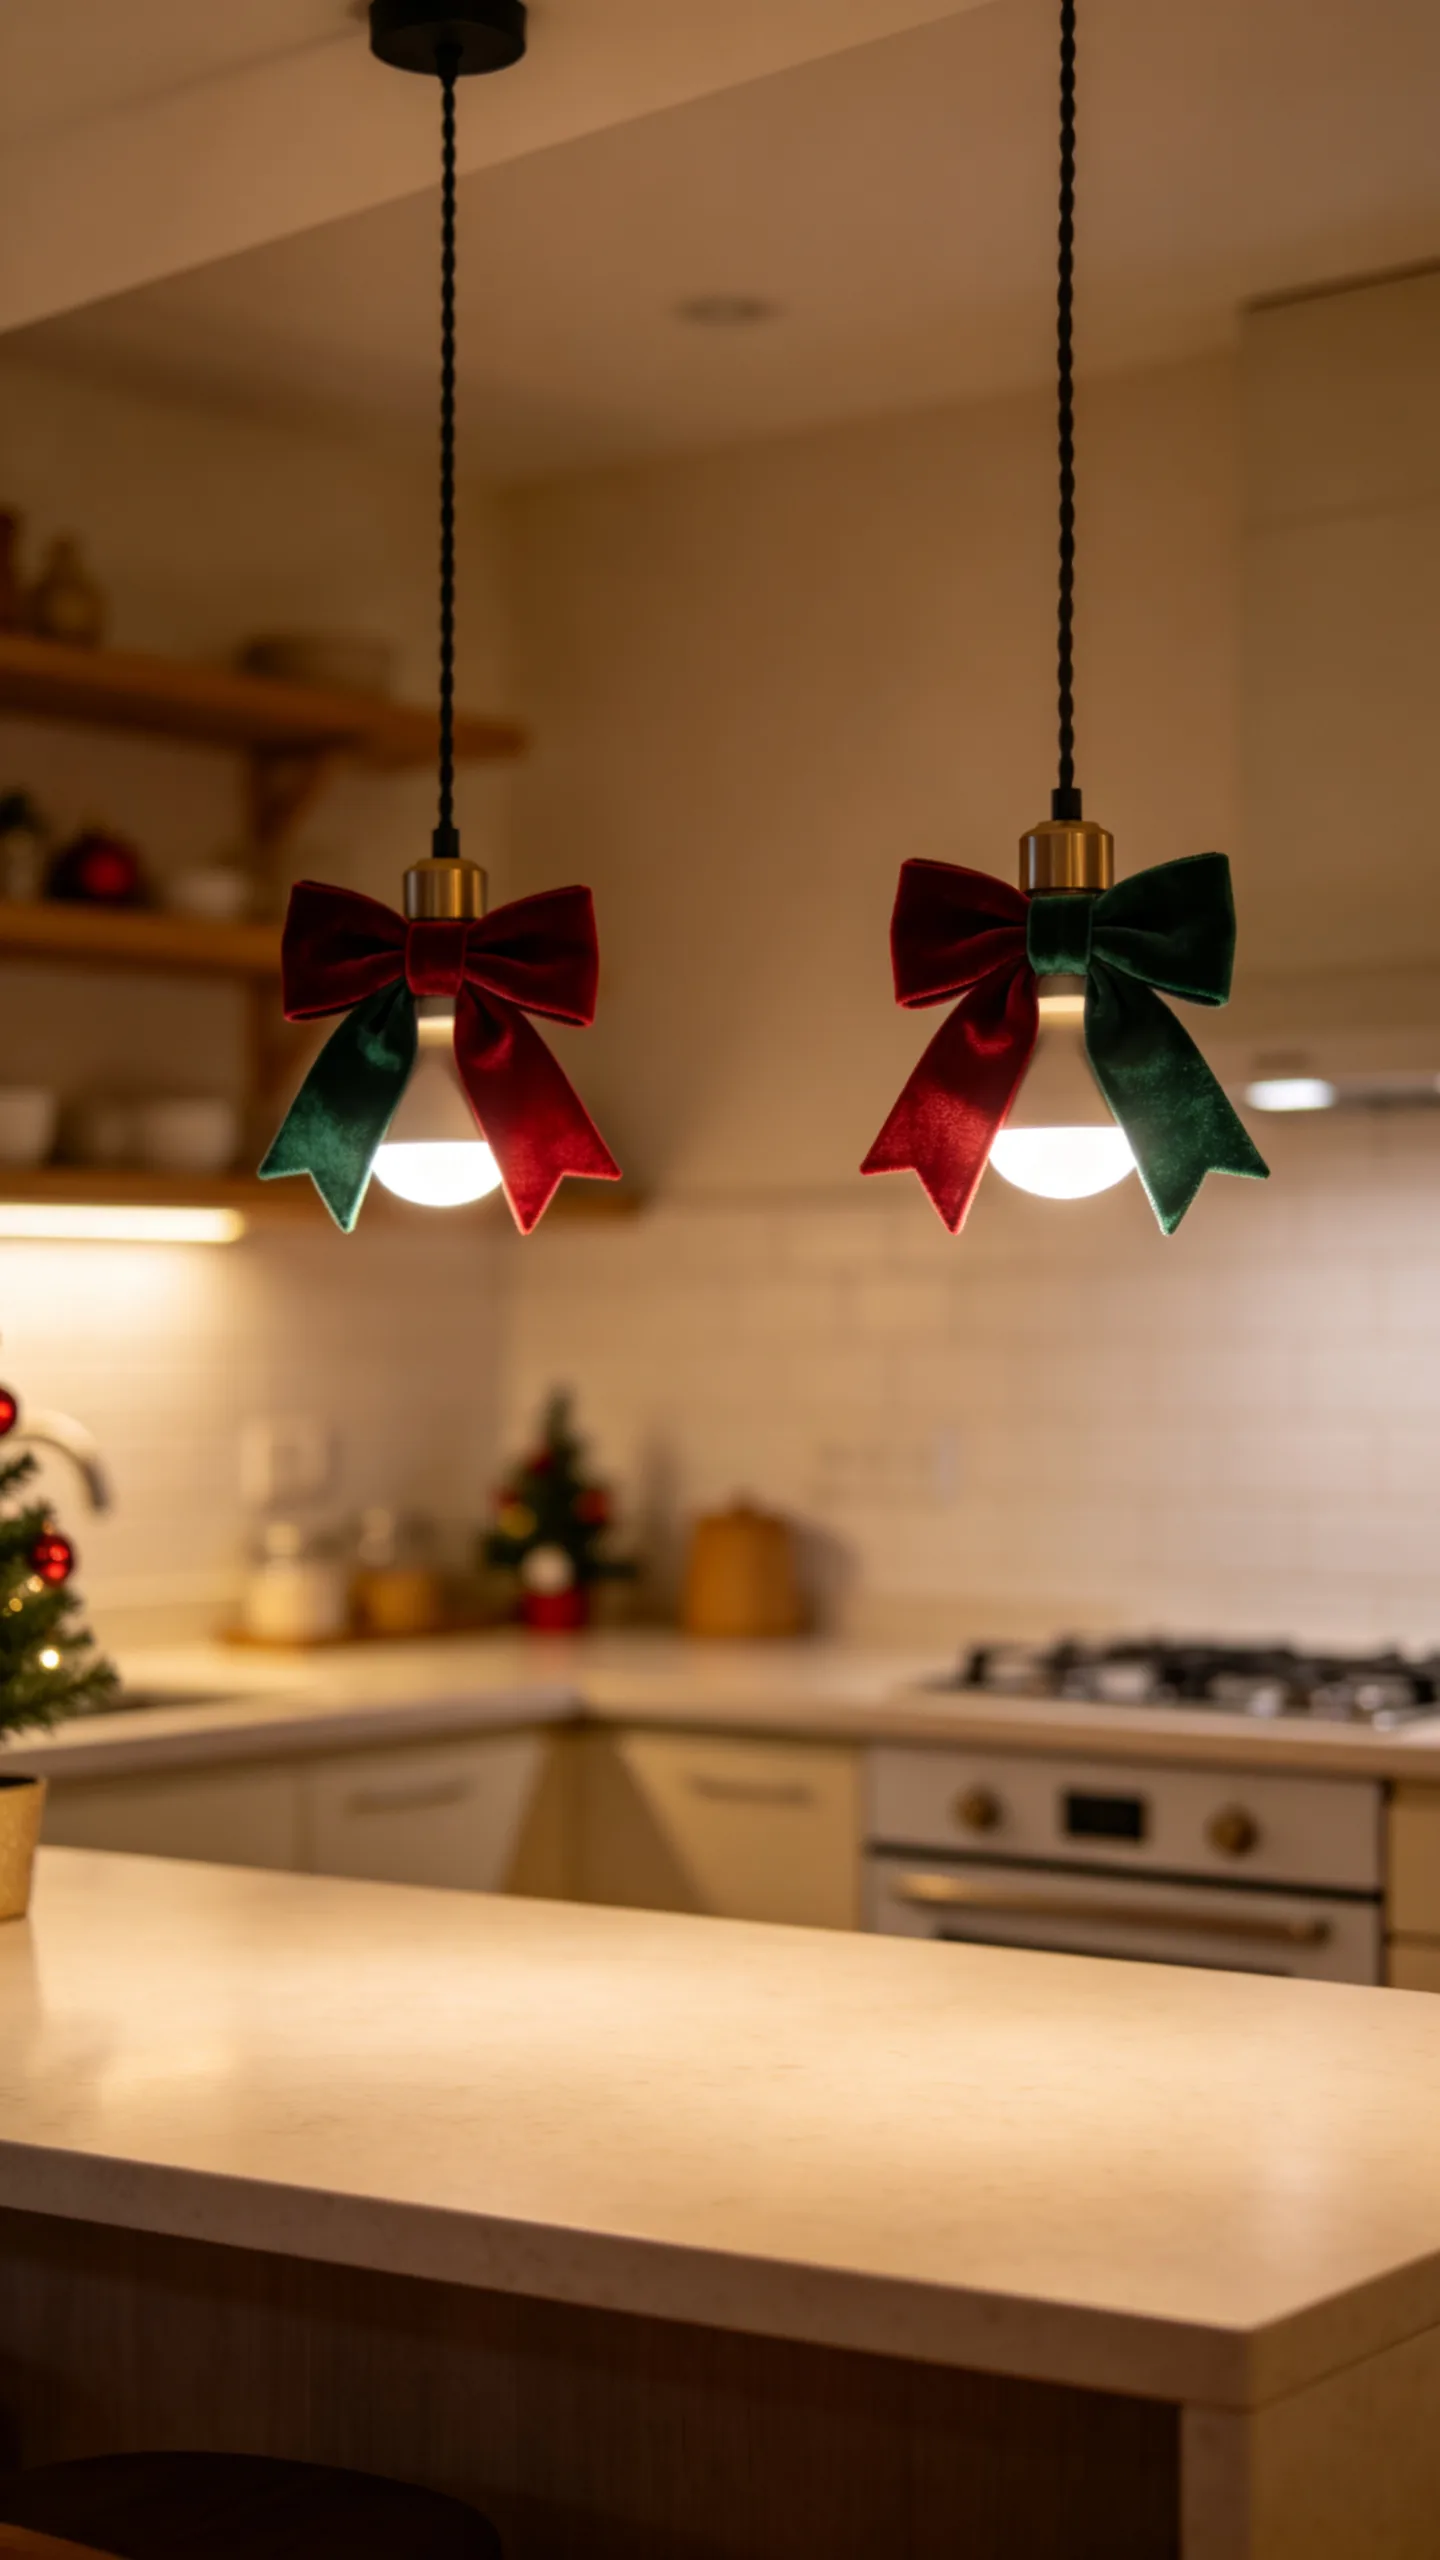
Add narrow velvet or grosgrain bows near the top of pendant light cords or around the outer support of a shade. Deep red, forest green, navy, or cream ribbon can introduce Christmas color without using any counter or wall space.
Position ribbons well away from bulbs, vents, and hot metal components. Small, structured bows work better than long trailing tails in a compact kitchen because they maintain clear sightlines and do not brush against anyone moving below the lights.
10. Turn the Refrigerator Into a Curated Holiday Display
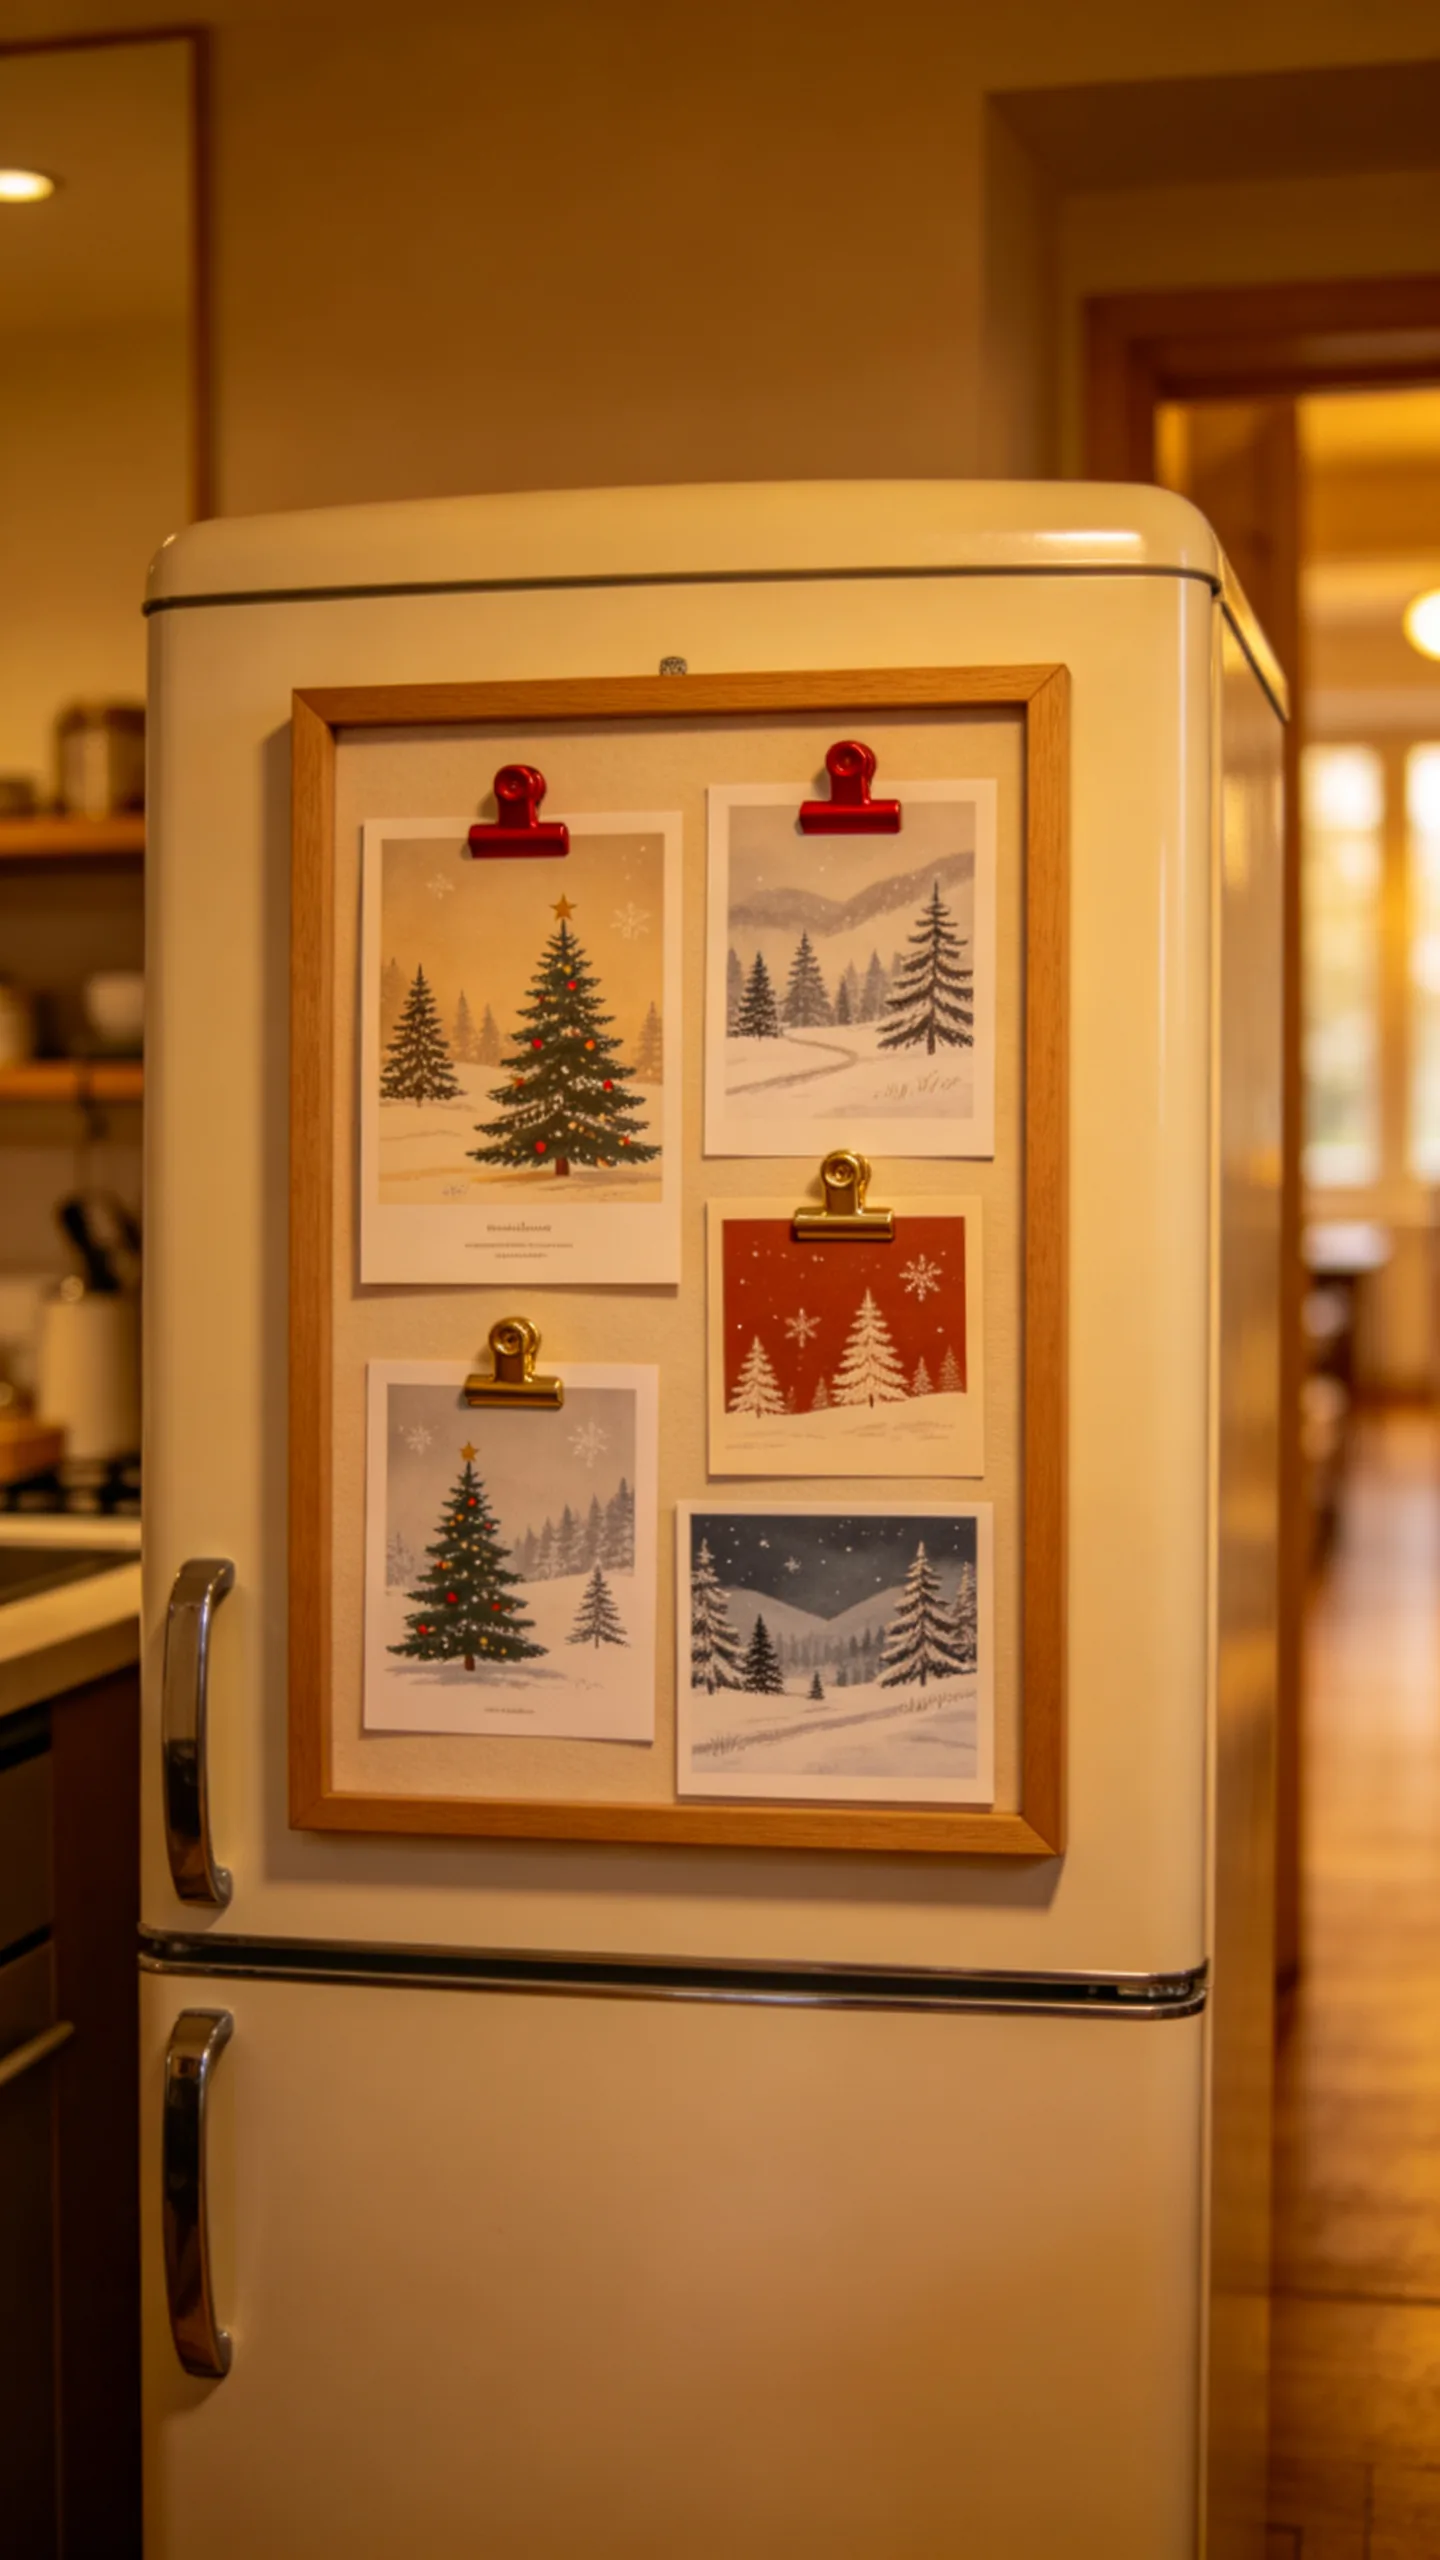
Use the refrigerator door for a controlled arrangement of Christmas cards, a single calendar, or a small set of seasonal prints. Matching magnets or magnetic clips help the display feel unified rather than random.
Limit the arrangement to one rectangular area and remove expired notes, coupons, and duplicate lists first. Concentrating paper items in one place keeps other kitchen surfaces clear and prevents the refrigerator from becoming visually overwhelming.
11. Restyle Everyday Glass Jars With Seasonal Ingredients
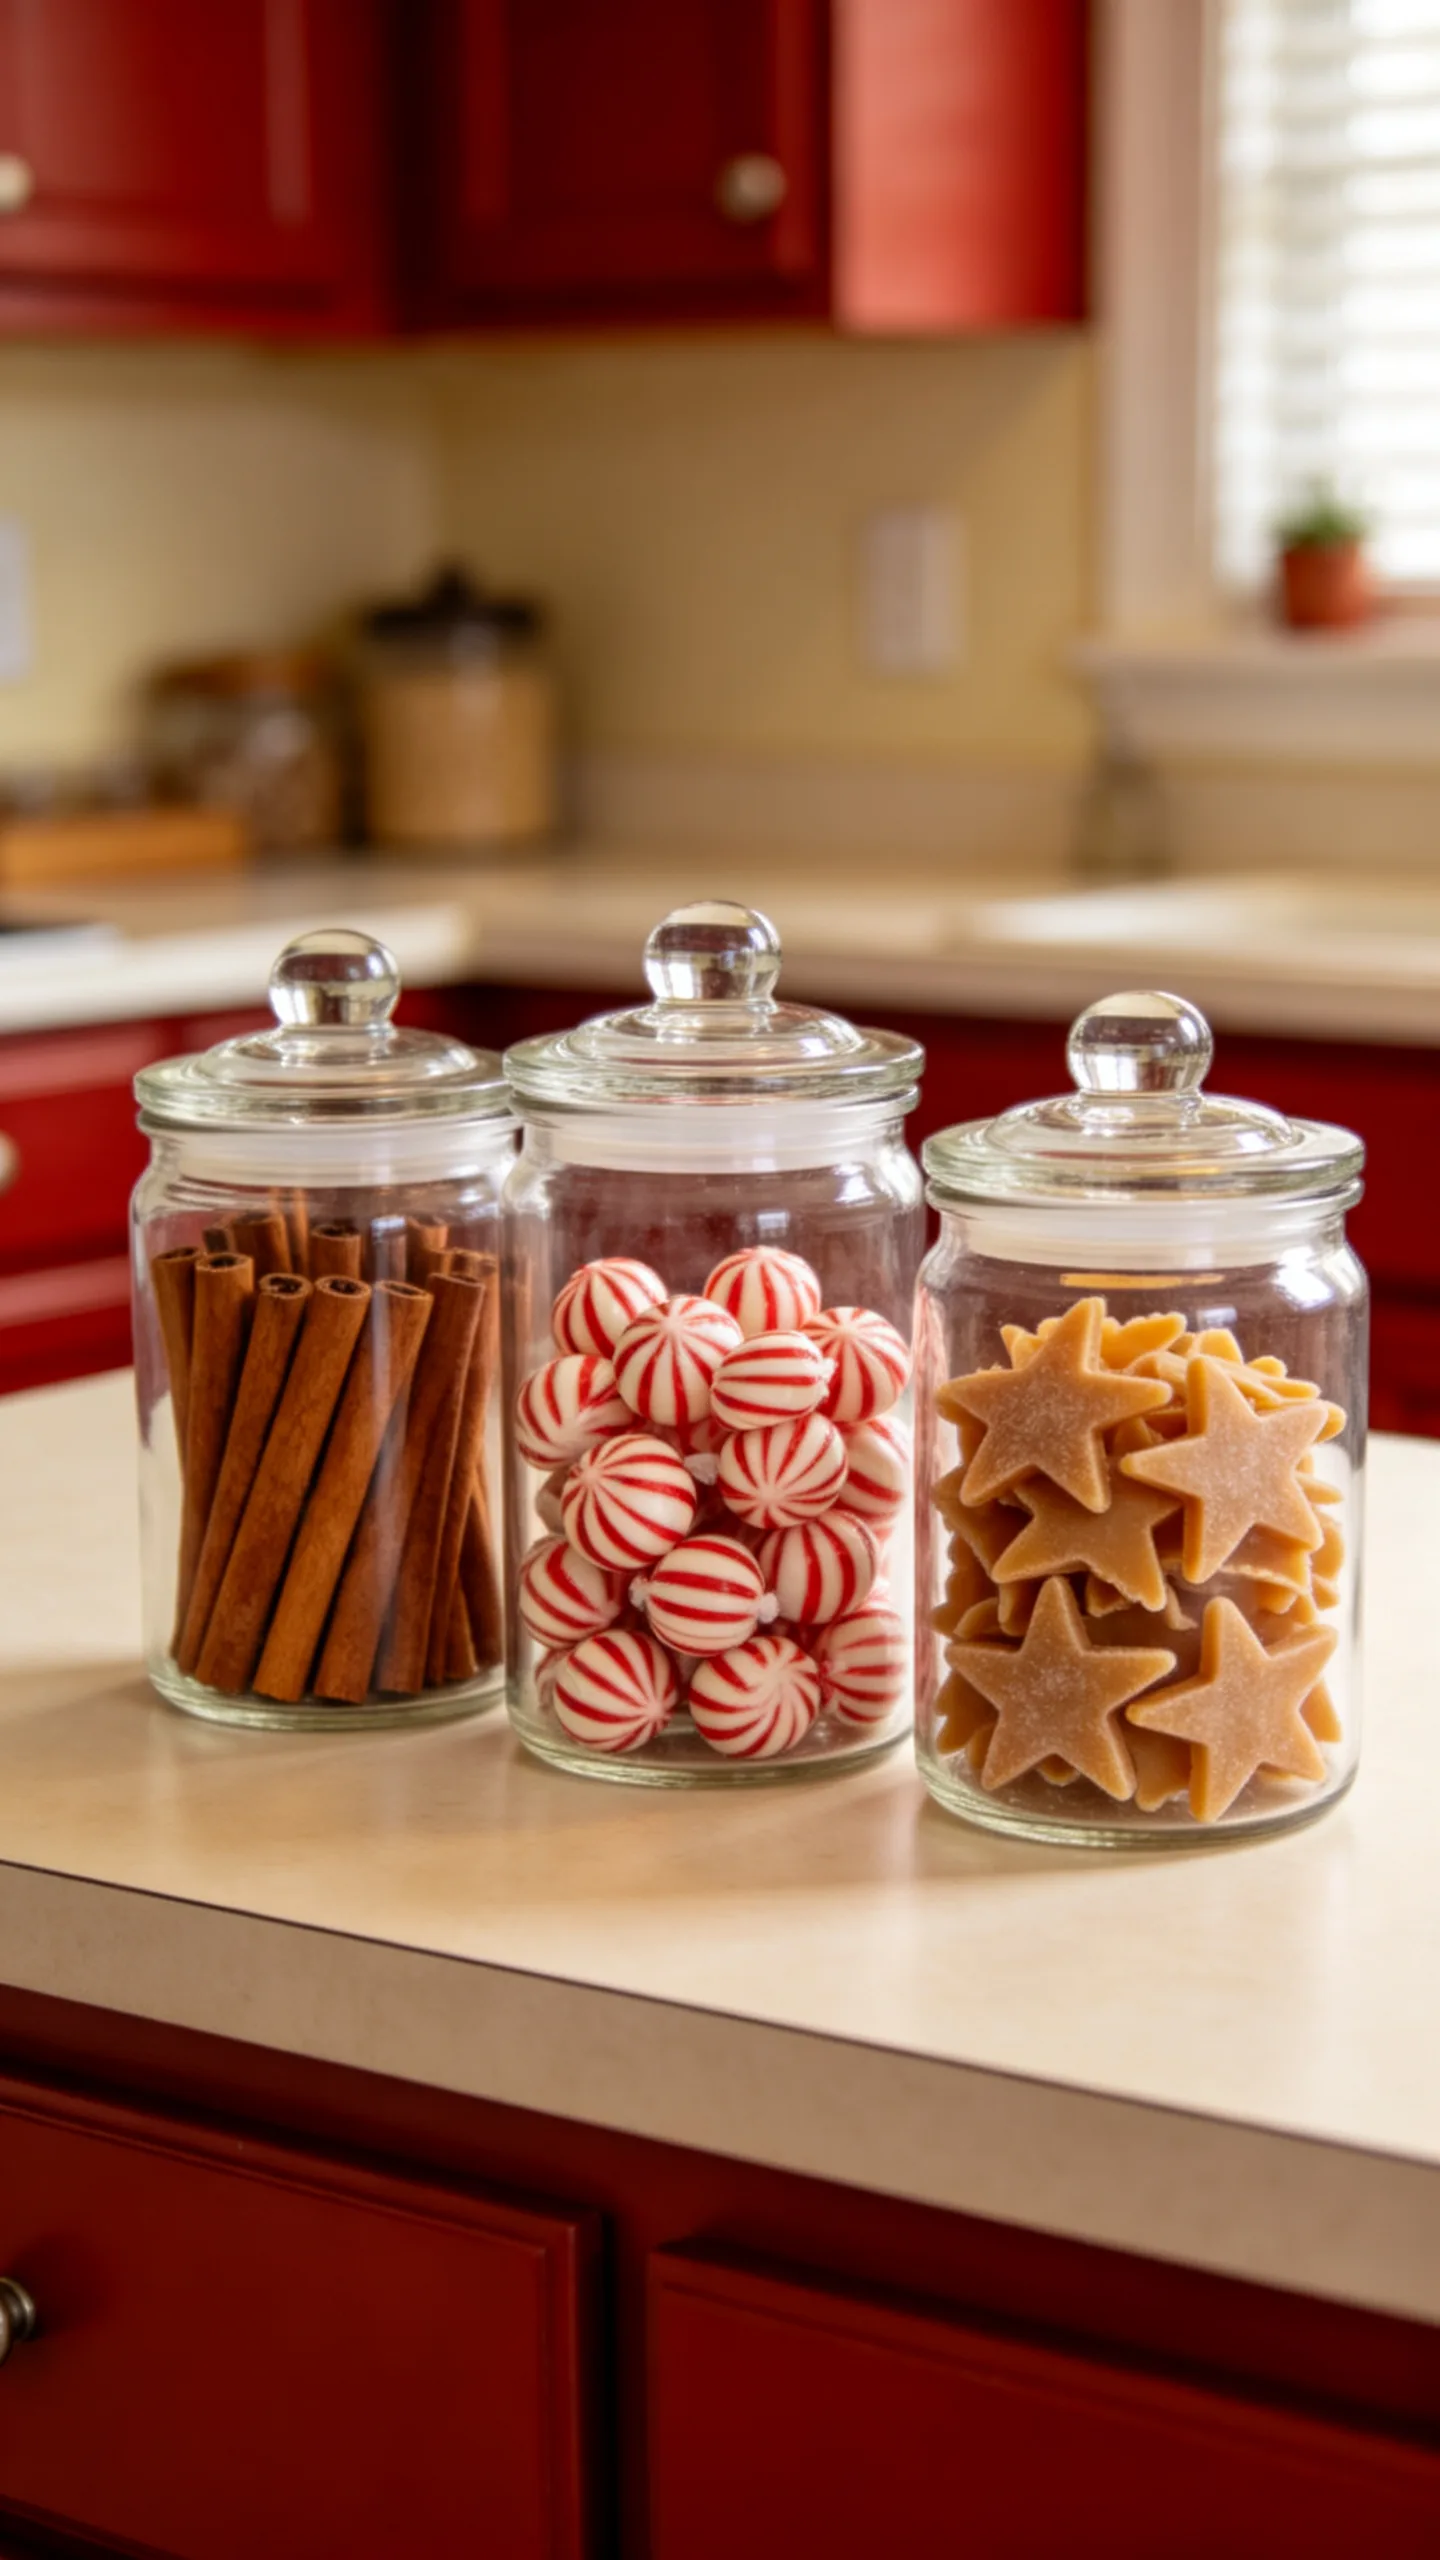
Fill clear canisters with ingredients that naturally suit the season, such as cinnamon sticks, wrapped peppermint candies, star-shaped pasta, or holiday cookie cutters. Use containers already assigned to the counter or pantry rather than adding extra jars.
Matching labels and lids keep the display orderly, while the warm colors provide subtle Christmas decoration. Store food in suitable airtight containers and reserve open jars of decorative ingredients for shelves away from steam and cooking splashes.
12. Mount a Flat Wall Tree in an Empty Vertical Spot
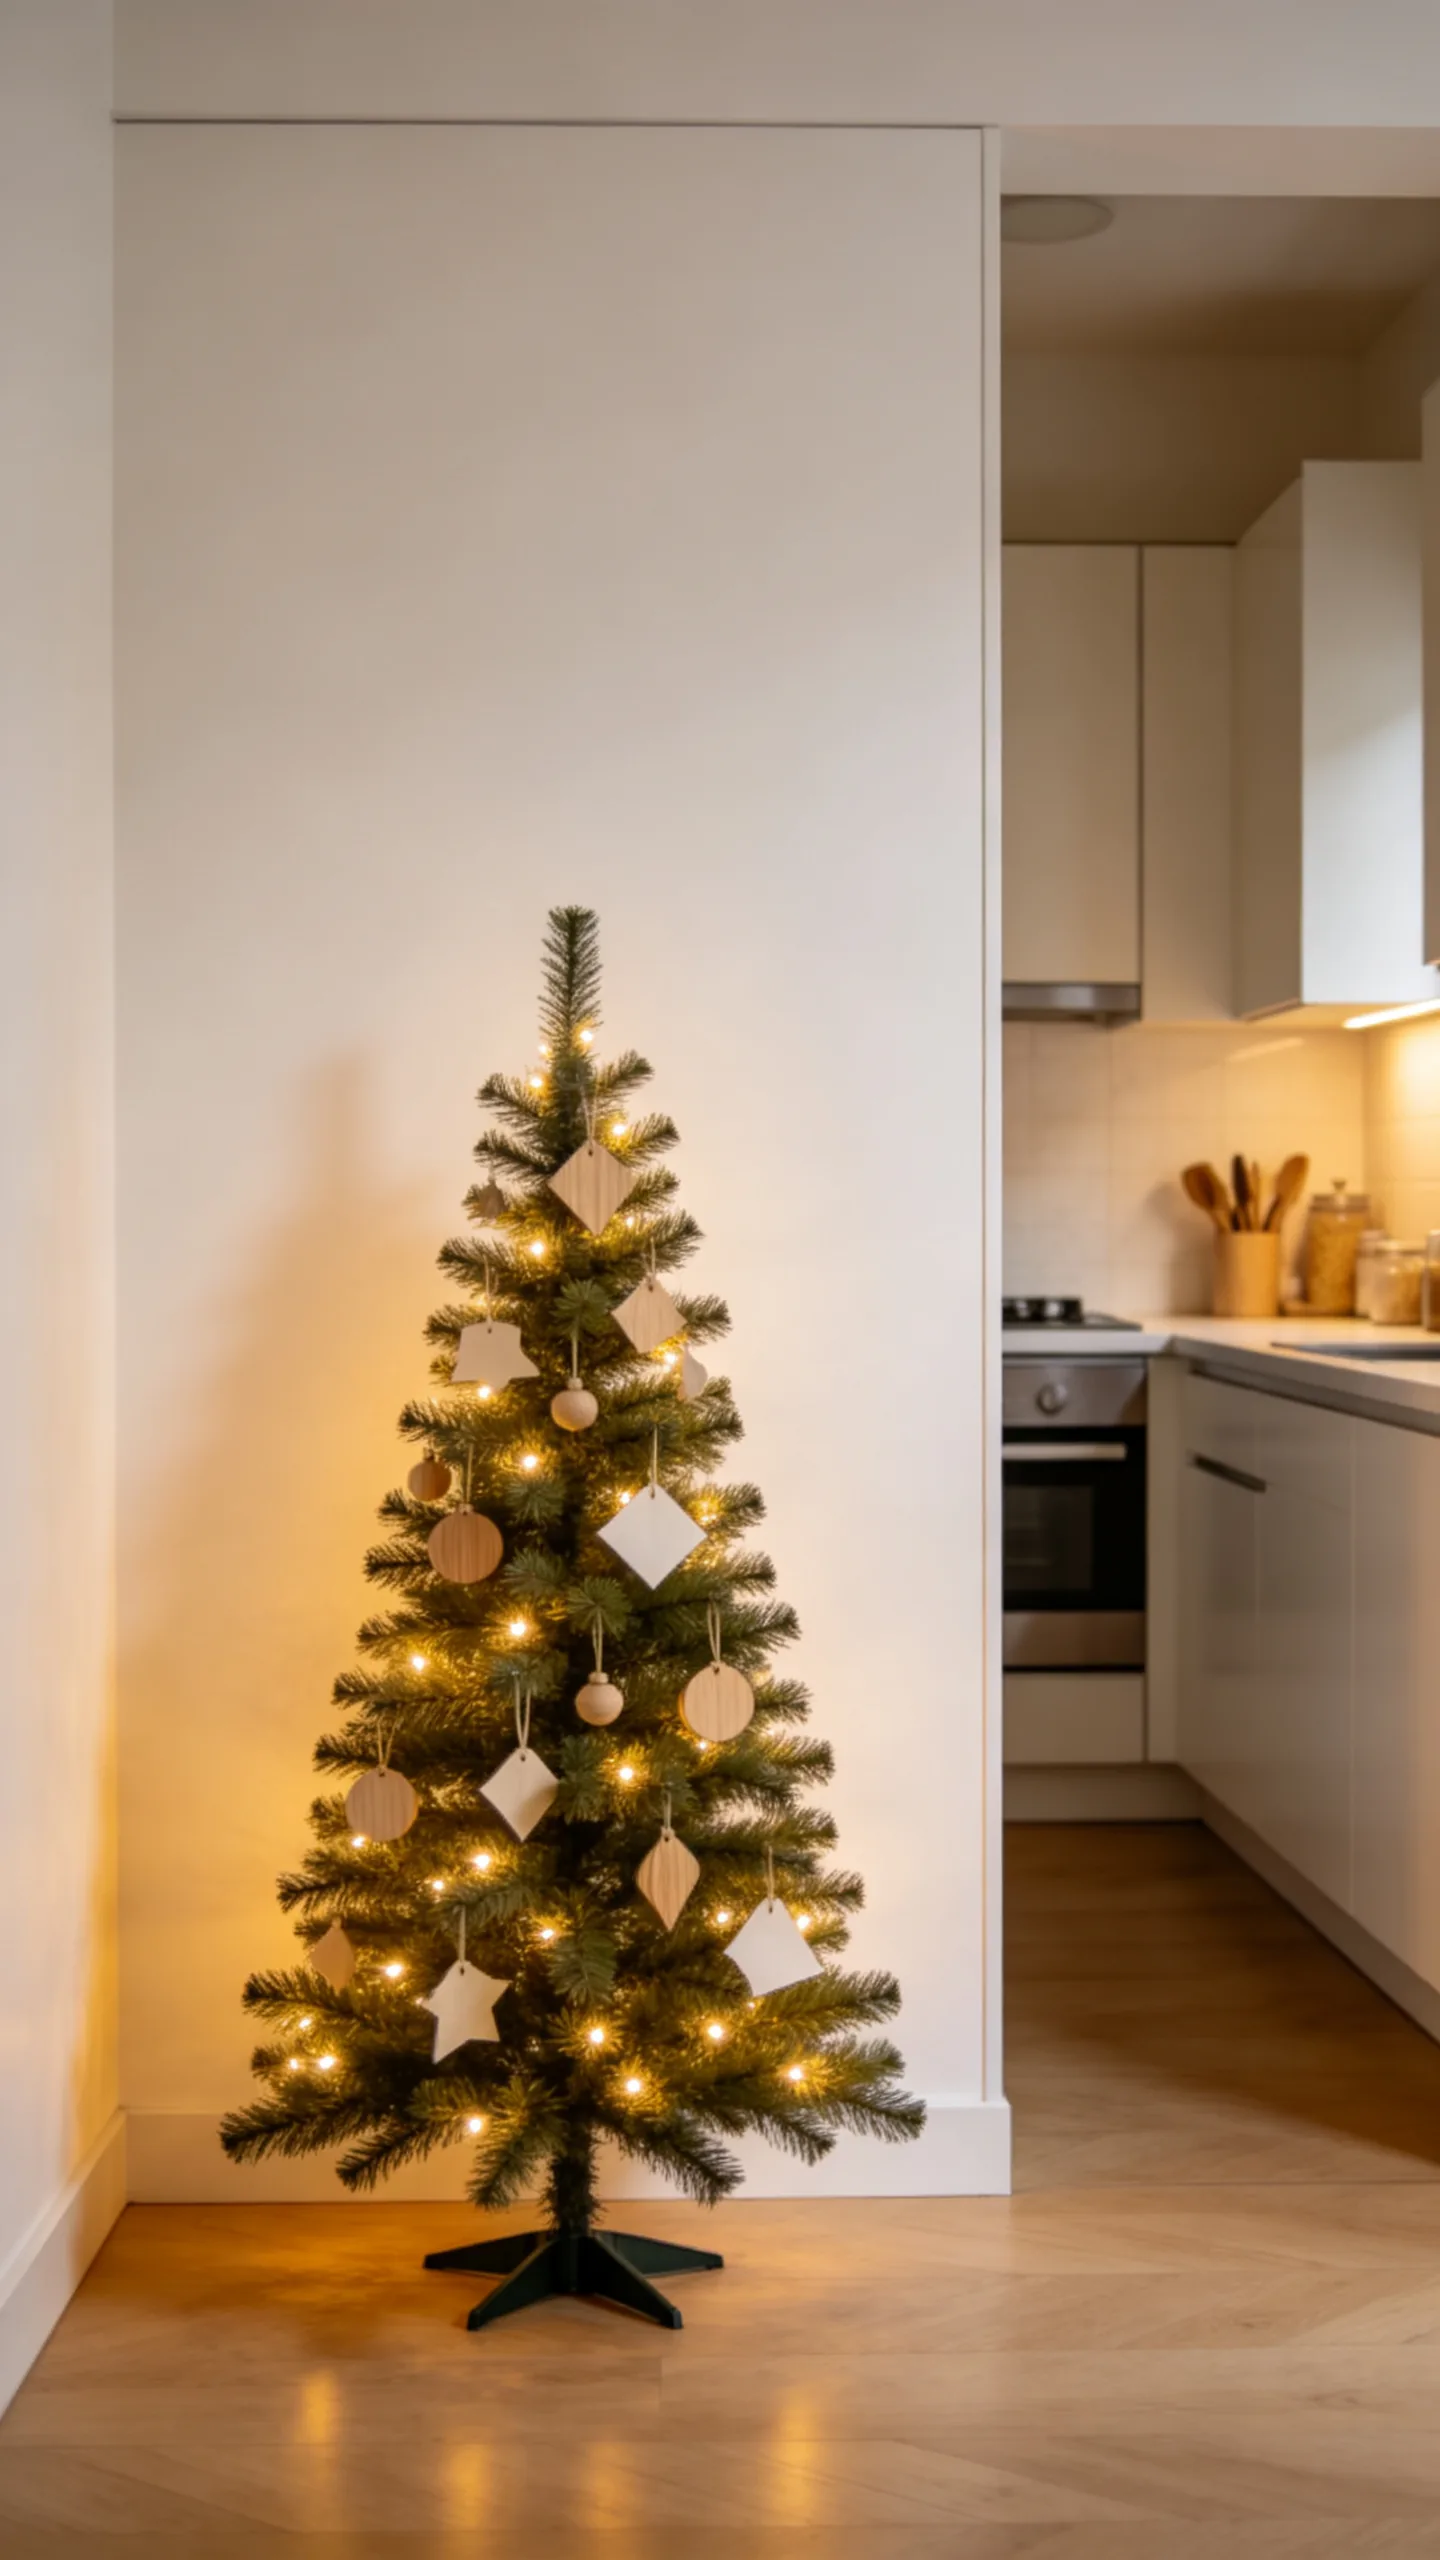
Create a slim Christmas tree silhouette with removable hooks and a strand of faux greenery, felt garland, or warm micro lights. A narrow wall beside the pantry or breakfast nook can hold the design without sacrificing floor area.
Keep the tree flat against the wall and decorate it with lightweight paper or wood ornaments. This vertical arrangement draws the eye upward, preserves the walkway, and offers the festive impact of a tree in a kitchen that cannot accommodate one on the floor or counter.
13. Use a Holiday Cutting Board as Backsplash Art
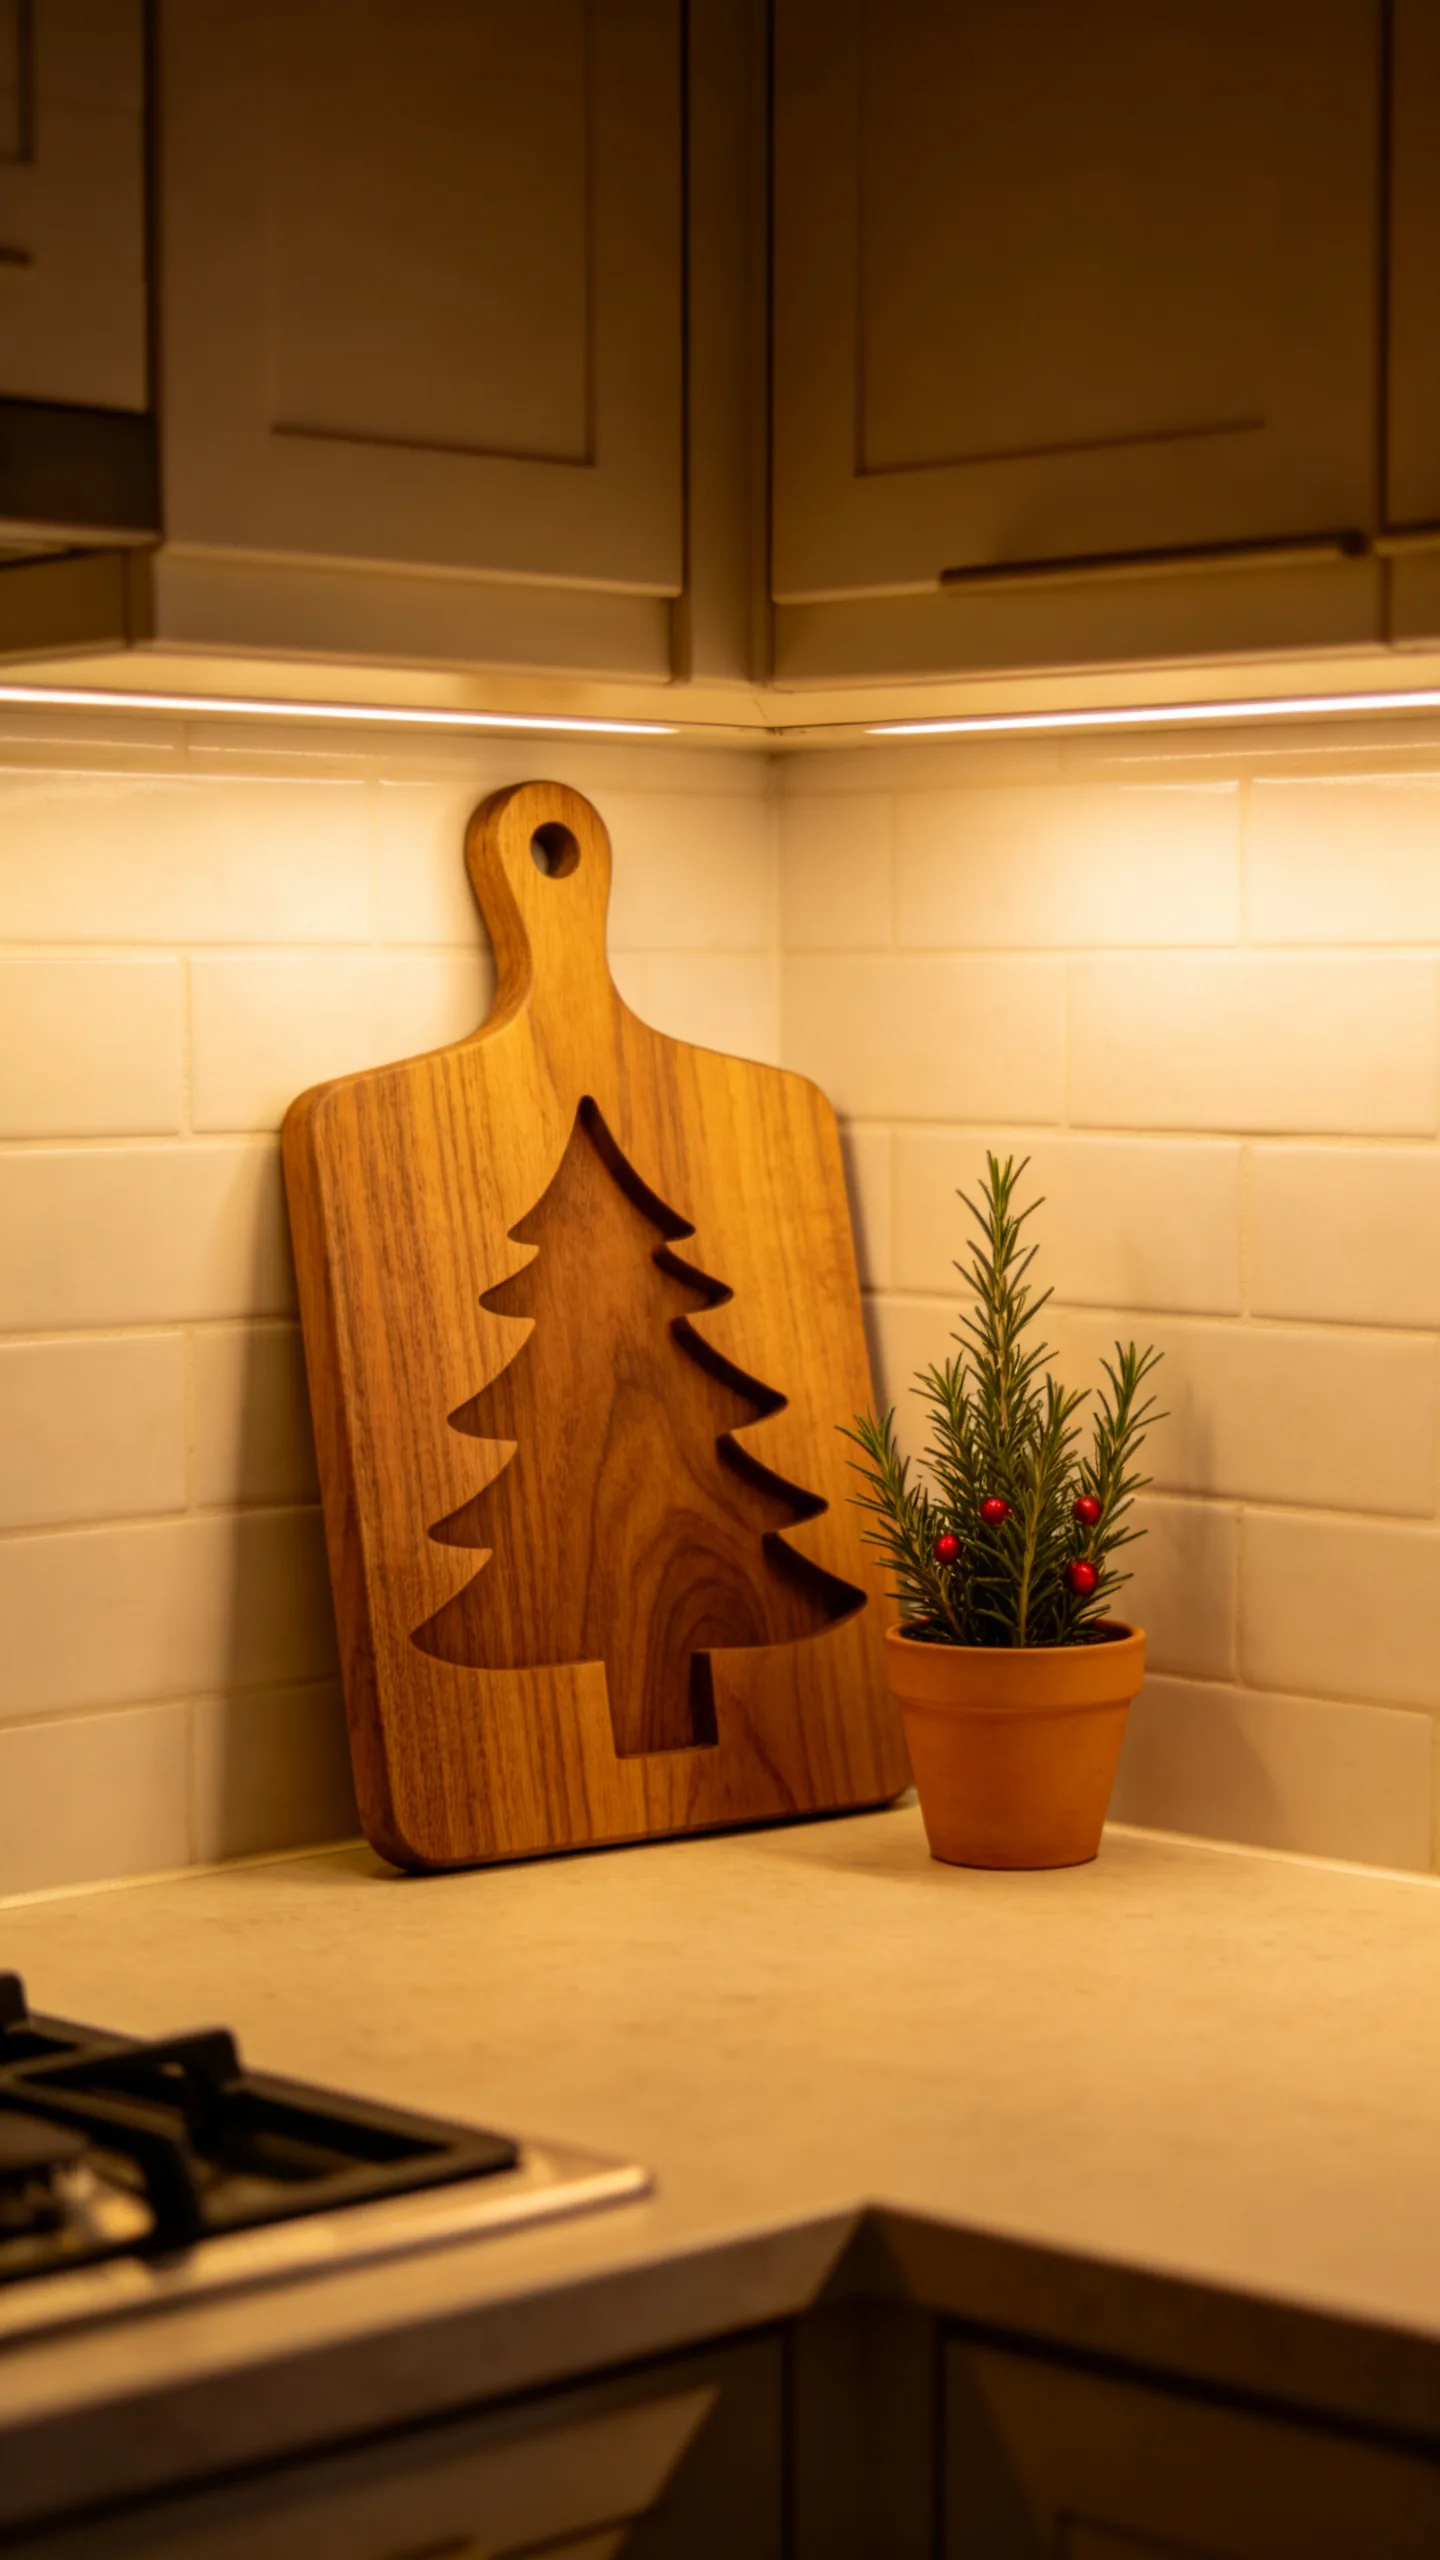
Lean one decorative wood cutting board against the backsplash in a dry, low-traffic corner. A tree-shaped board, engraved design, or warm walnut finish adds seasonal character while still functioning as kitchenware.
Pair it with no more than one small accent, such as a rosemary pot or folded plaid towel. The board creates a focal point with minimal depth, so it does not consume the prep space required by bowls, appliances, and groceries.
14. Display Red or Green Cookware on Existing Hooks
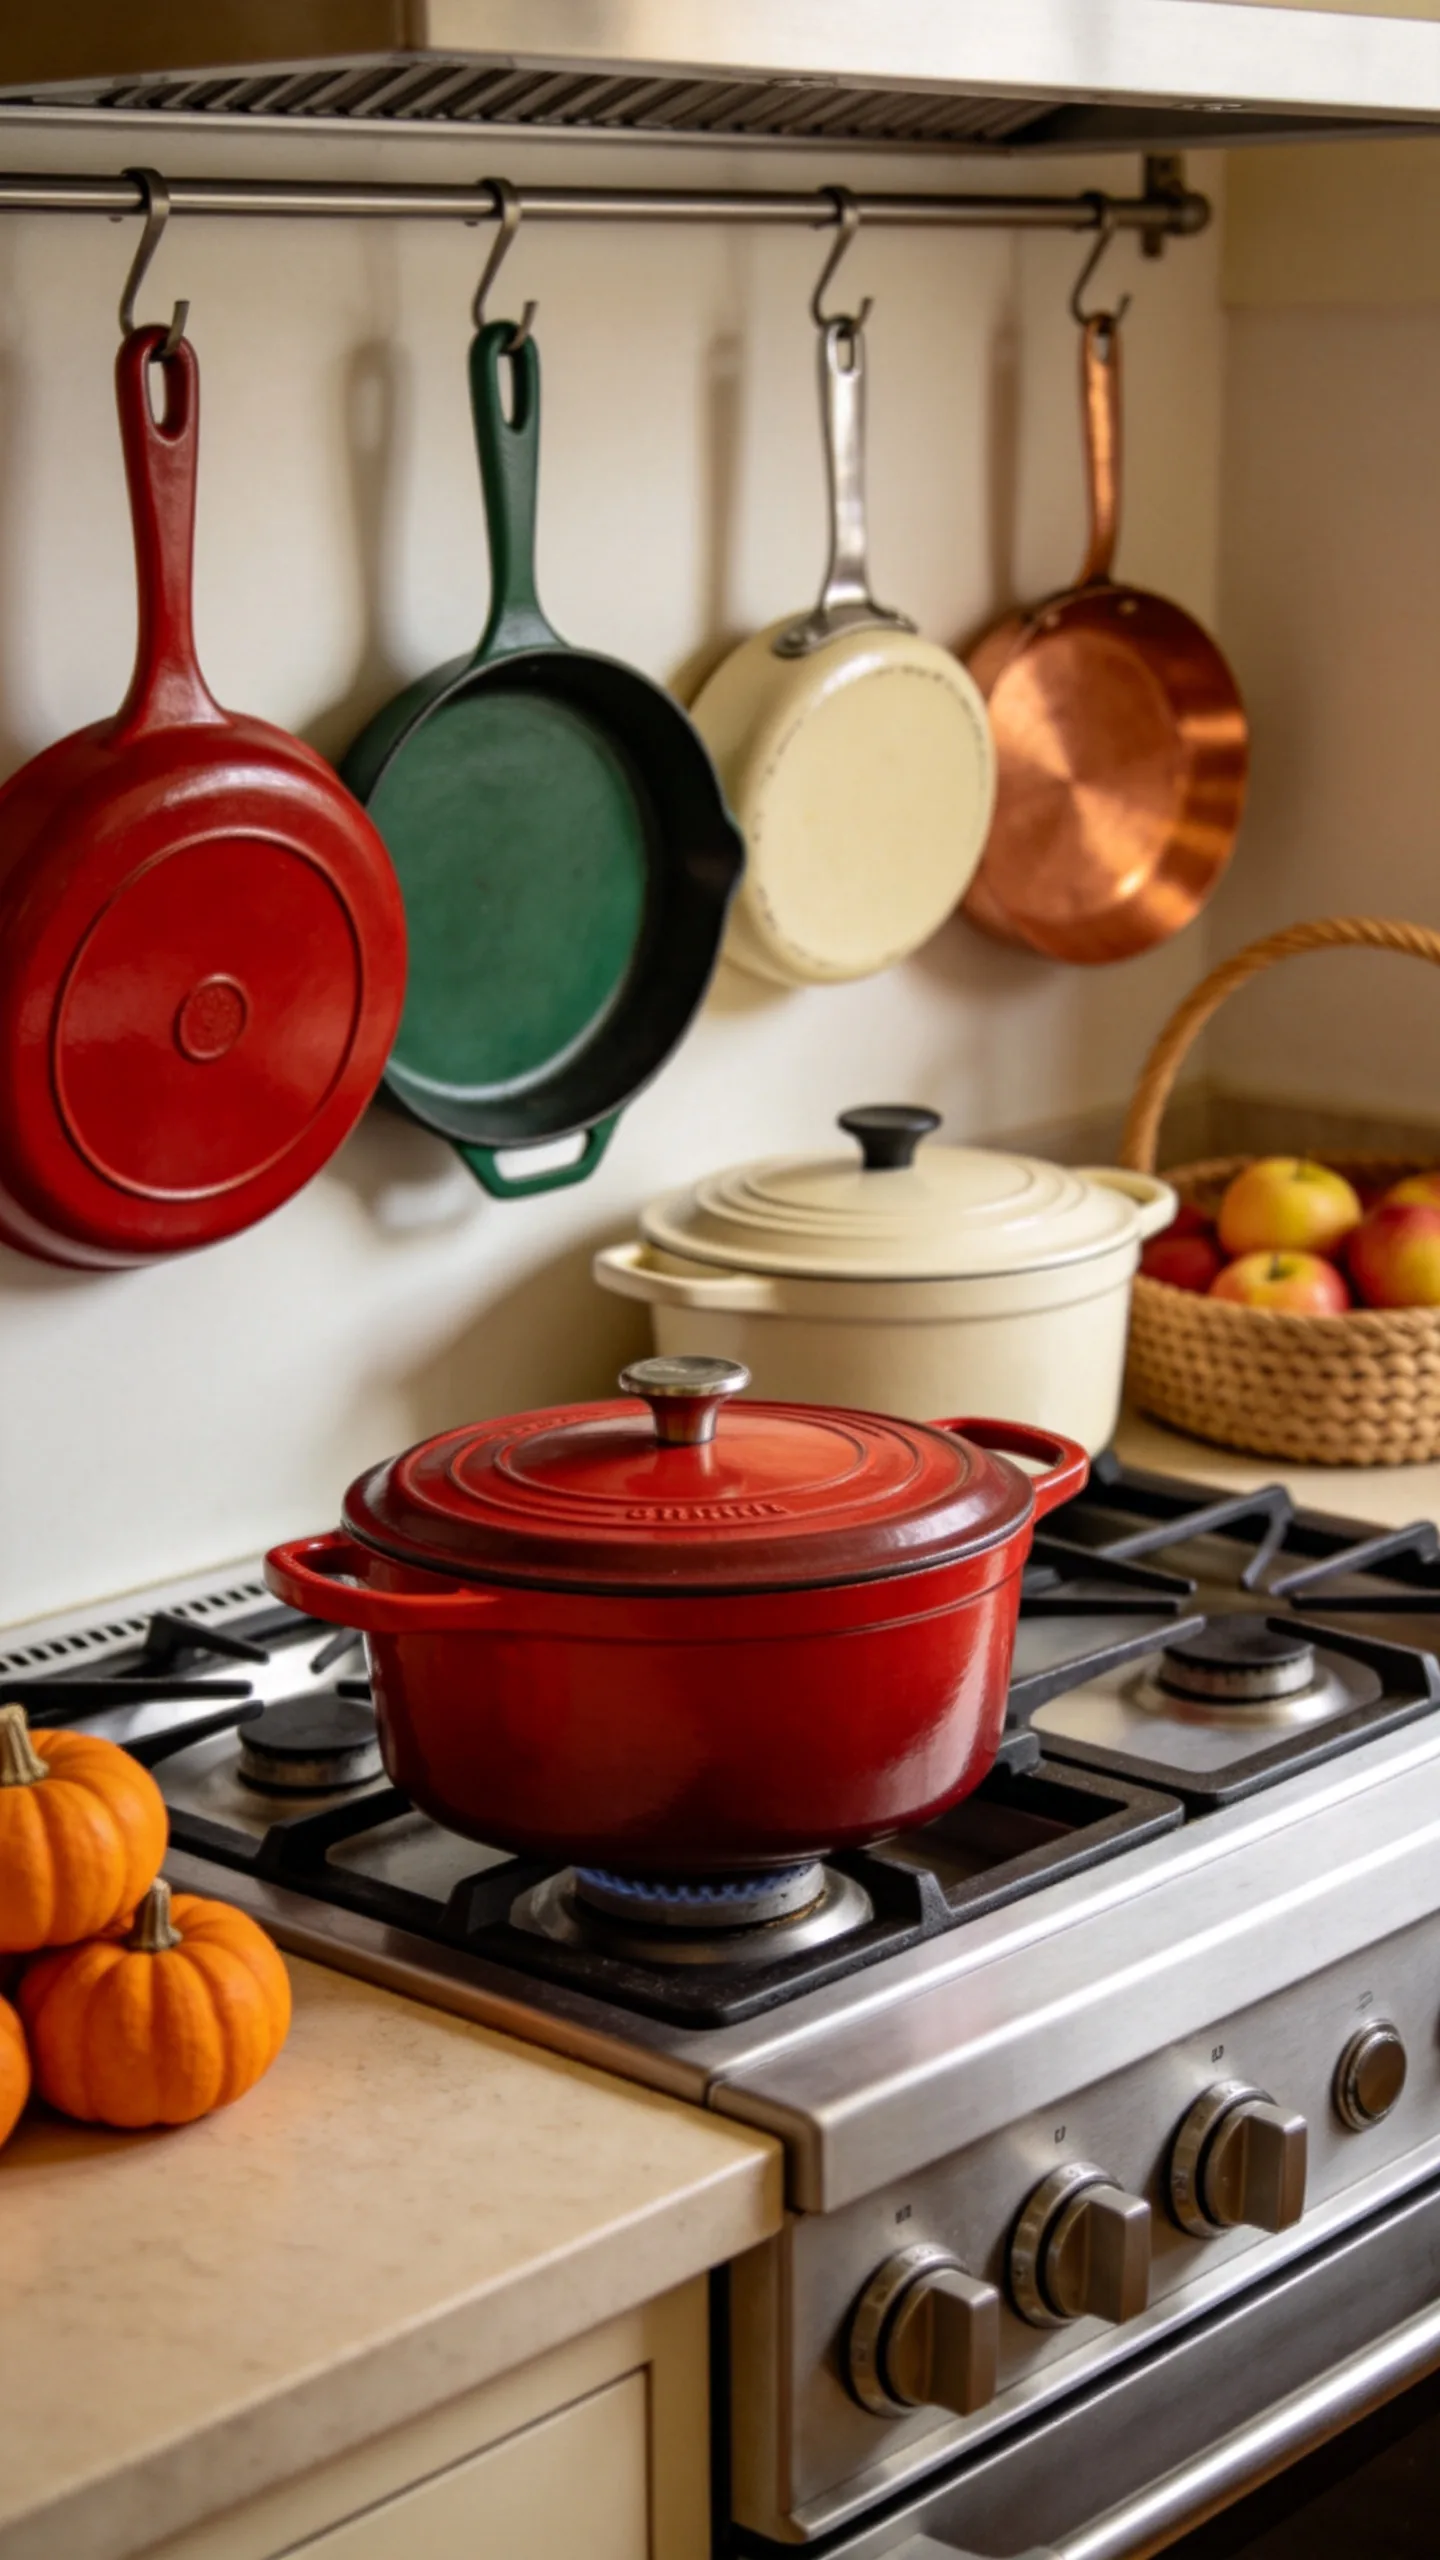
Bring seasonal color into view by hanging red, green, cream, or copper cookware from hooks already installed in the kitchen. A Dutch oven on the stovetop when it is not in use can also provide a festive accent without becoming a purely decorative object.
Choose only pieces that are regularly used and keep handles aligned for a neat appearance. This approach avoids buying decorations that require separate storage after Christmas and keeps the room practical throughout the season.
15. Dress Counter Stools With Simple Seat Cushions
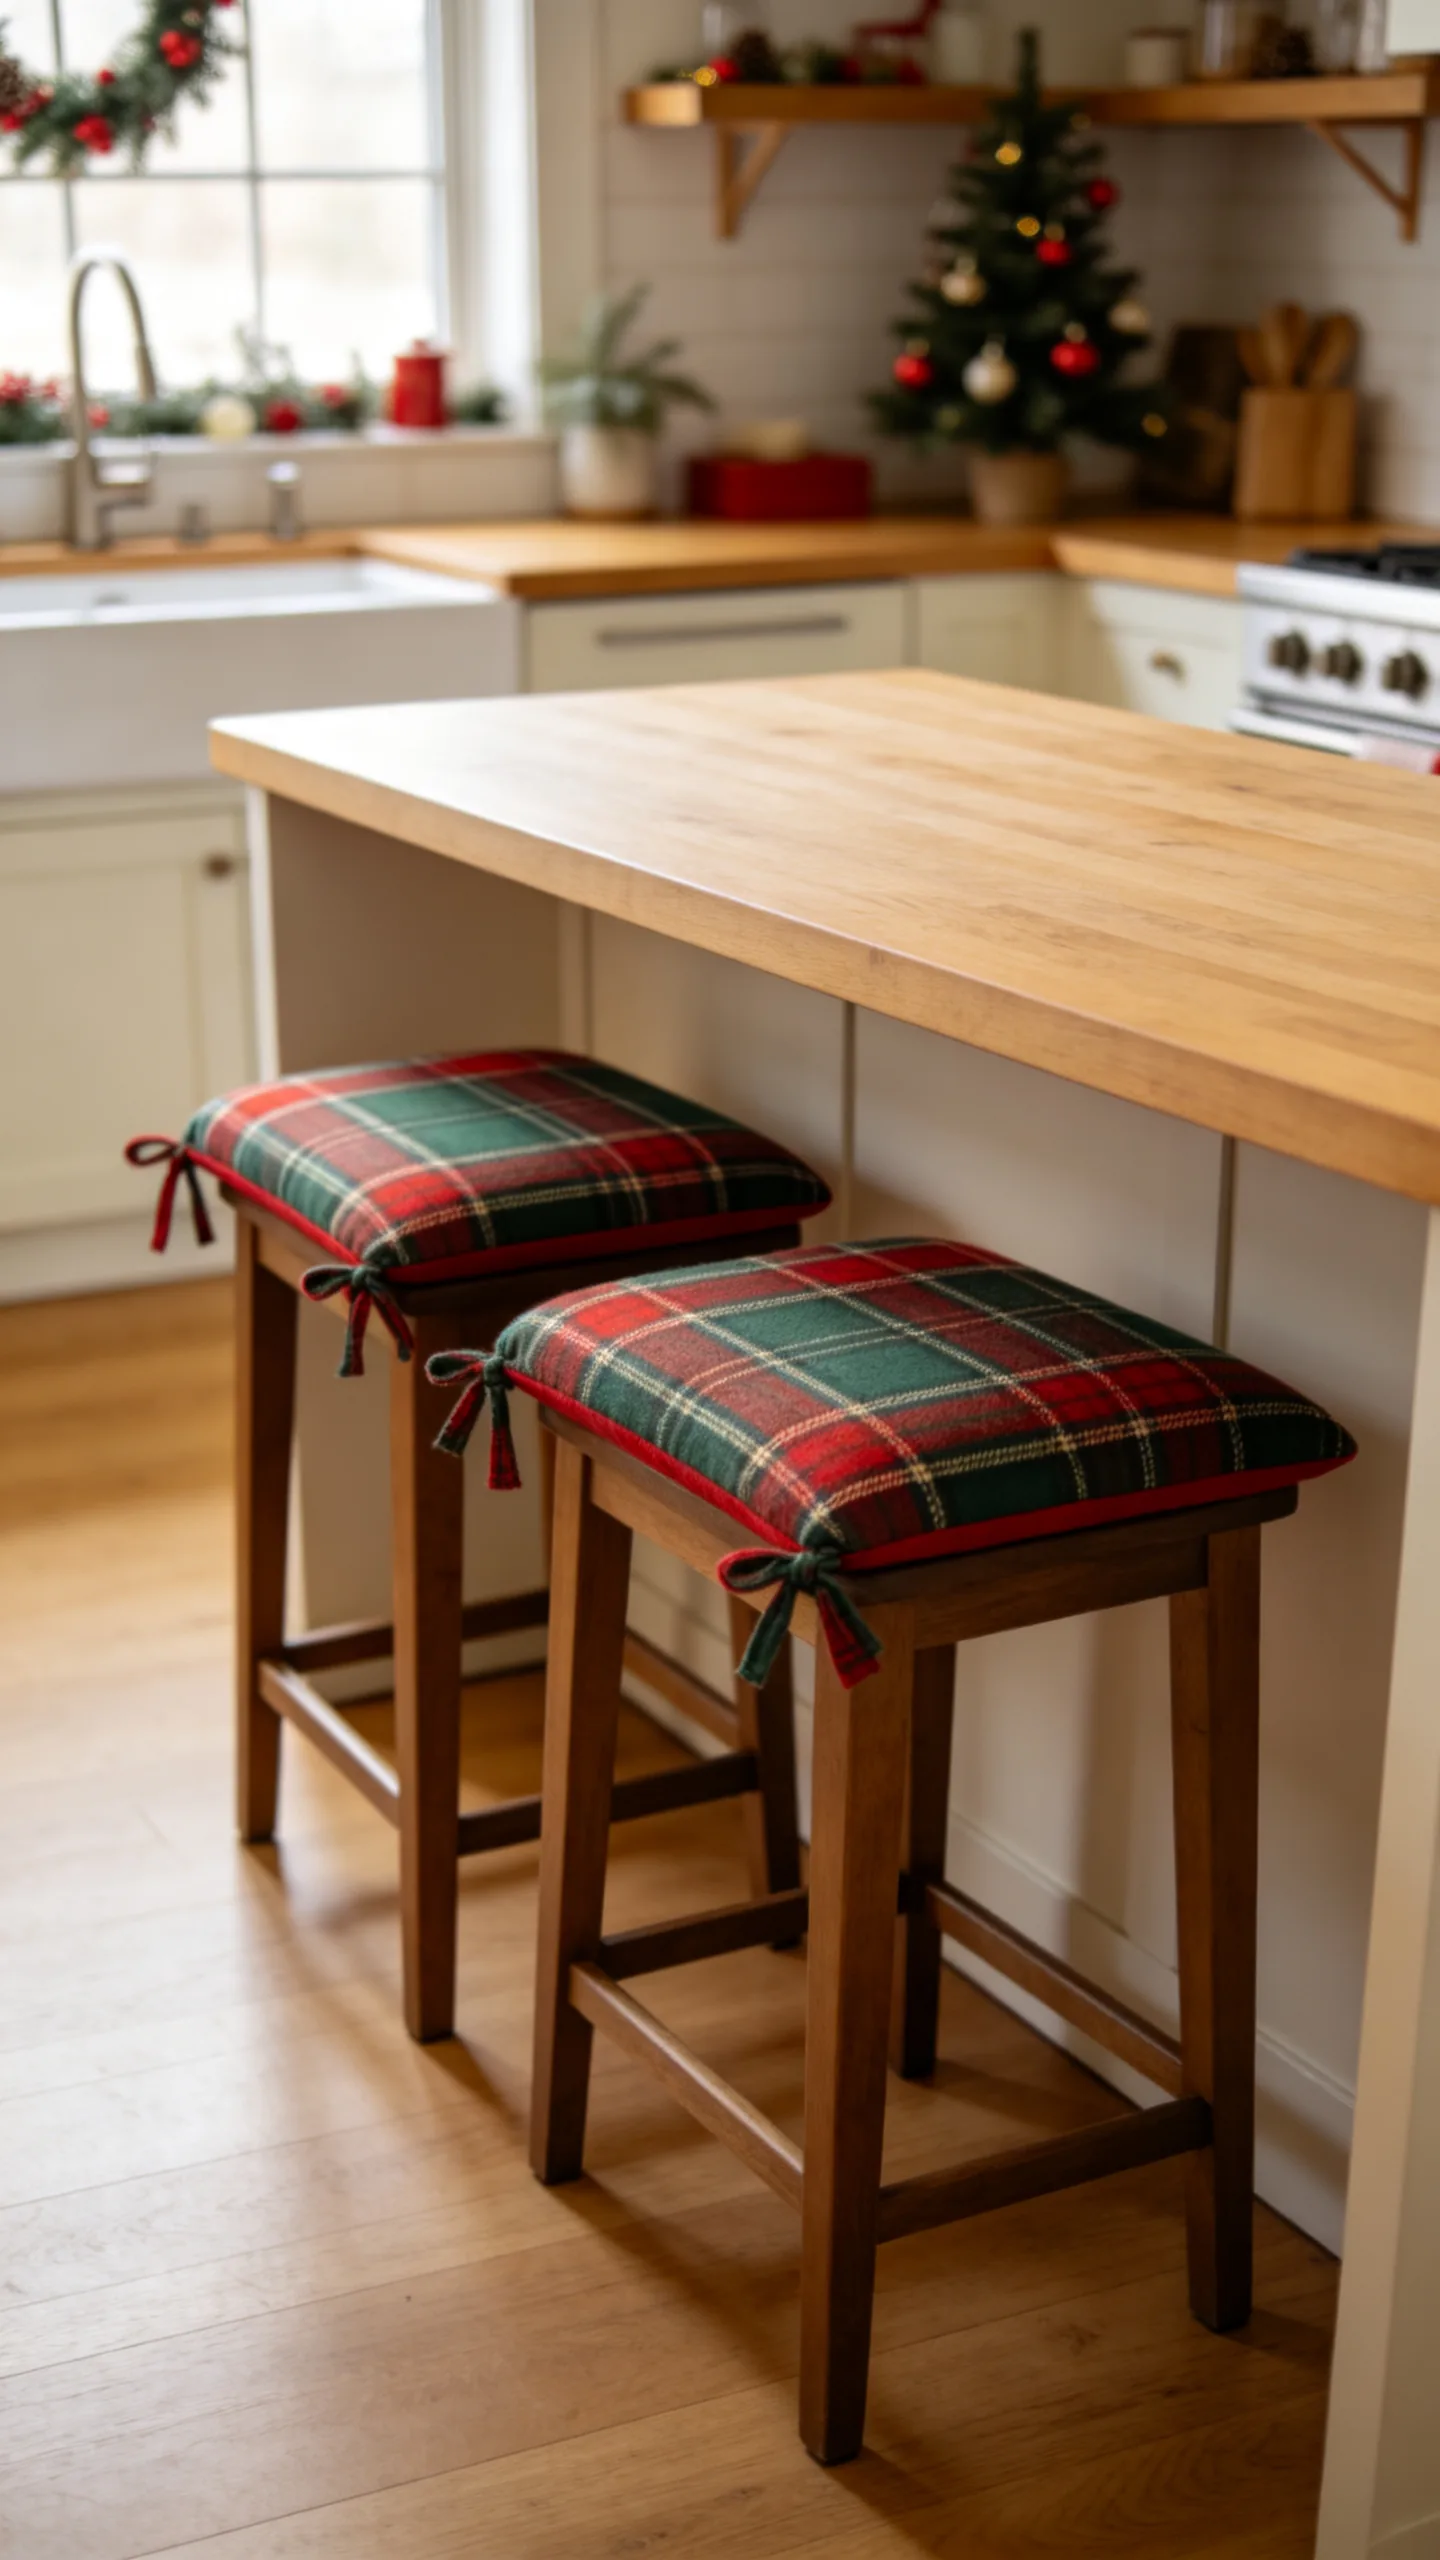
Add slim plaid, red, or evergreen seat pads to stools at a breakfast bar or compact island. Secure each cushion with ties so it stays in place and does not create a slipping hazard.
Textile color at seat height warms the kitchen without narrowing the walkway or interrupting sightlines across the counter. Select low-profile cushions that allow stools to slide fully underneath the overhang when they are not in use.
16. Arrange Bottle-Brush Trees on a Narrow Window Tray
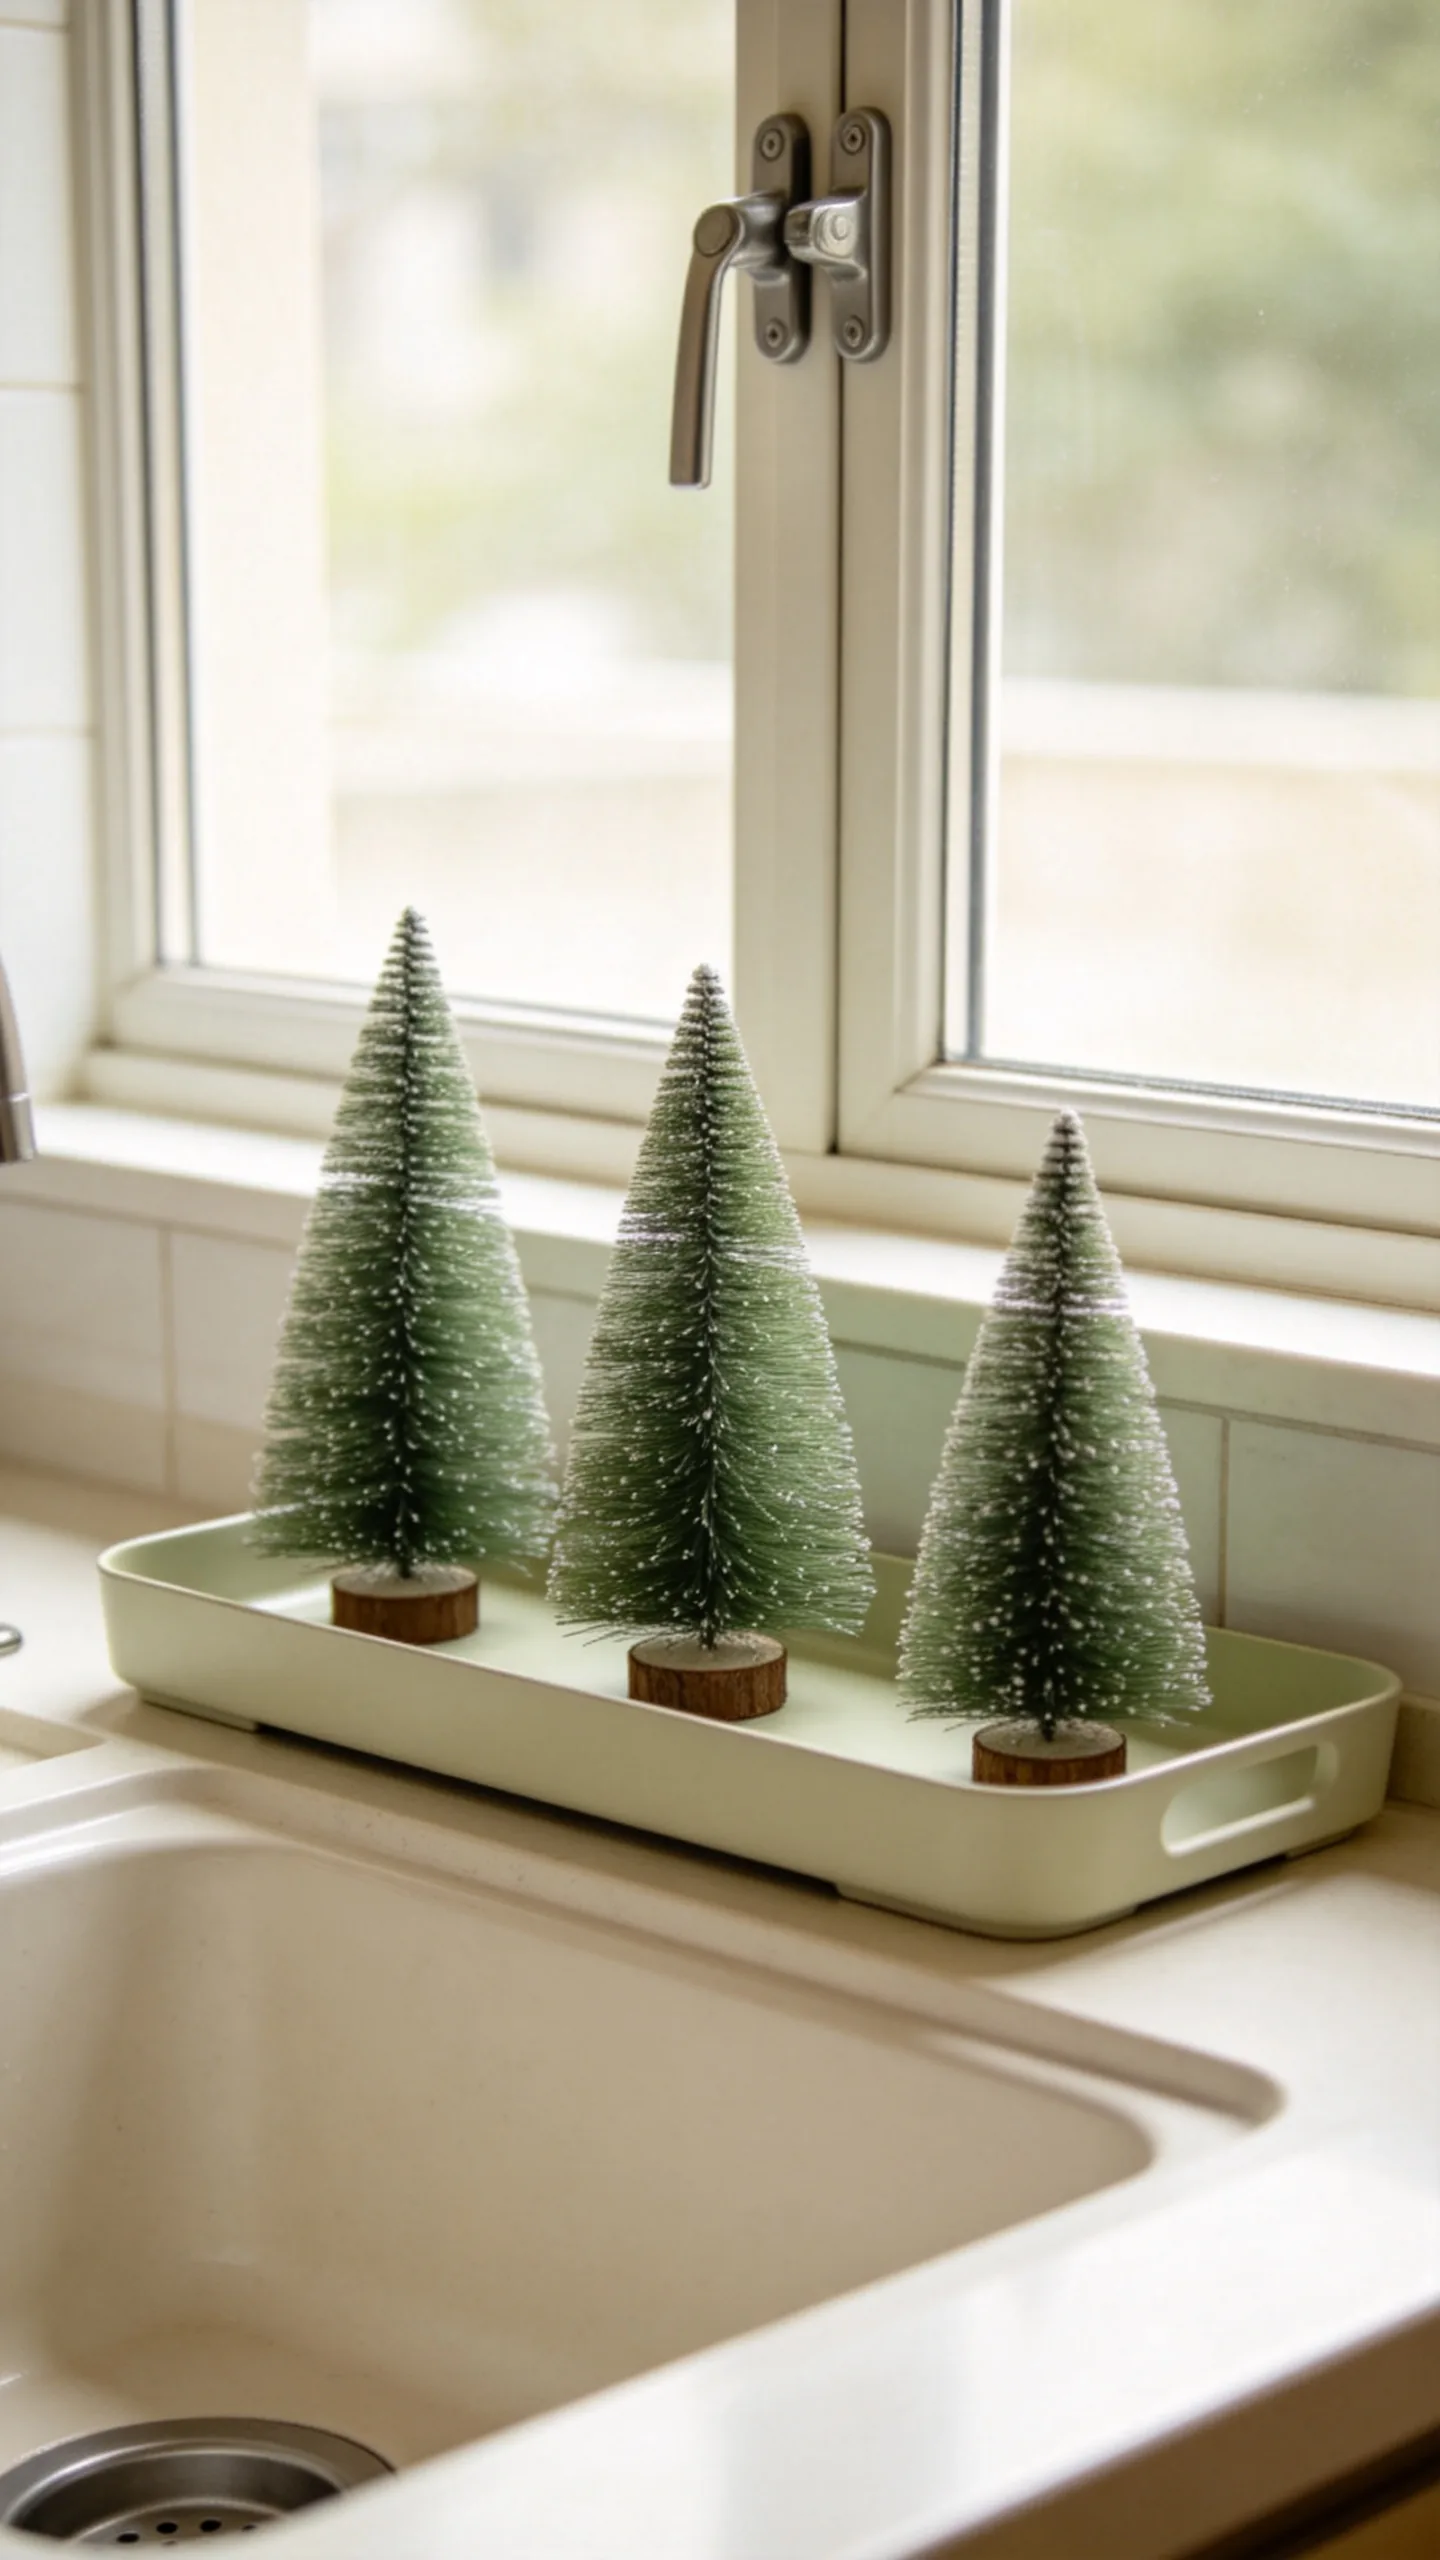
Group three small bottle-brush trees on a shallow tray along a windowsill. Vary the heights while keeping the colors consistent, such as cream and green or muted red and gold.
The tray defines the arrangement and makes it easy to lift away when cleaning the window or sink area. Check that the display does not block a window latch, reduce useful daylight, or sit where water can splash onto paper or untreated wood bases.
17. Hang Paper Stars Above the Cabinets
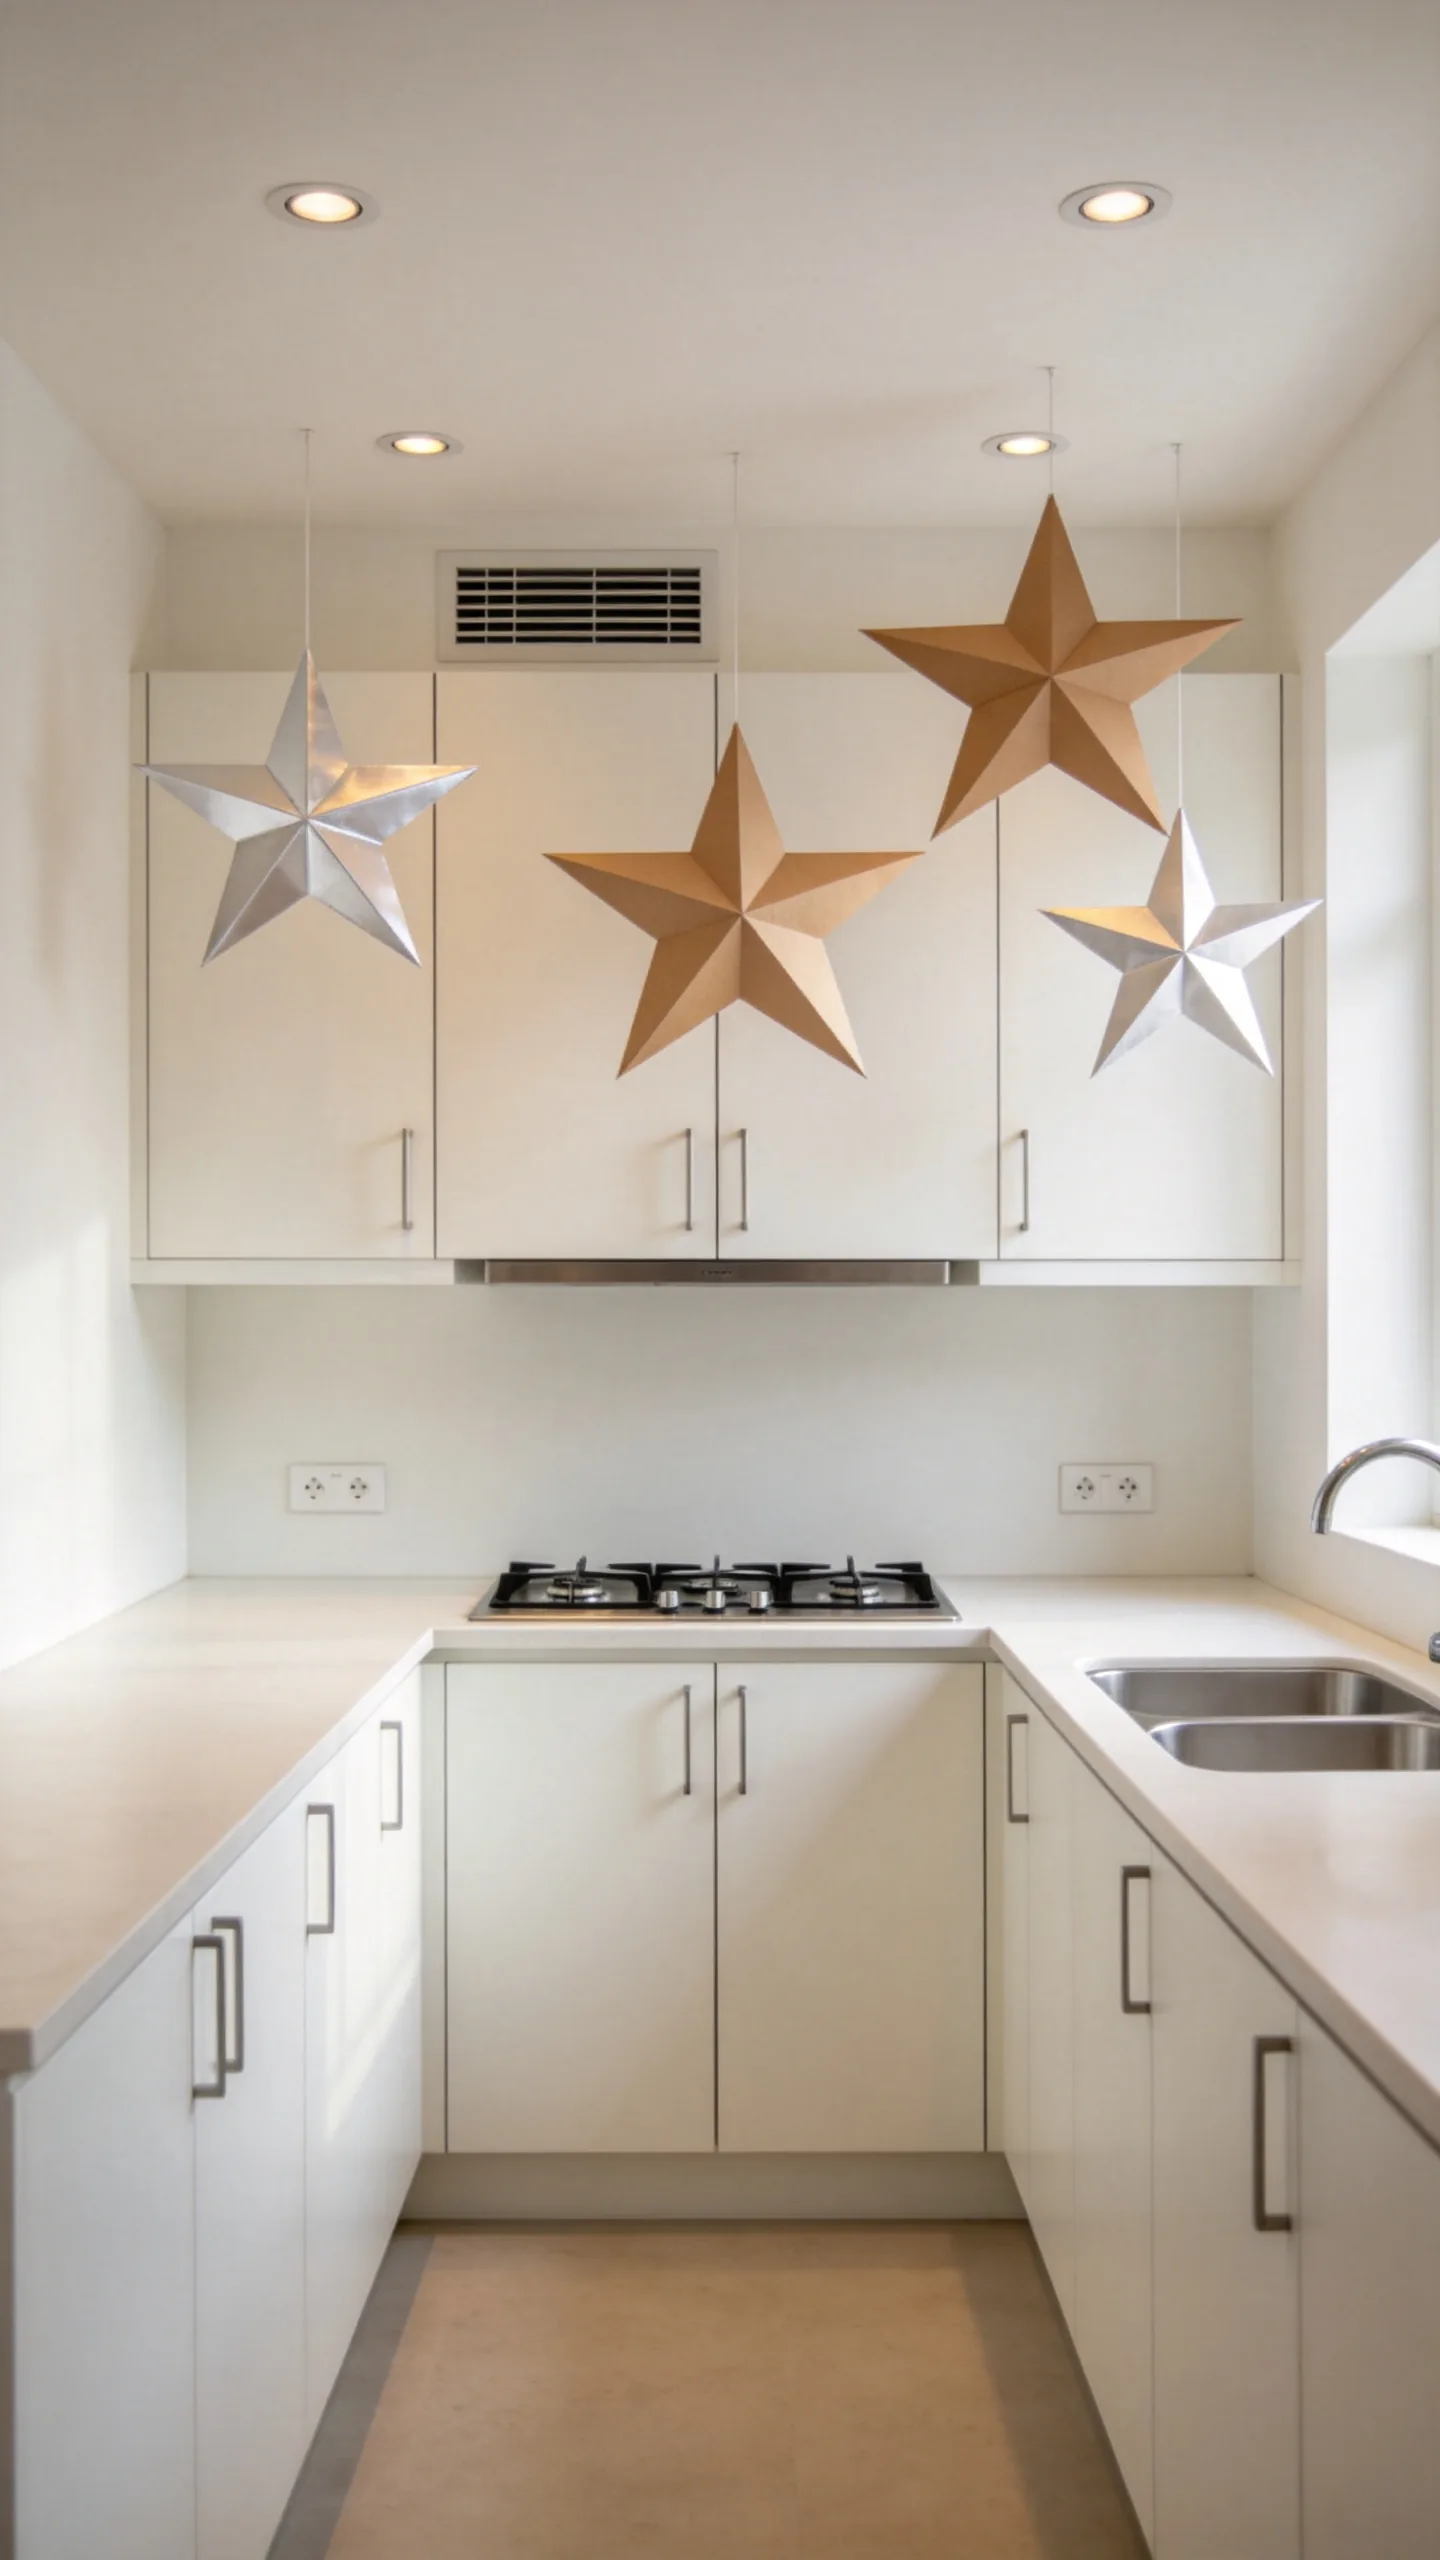
Suspend lightweight paper stars from the ceiling or place folded stars in the space above upper cabinets. White, kraft paper, or metallic stars add shape and dimension while leaving counters and walkways untouched.
Use only a few large stars rather than many small ones, which can make a compact room feel busy. Keep them clear of recessed lights, vents, cooking heat, and cabinet doors, and use removable ceiling hooks when appropriate for the surface.
18. Decorate the Kitchen Doorway With Asymmetrical Greenery
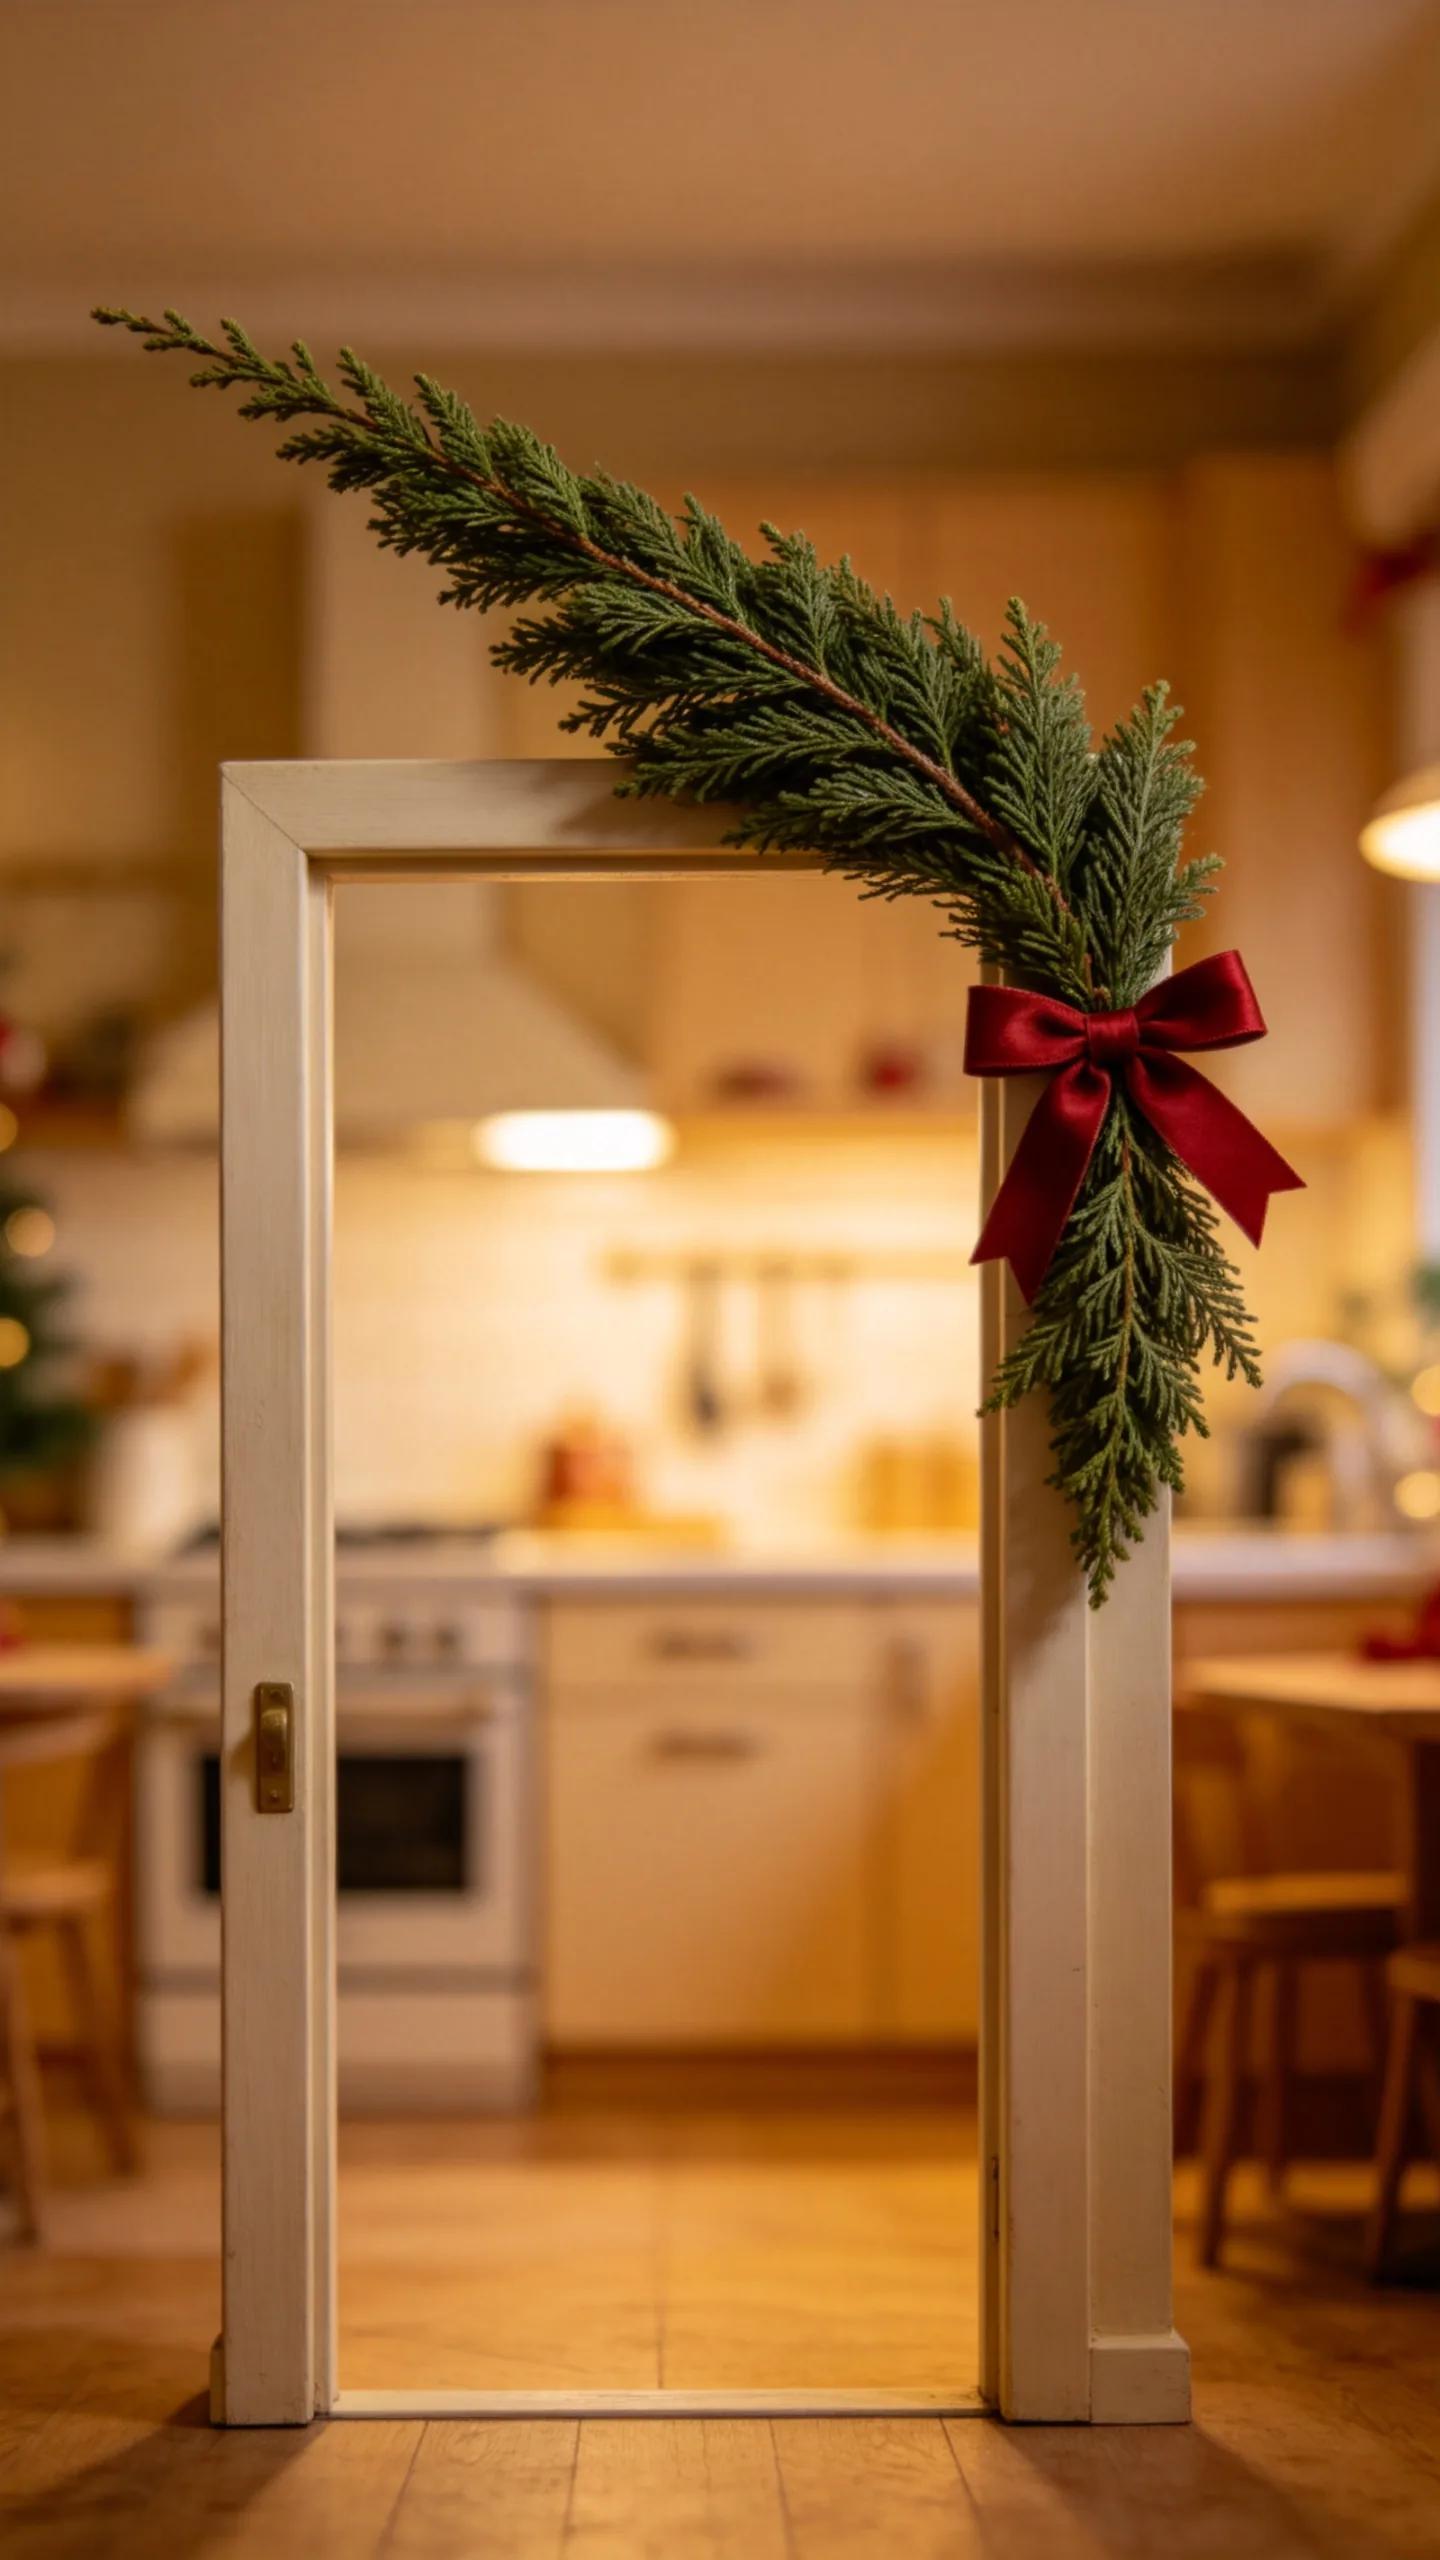
Attach a short section of faux cedar or pine garland to one upper corner of the kitchen doorway. An asymmetrical arrangement provides holiday impact with less bulk than a full garland wrapped around the entire frame.
Add one ribbon or a small cluster of unbreakable bells at the corner, then allow the greenery to taper along the top. Keep all elements tight to the frame so the doorway remains wide, unobstructed, and comfortable for people carrying dishes.
19. Add Small Bells or Bows to Cabinet Knobs
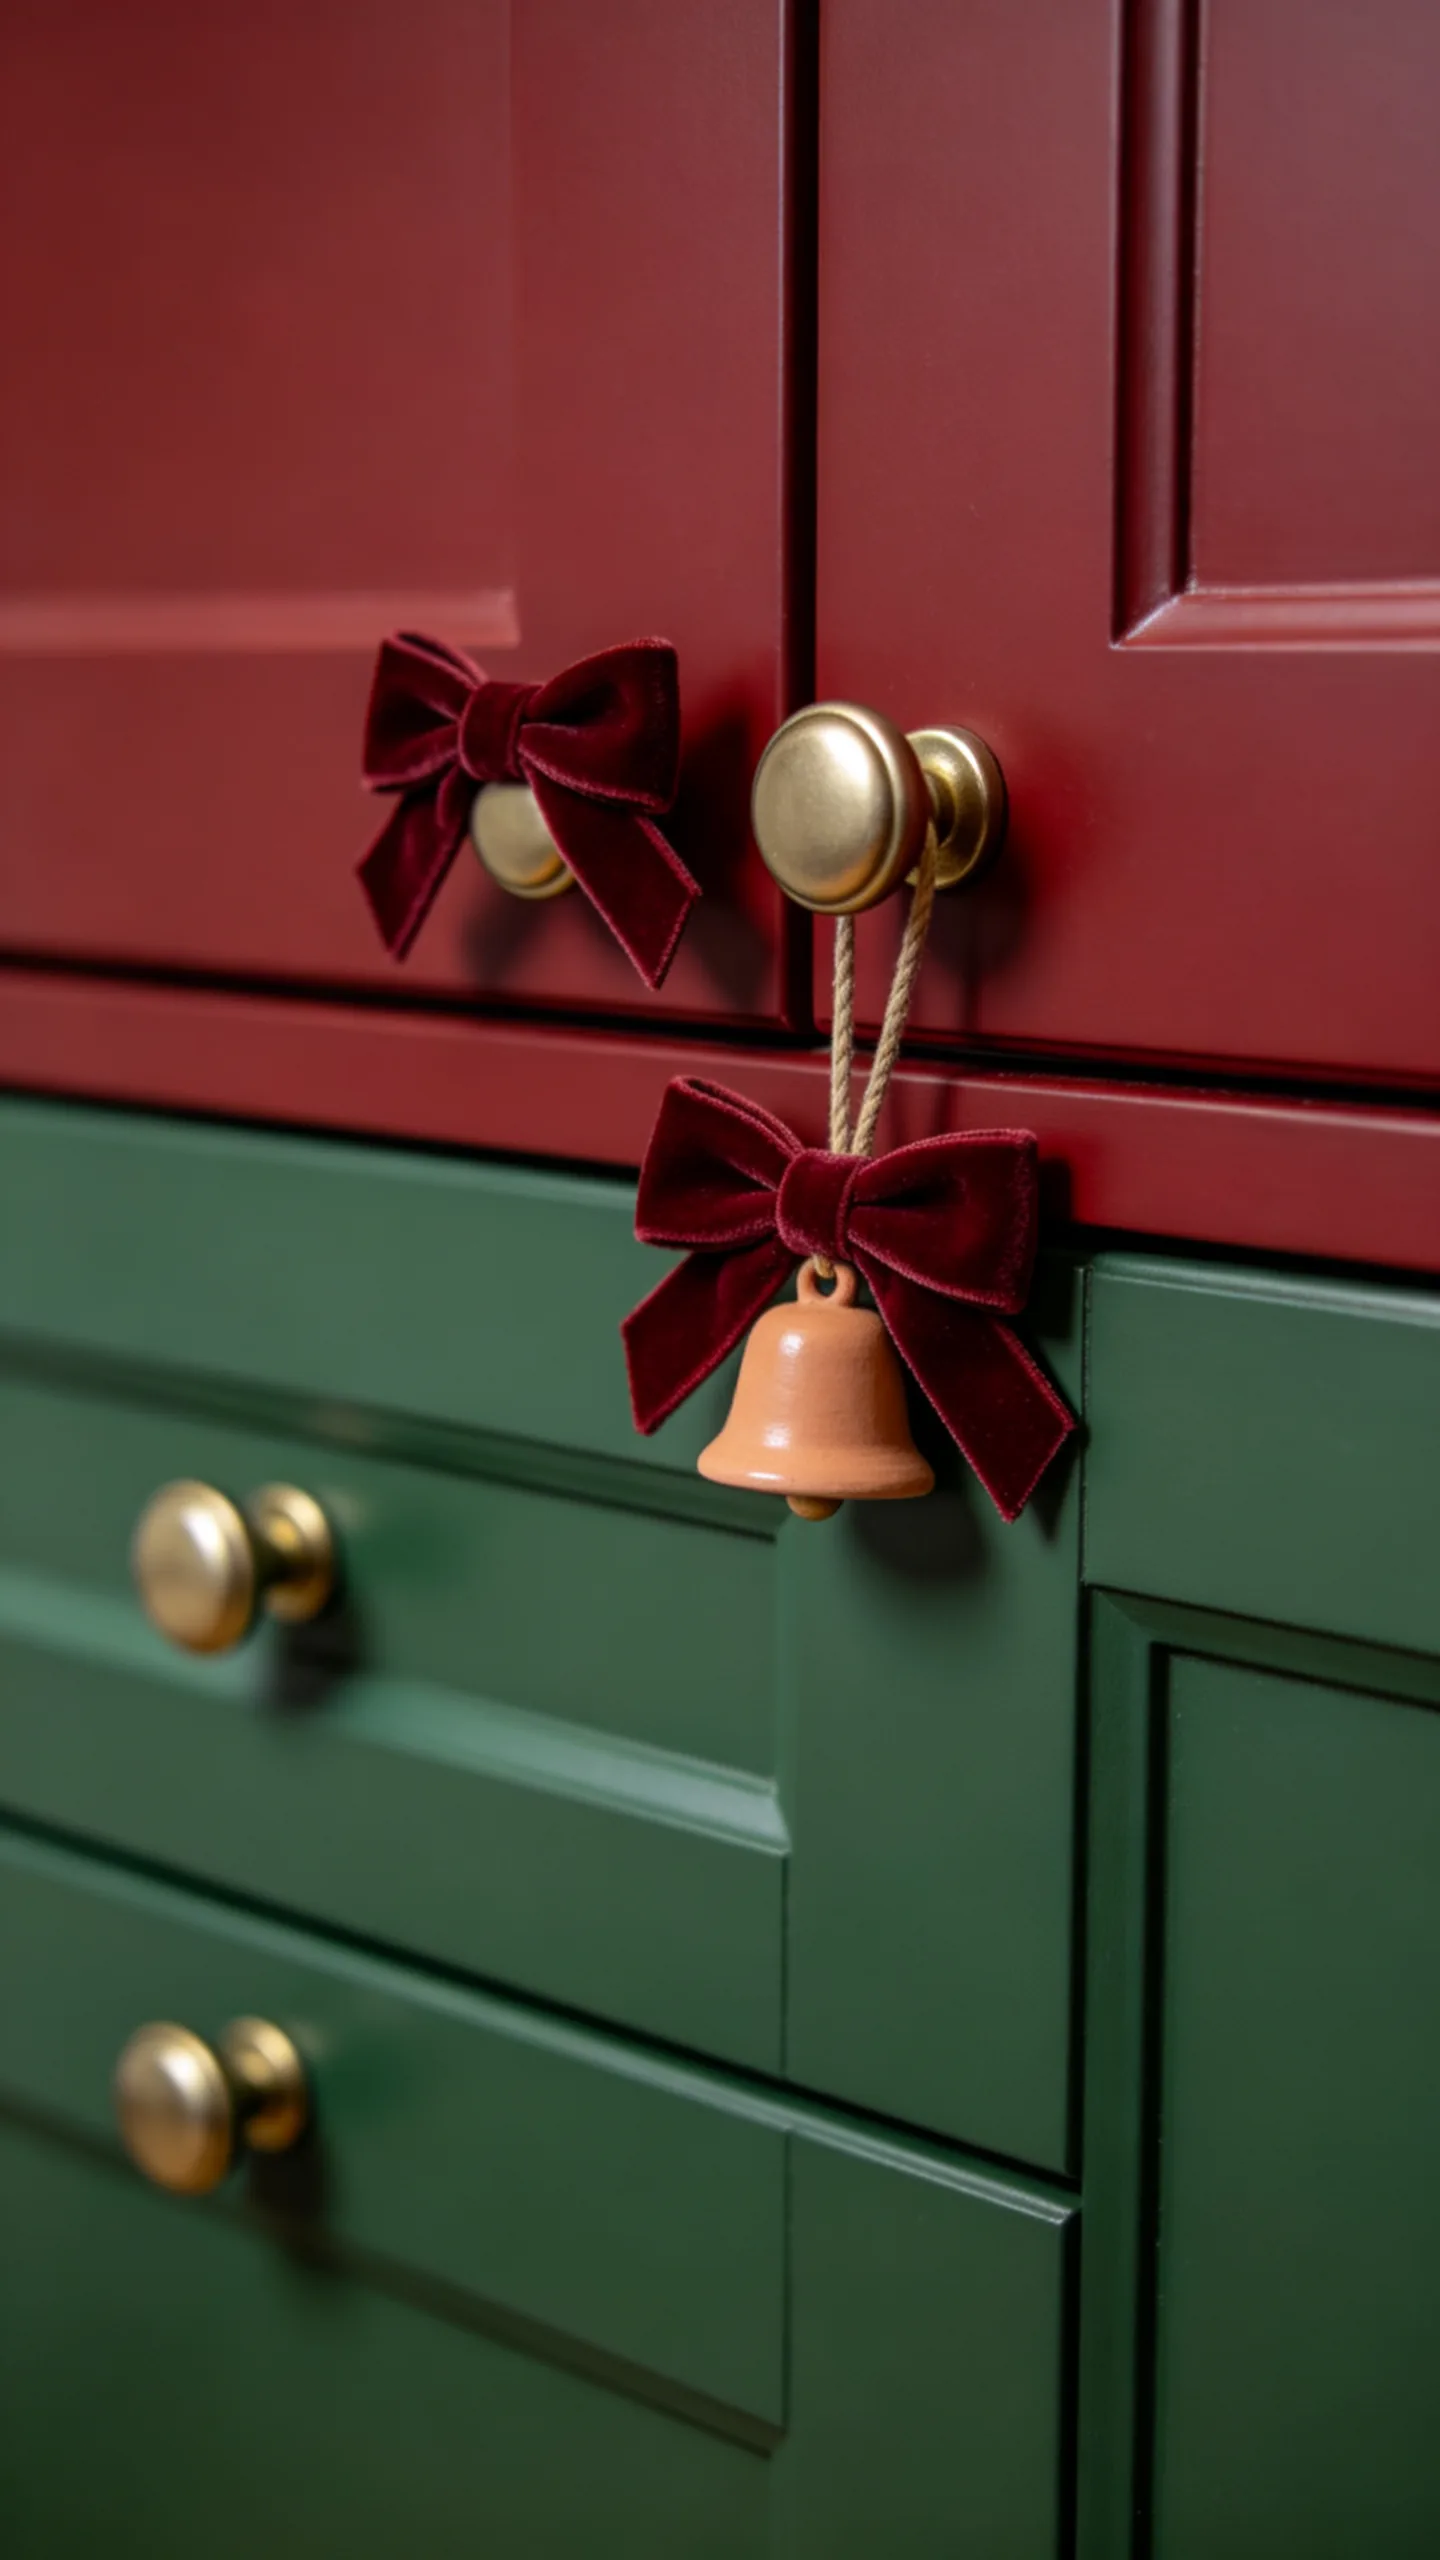
Tie miniature bells, velvet bows, or short lengths of striped ribbon to selected cabinet knobs. Decorate only a few upper doors or one bank of drawers to keep the effect controlled.
Make sure each accent is short enough to avoid catching on clothing or interfering with drawer operation. Repeating the same trim across evenly spaced handles creates rhythm and festive detail without changing the kitchen layout.
20. Build a Neat Christmas Sink-Side Tray
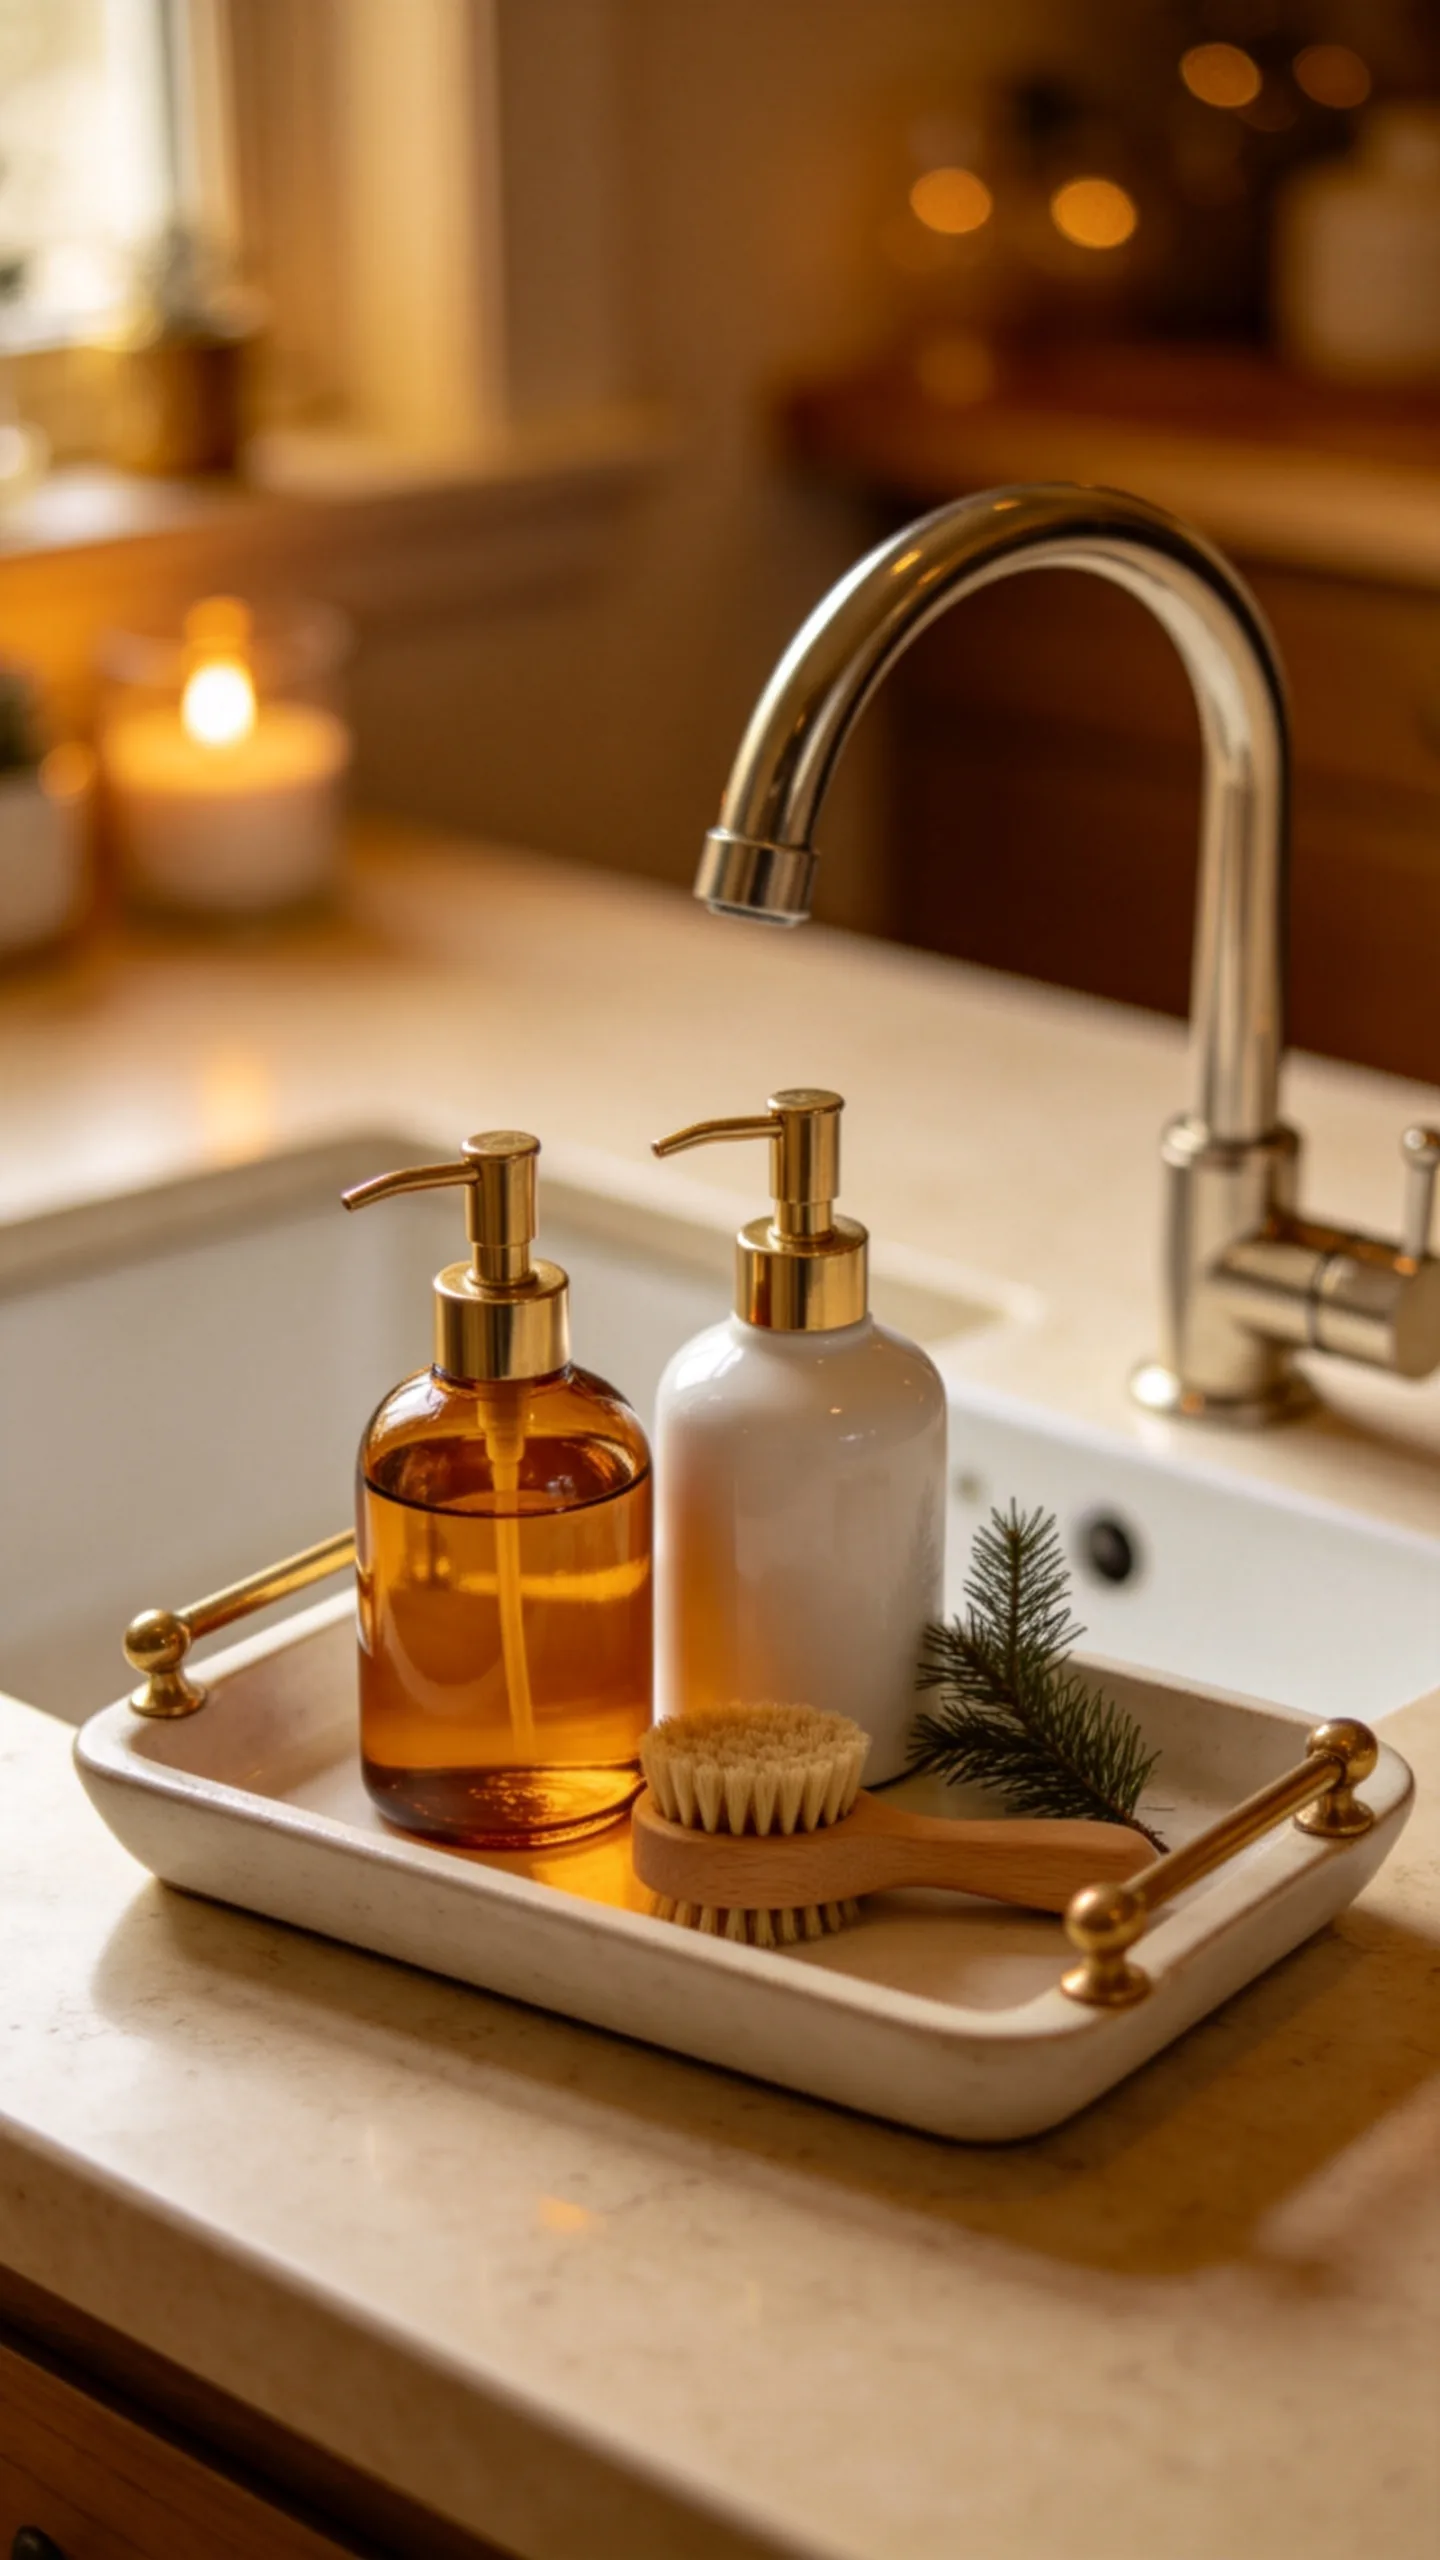
Contain hand soap, dish soap, and a small scrub brush on a compact tray beside the sink. Choose seasonal containers in amber glass, dark green, white ceramic, or brushed brass to make everyday supplies part of the decor.
A sprig of faux cedar or a tiny bottle-brush tree can be added if the tray still allows everything to remain accessible. The defined boundary prevents sink supplies from spreading across the counter and makes the whole station easy to move for cleaning.
21. Replace One Existing Print With Holiday Artwork
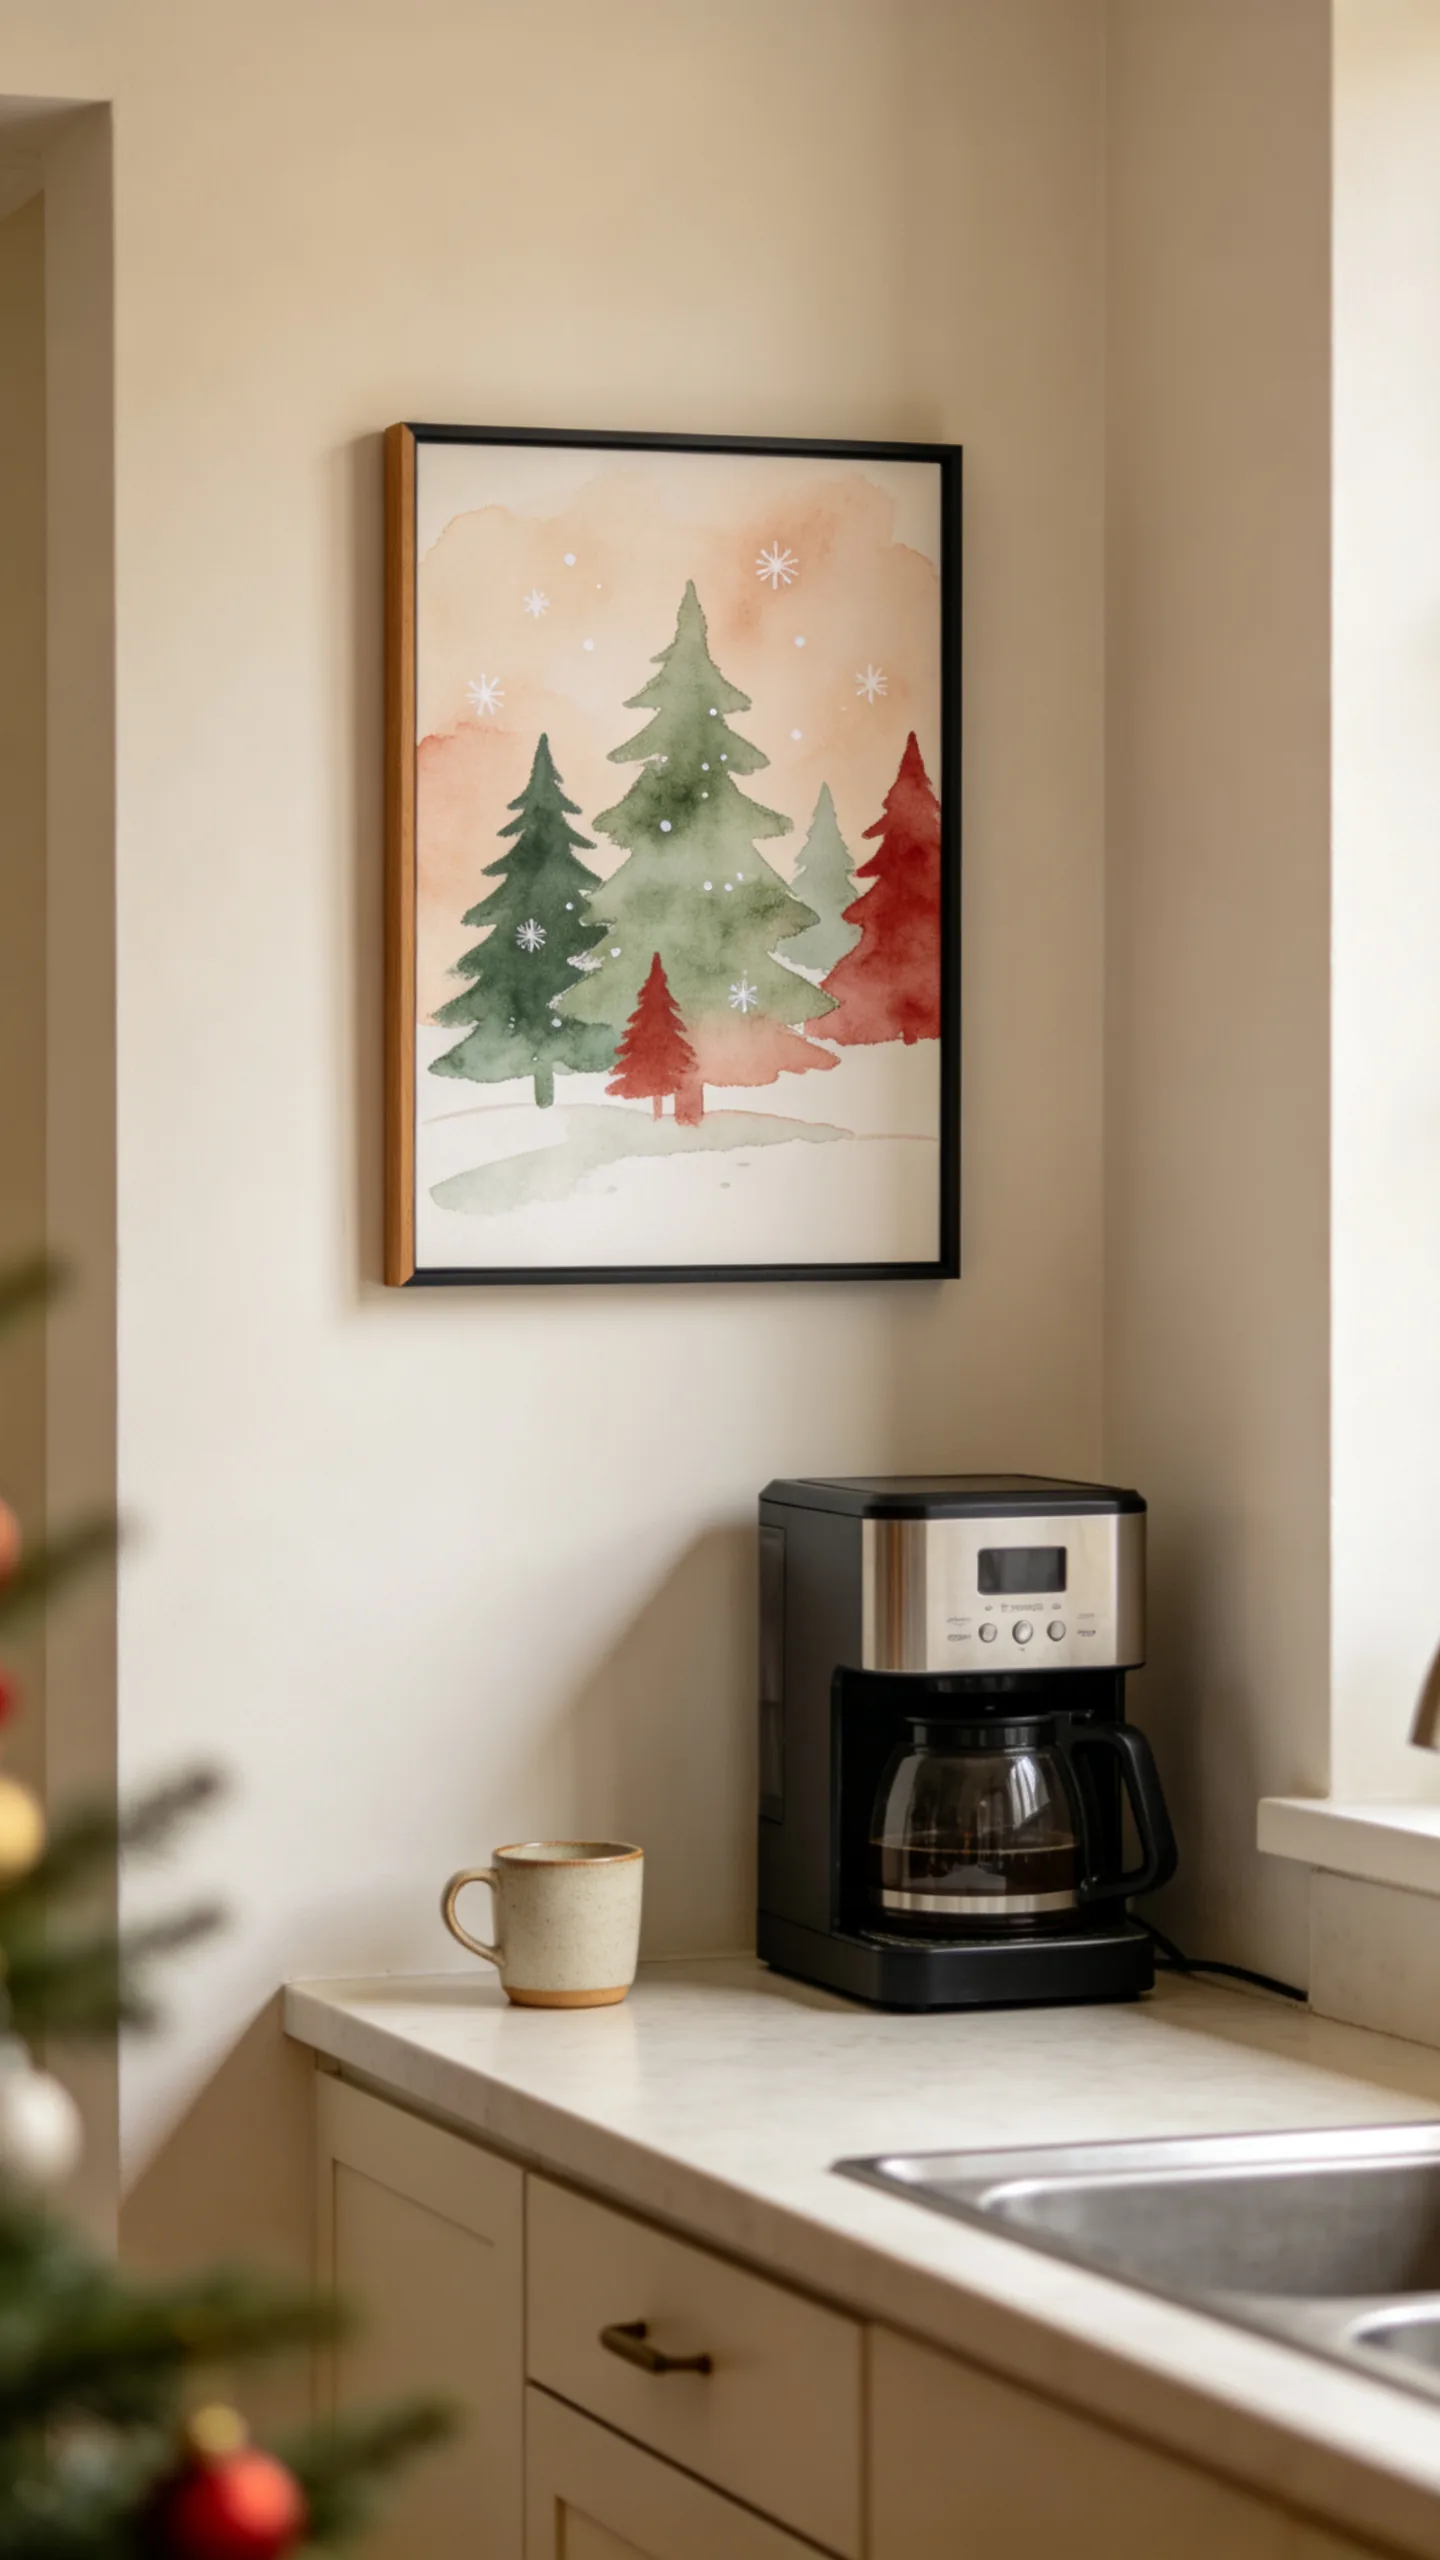
Swap a year-round framed print for a Christmas illustration, vintage recipe, winter landscape, or simple typography piece. Reusing the same frame means the display occupies no additional wall space and can be changed back after the holidays.
Choose artwork with colors already present in the kitchen for a cohesive result. A vertical print can emphasize ceiling height, while a small horizontal piece works well above a coffee station, narrow shelf, or breakfast bench.
22. Use the Side of the Refrigerator for Vertical Storage Decor
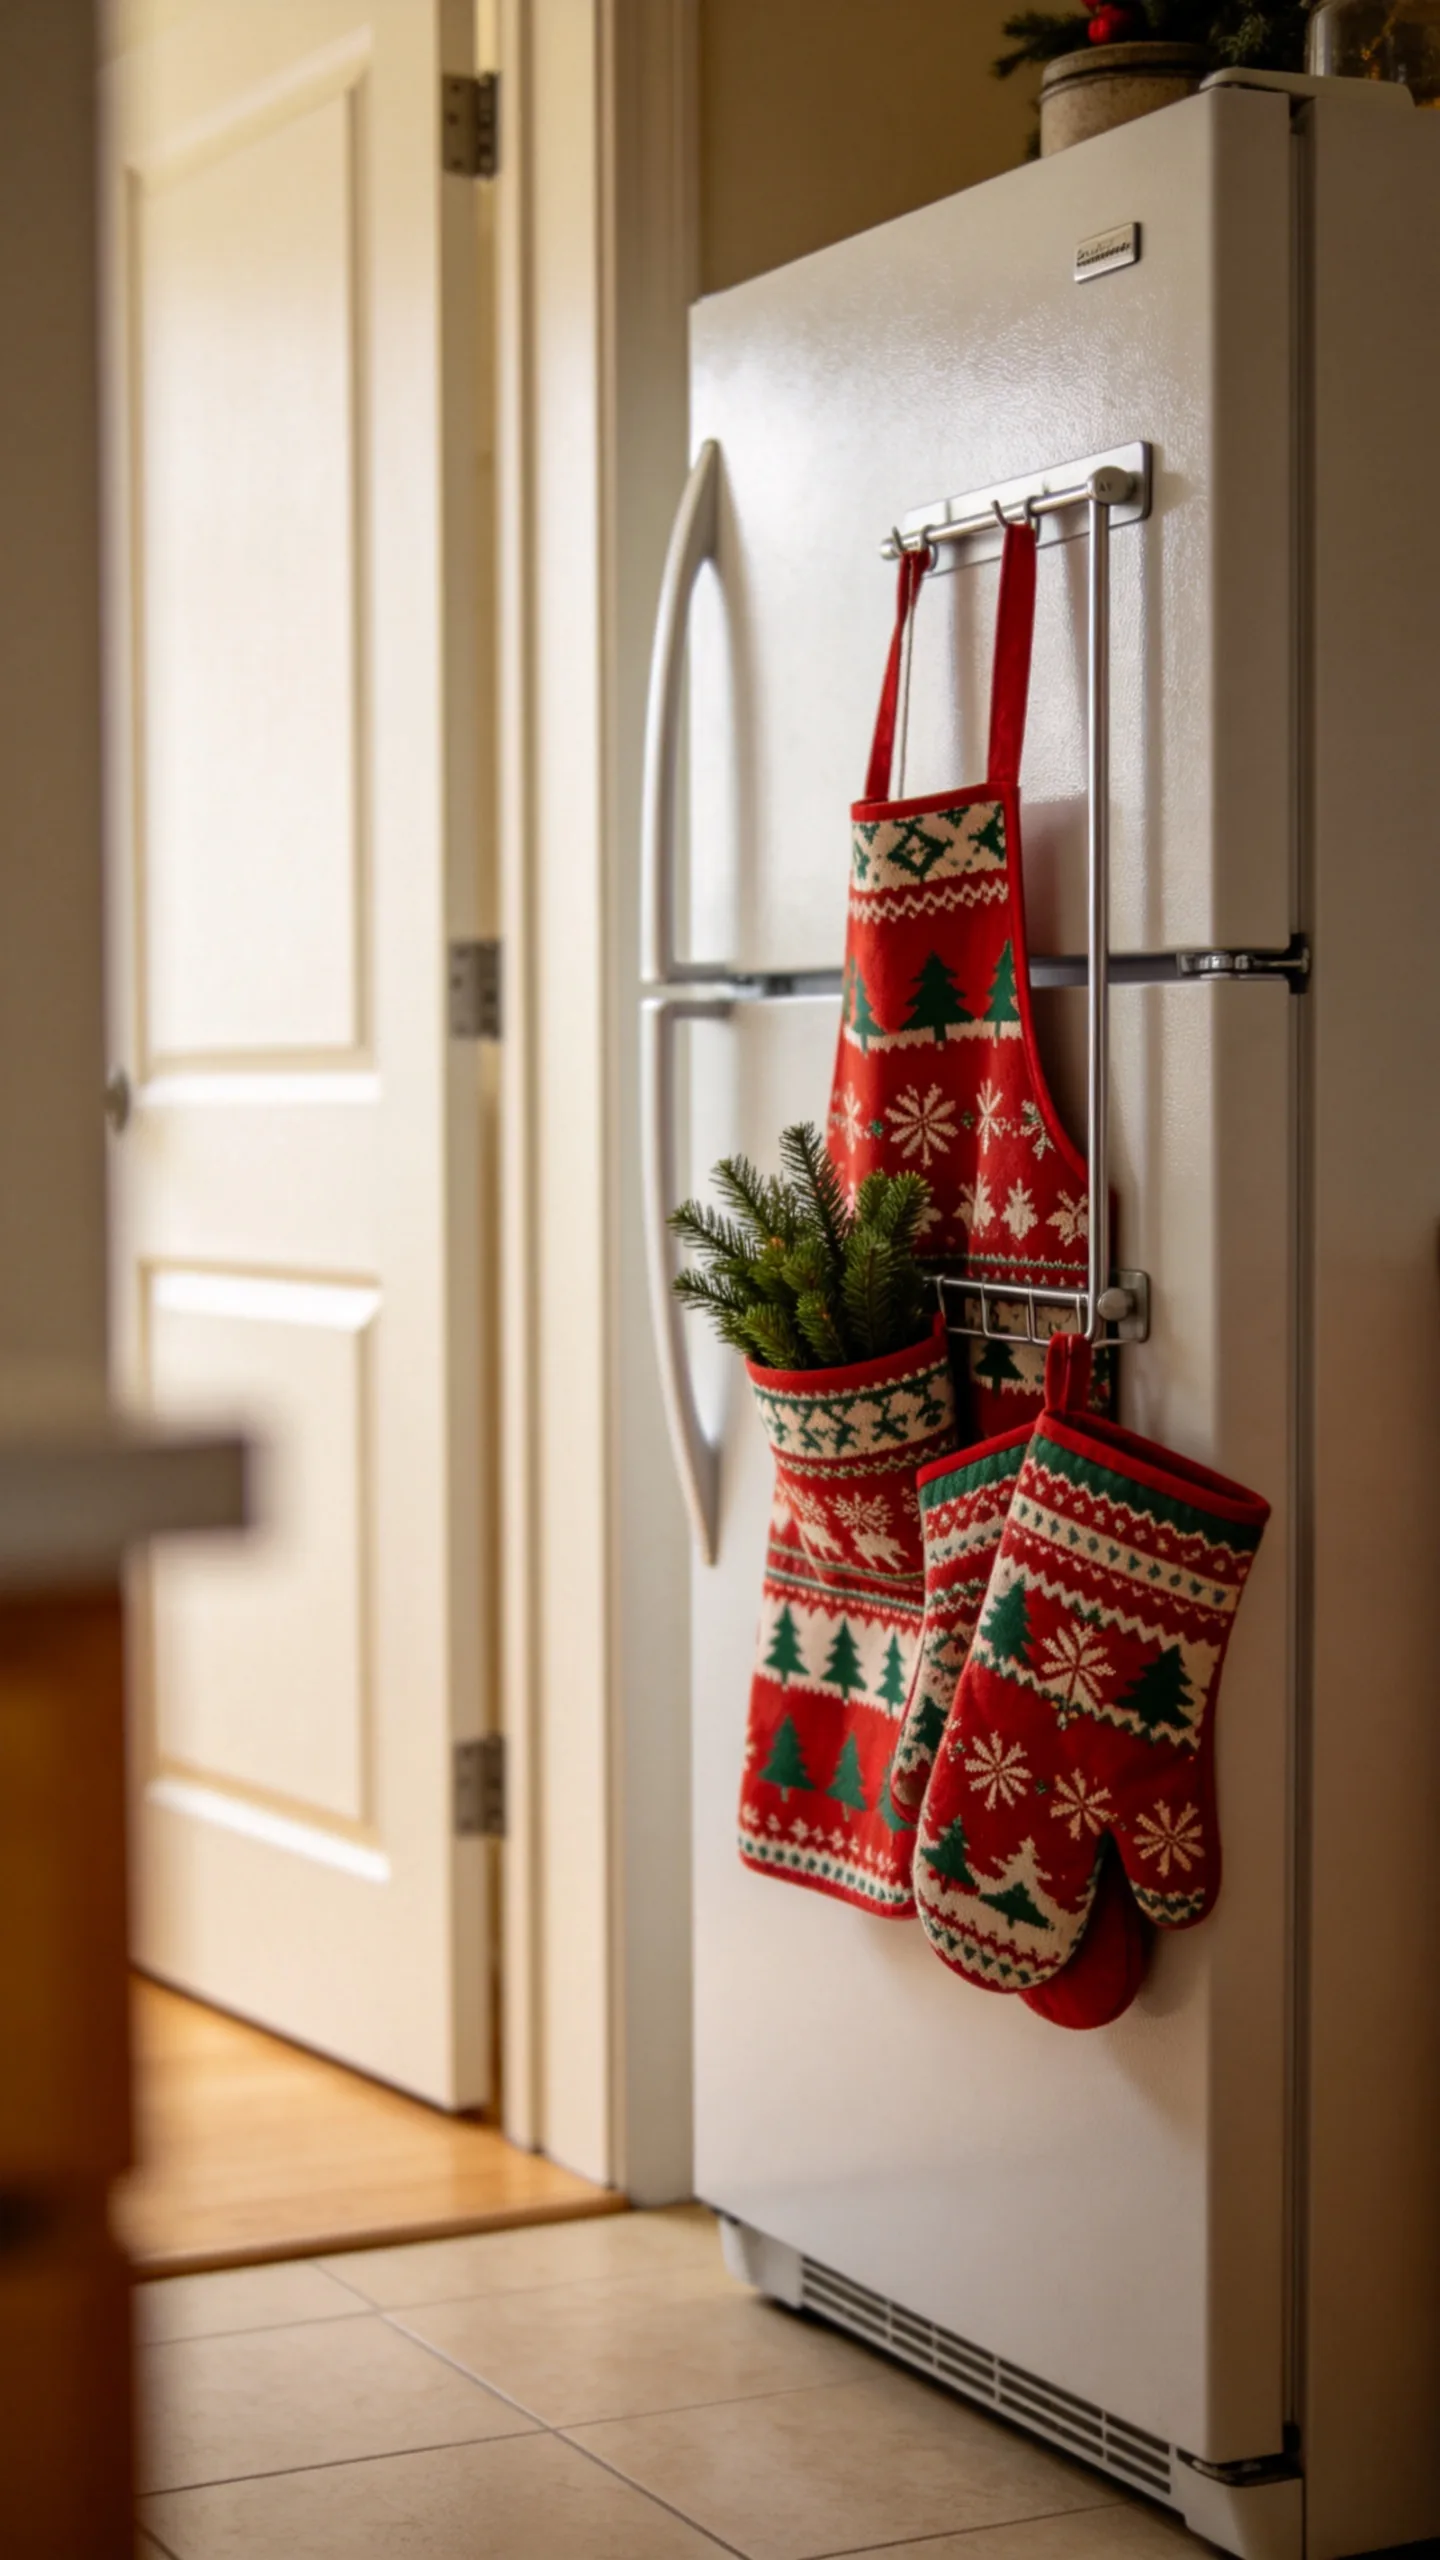
Attach magnetic hooks or a slim magnetic rack to the exposed side of the refrigerator. Hang a festive apron, oven mitts, or a small greenery bundle while keeping the front of the appliance visually clean.
This underused vertical surface can support both storage and decoration without extending into the main work triangle. Keep the arrangement shallow so it does not restrict a nearby doorway, cabinet, or passage between the refrigerator and counter.
23. Style Open Shelves With Holiday-Colored Dishes
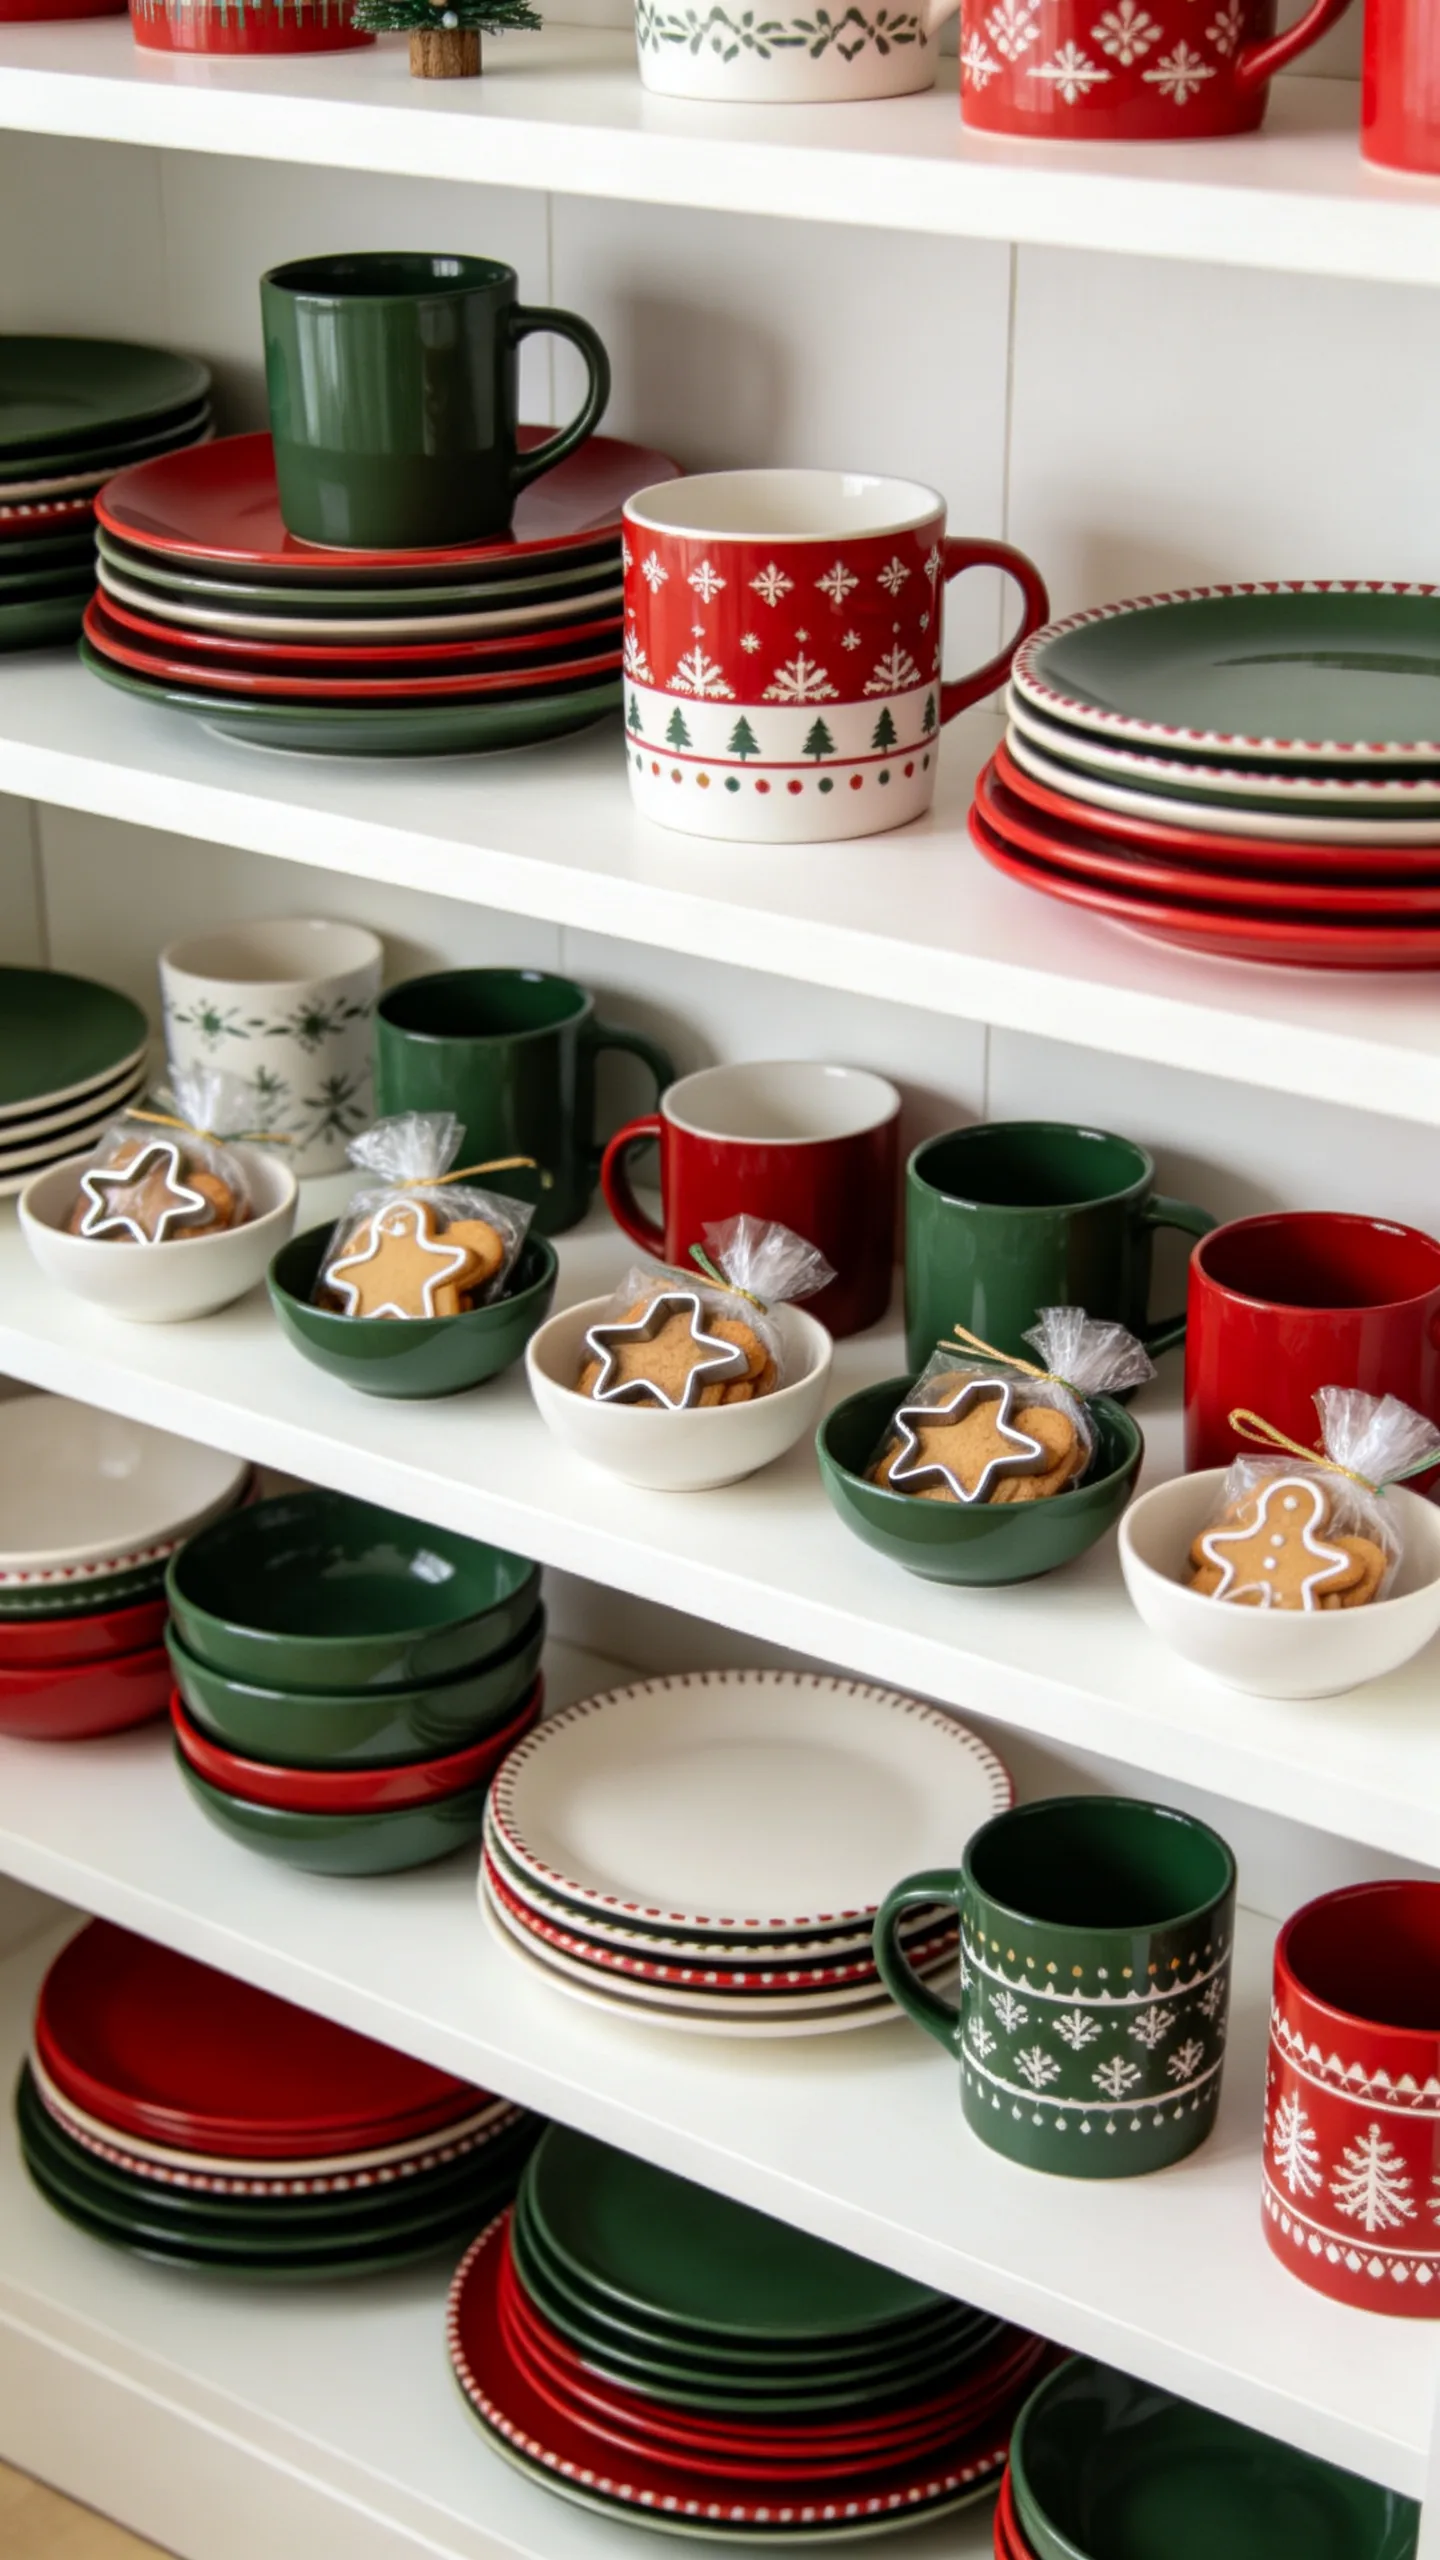
Move white, red, green, or patterned dishes to the front of open shelving for the season. Stack matching plates, line up mugs by color, and use bowls to hold cookie cutters or wrapped treats.
Because the display relies on practical tableware, it adds Christmas color without filling the shelf with single-purpose objects. Leave small gaps between stacks and remove unused pieces so the arrangement remains easy to access and visually balanced.
24. Hang a Fabric Banner on the Pantry Door
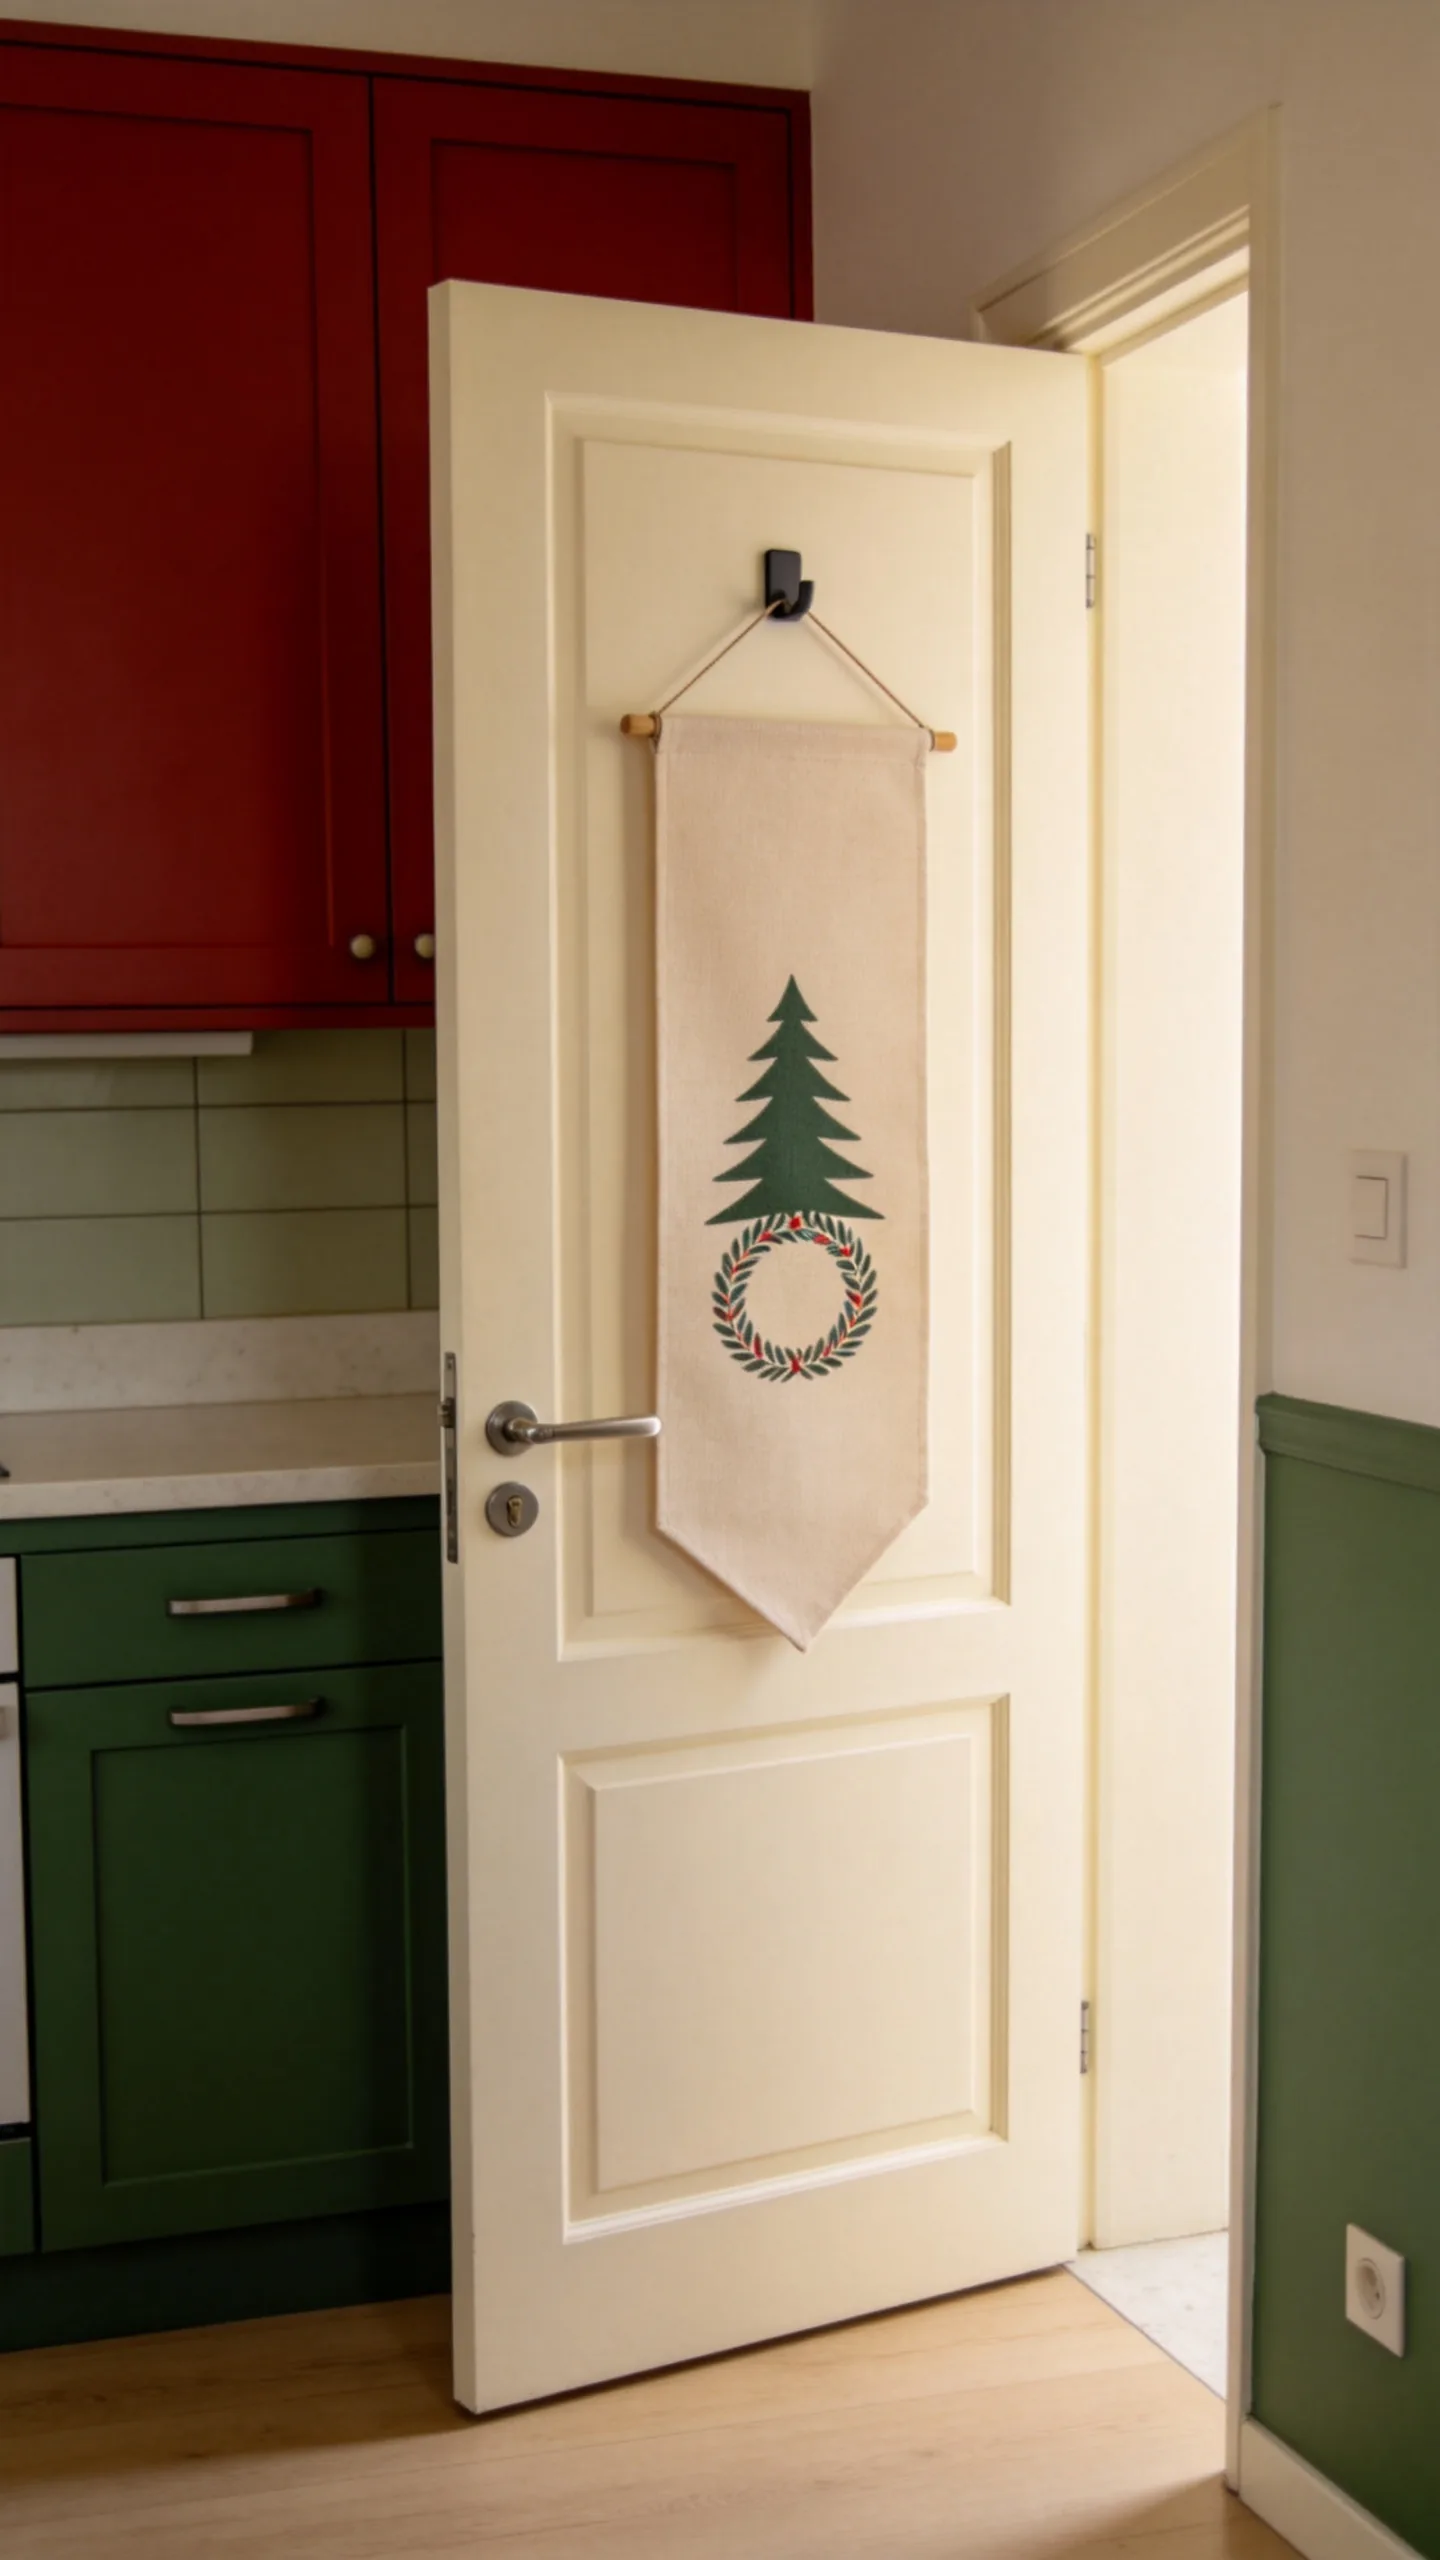
Mount a narrow fabric banner, tea towel, or quilted wall hanging on the pantry door with a removable hook. A simple tree, wreath, or stitched holiday message creates a soft focal point without protruding into the room.
Choose a flat textile that will not prevent the door from opening fully or catch on nearby handles. Vertical designs are particularly useful in small kitchens because they draw attention upward while preserving floor and counter space.
25. Center the Breakfast Nook With a Low Functional Arrangement
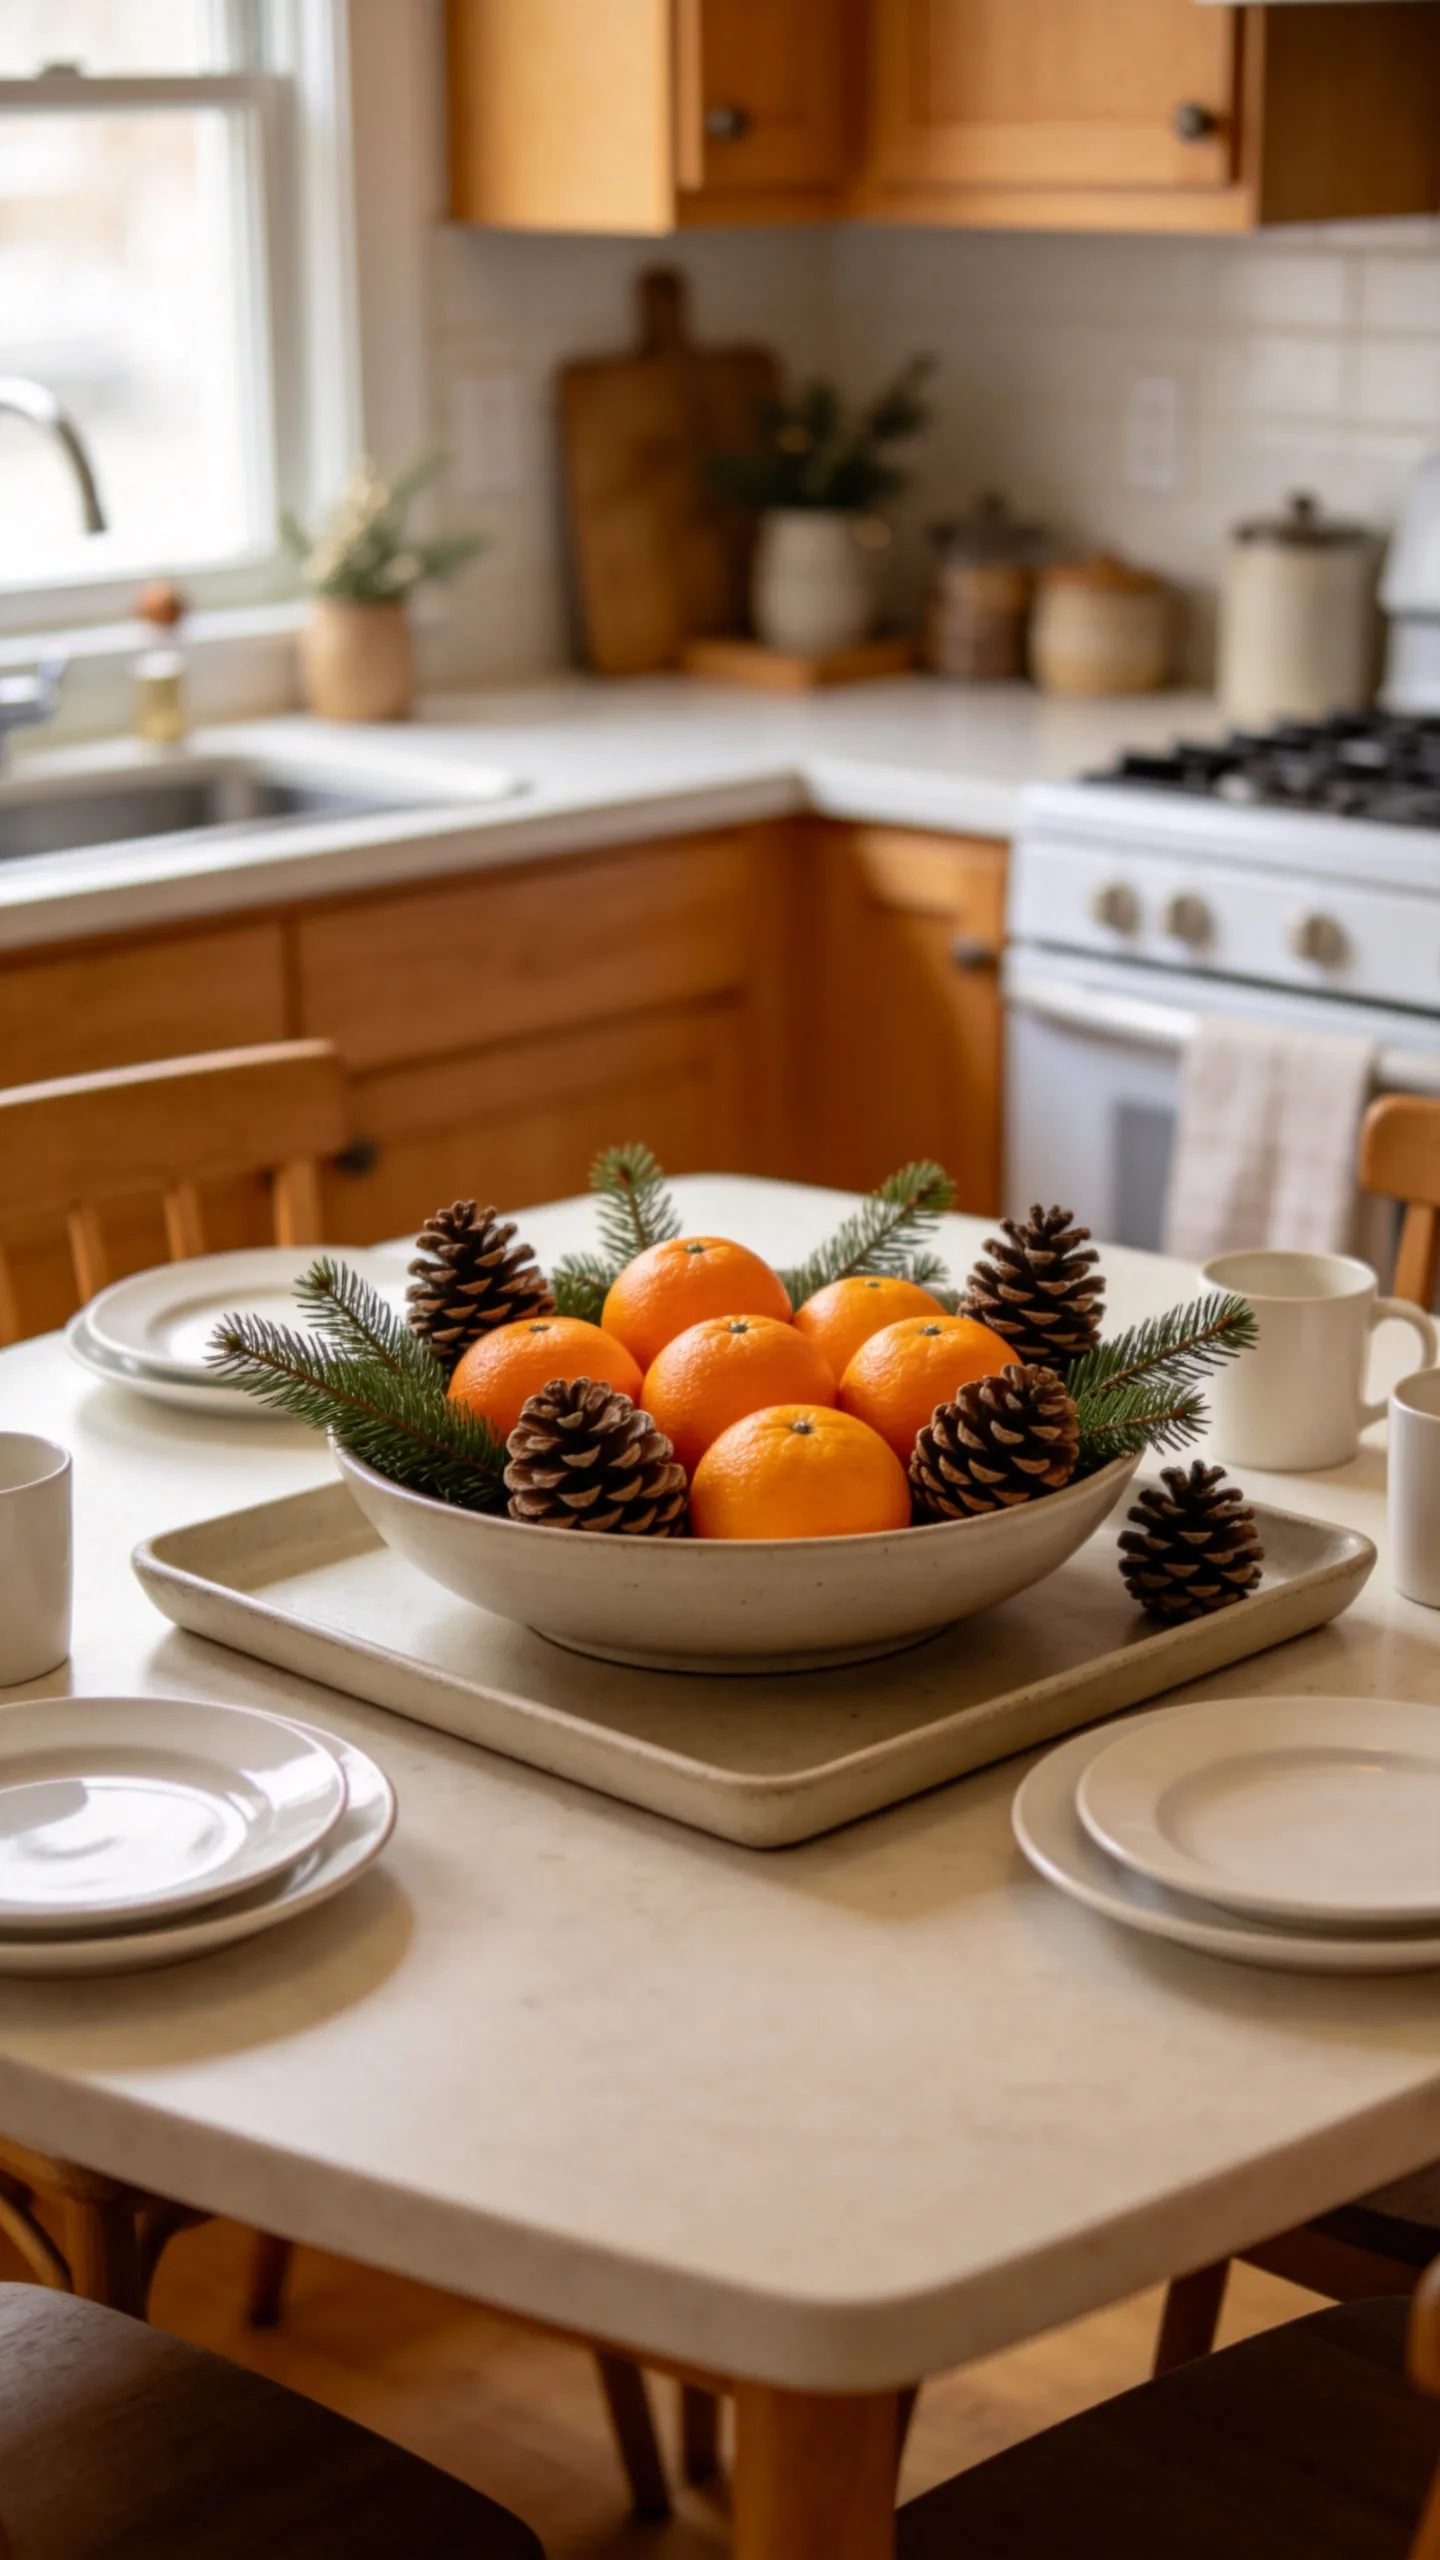
Create a low centerpiece for a breakfast table or built-in nook using a shallow bowl filled with clementines, greenery, and a few pinecones. The fruit remains useful, and the low profile keeps conversation and sightlines open.
Keep the arrangement small enough that plates and mugs still fit comfortably around it. If the table doubles as a work surface, place everything on one tray so the centerpiece can be moved in a single step rather than becoming another source of clutter.

From the editors
Decor Compass Editorial Team
We turn practical home research into clear, useful room-by-room ideas.