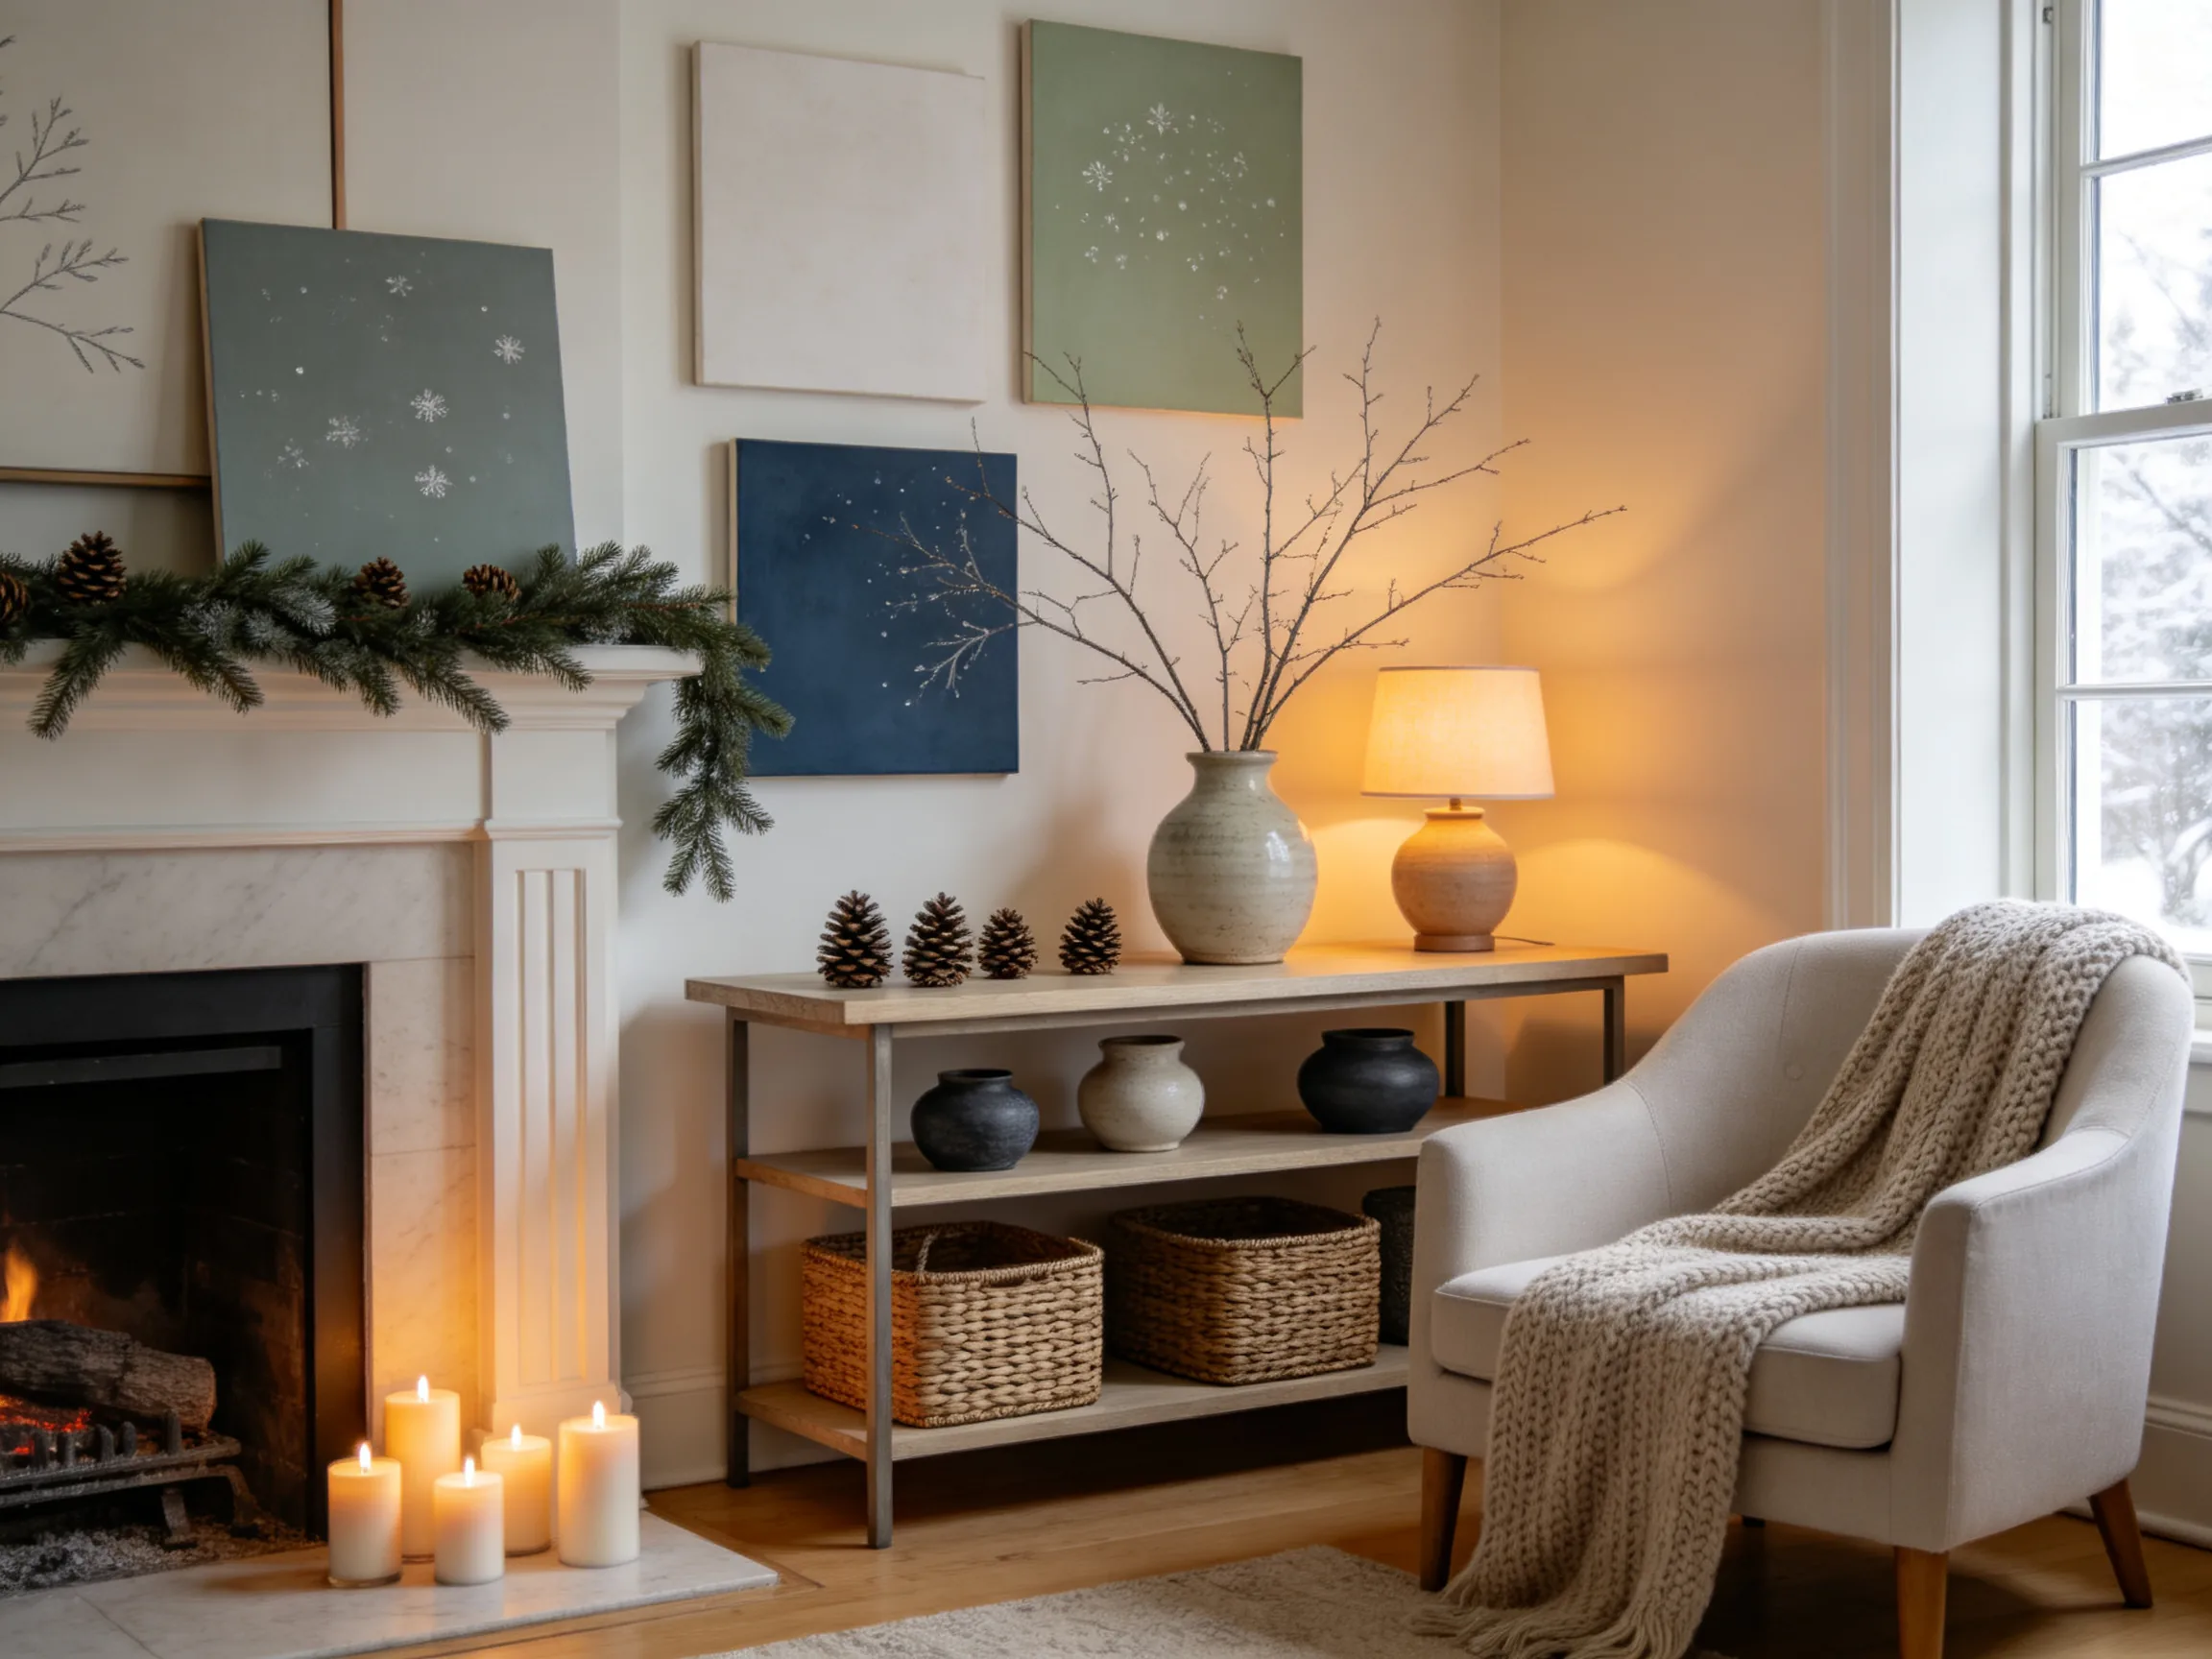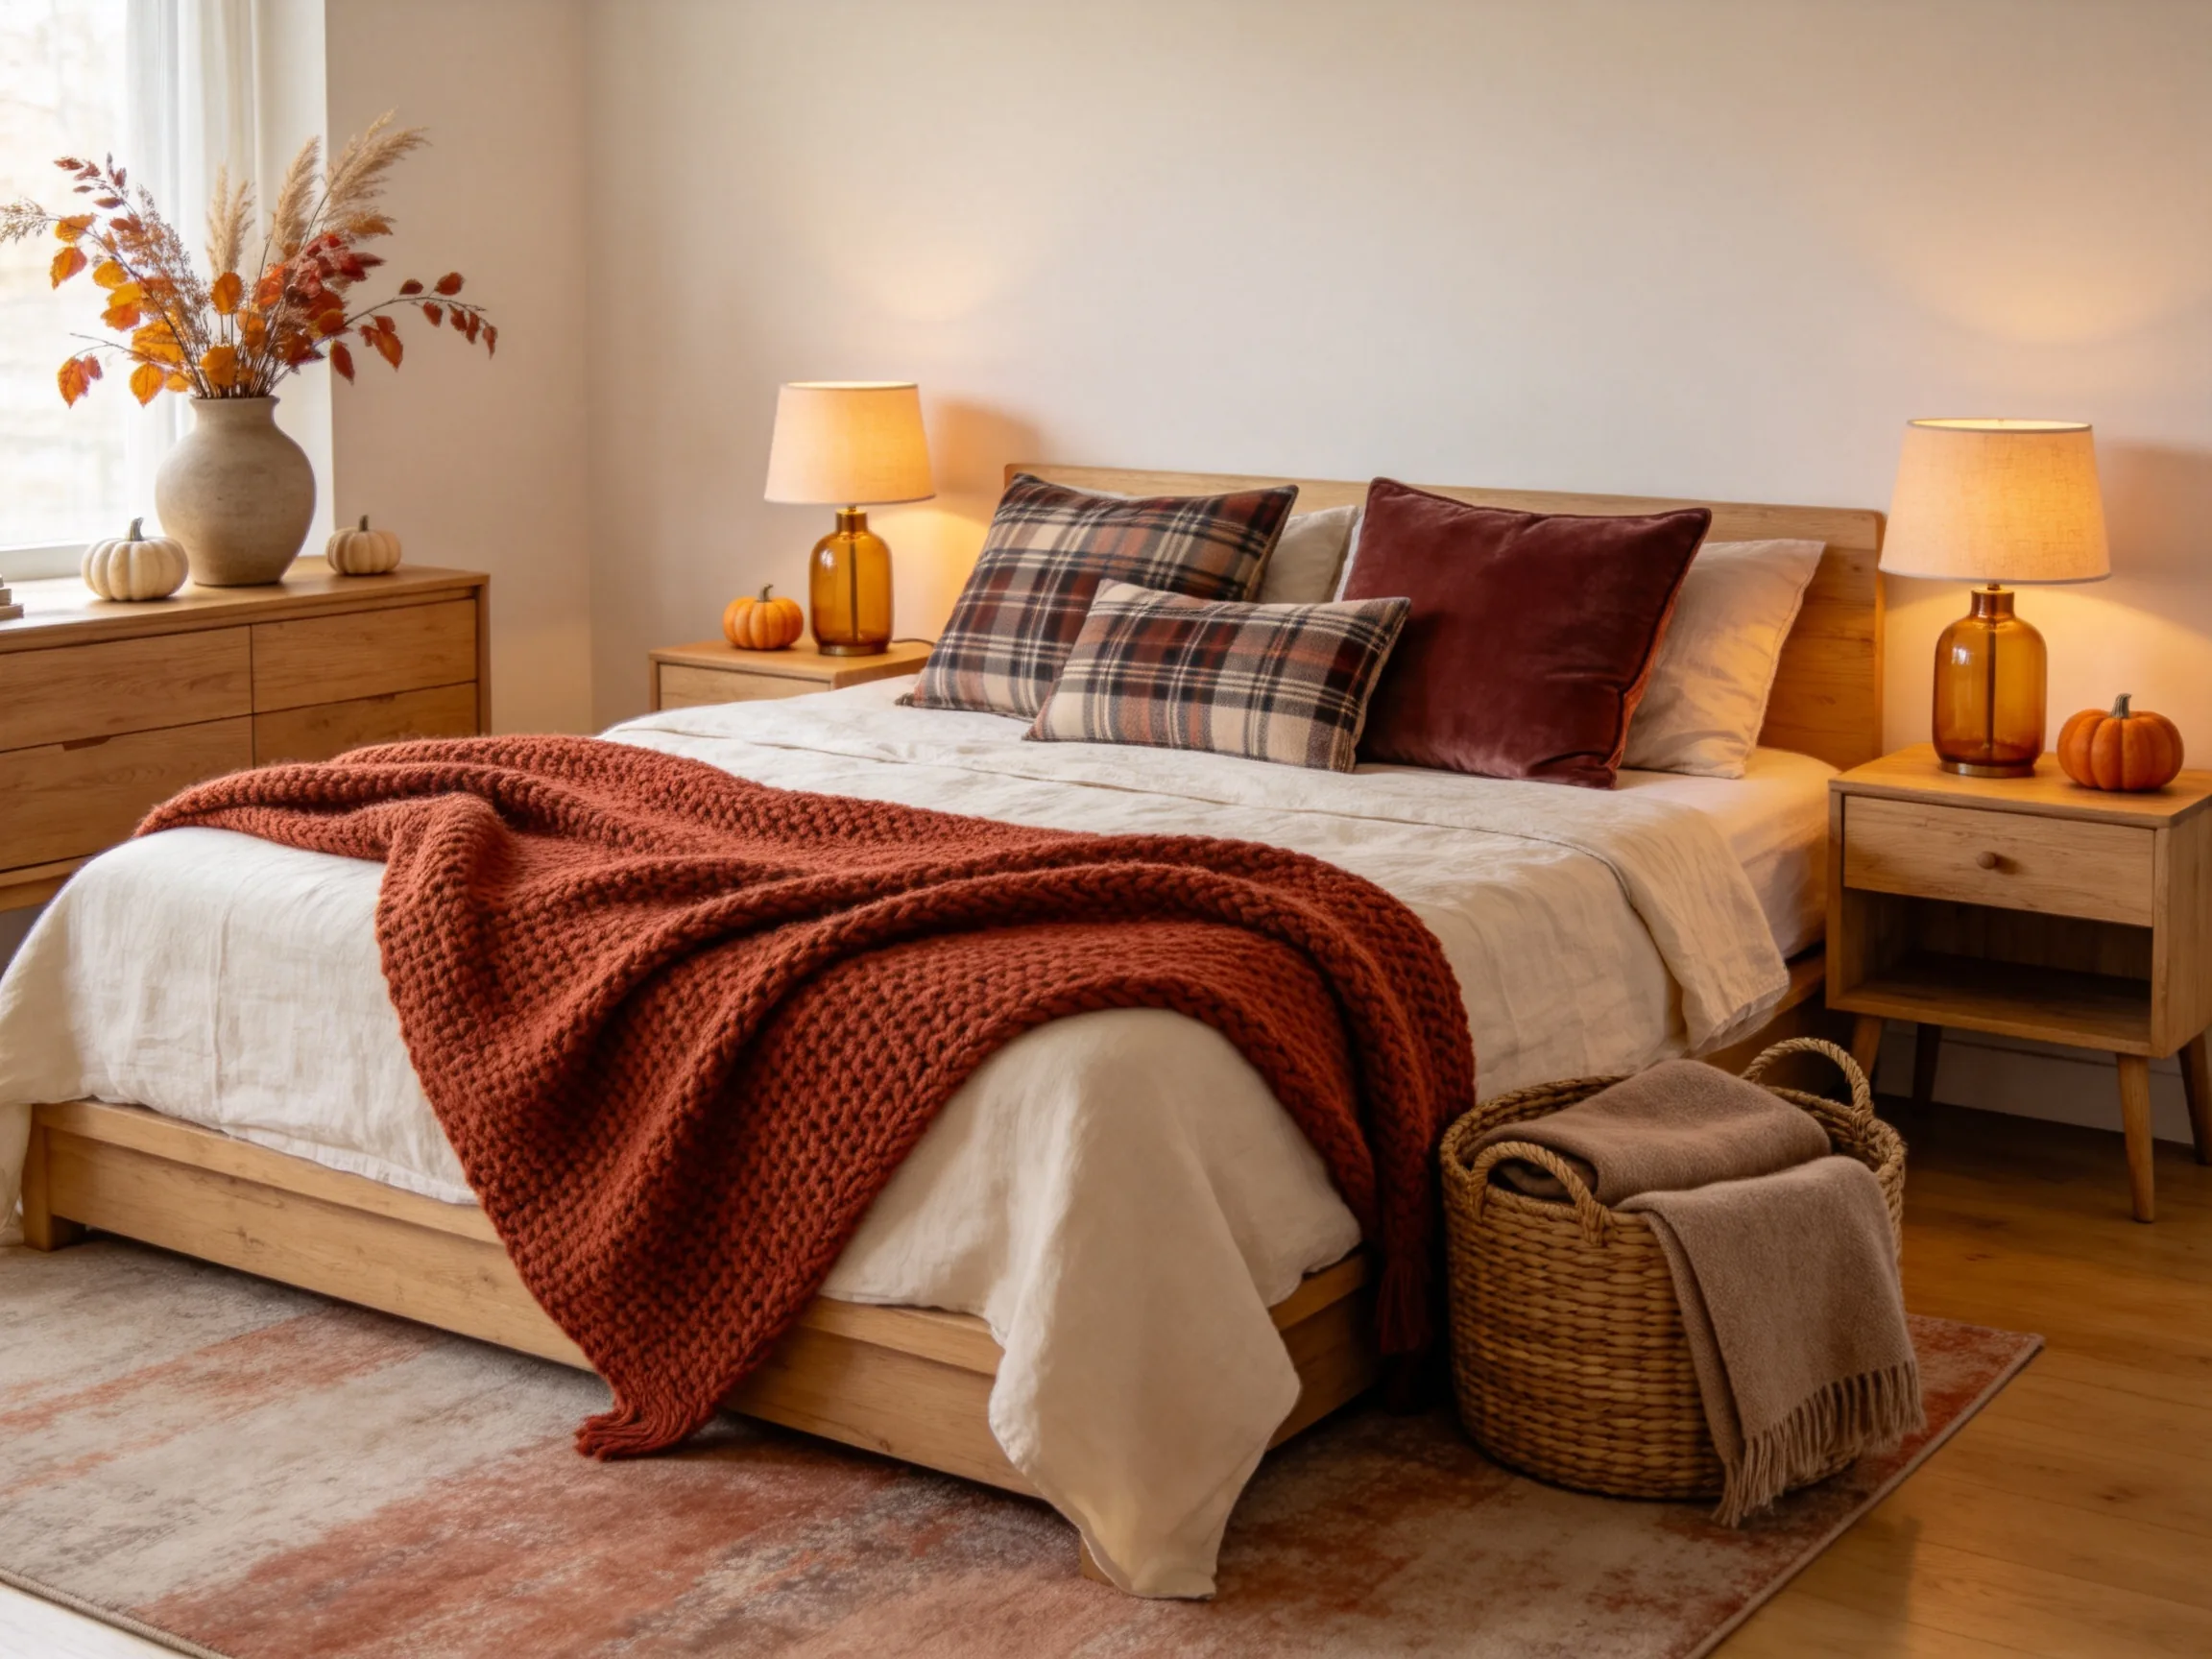
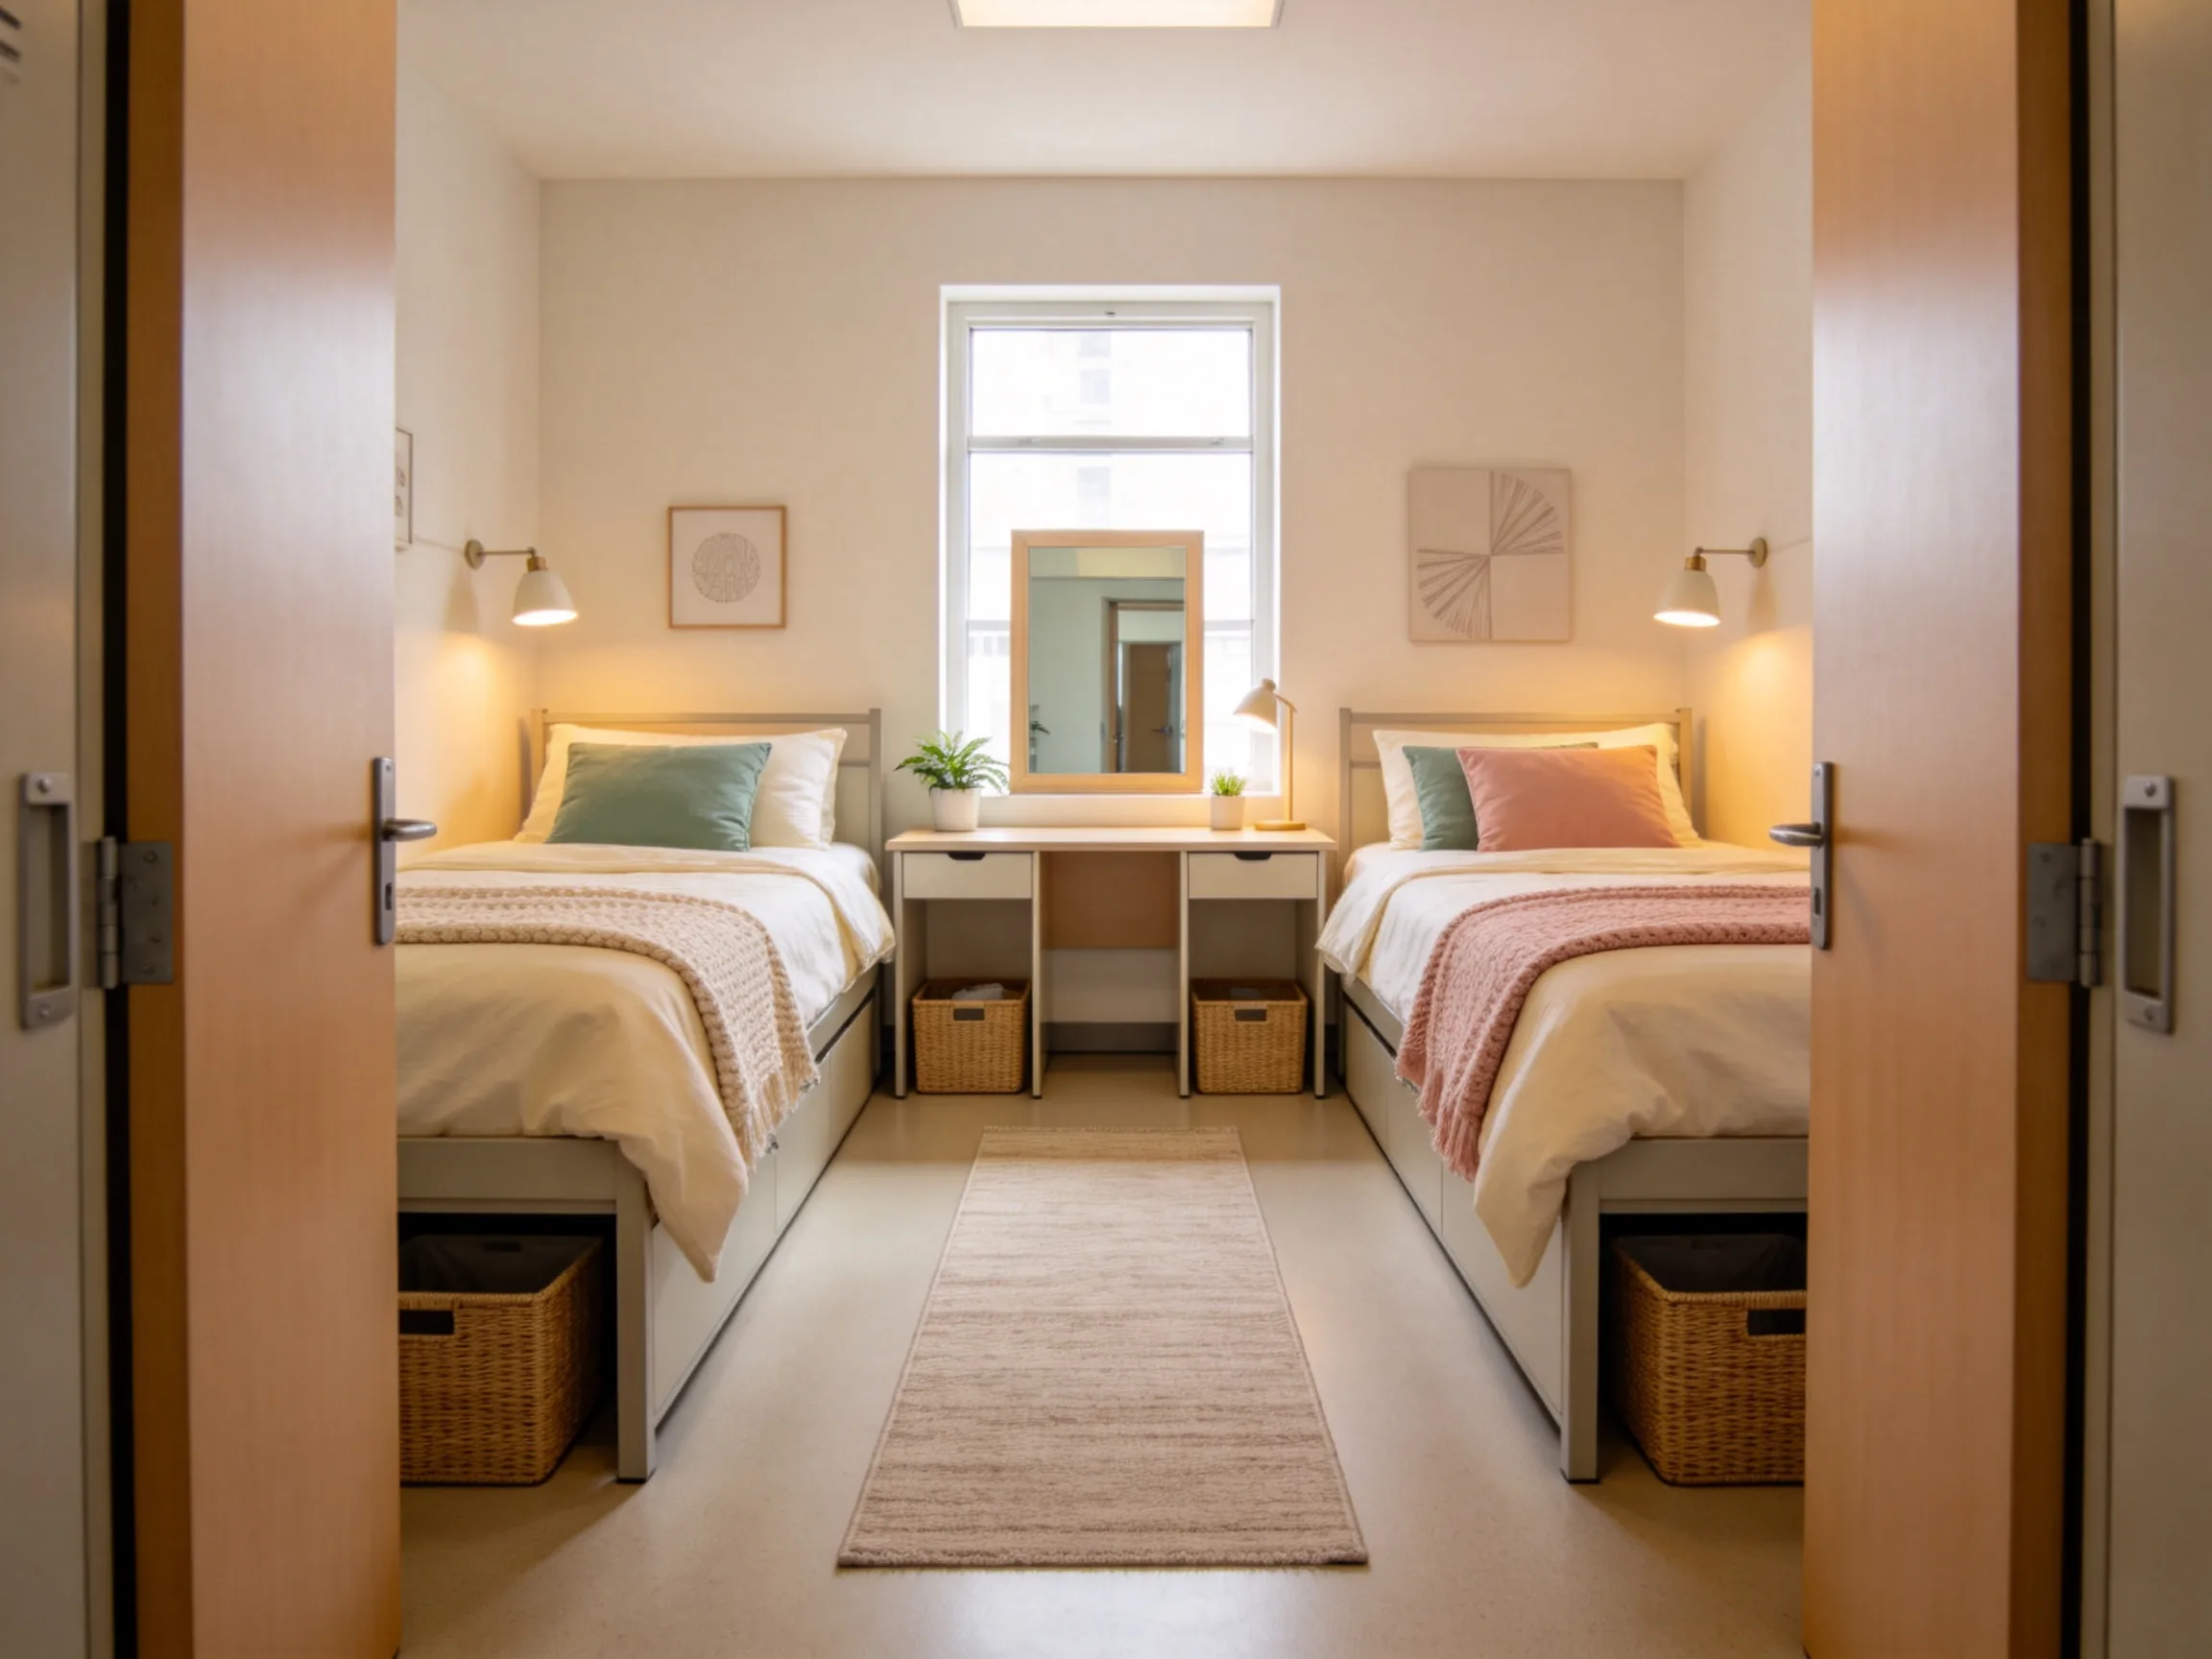
A small college room can feel warm, organized, and personal without permanent changes or bulky furniture. The best dorm decor ideas work with limited floor space, shared layouts, and strict housing rules while adding color, texture, practical storage, and softer lighting. Use these ideas to create a cozy room that still leaves clear paths between the beds, desks, closets, and door.
1. Choose a Soft Three-Color Palette
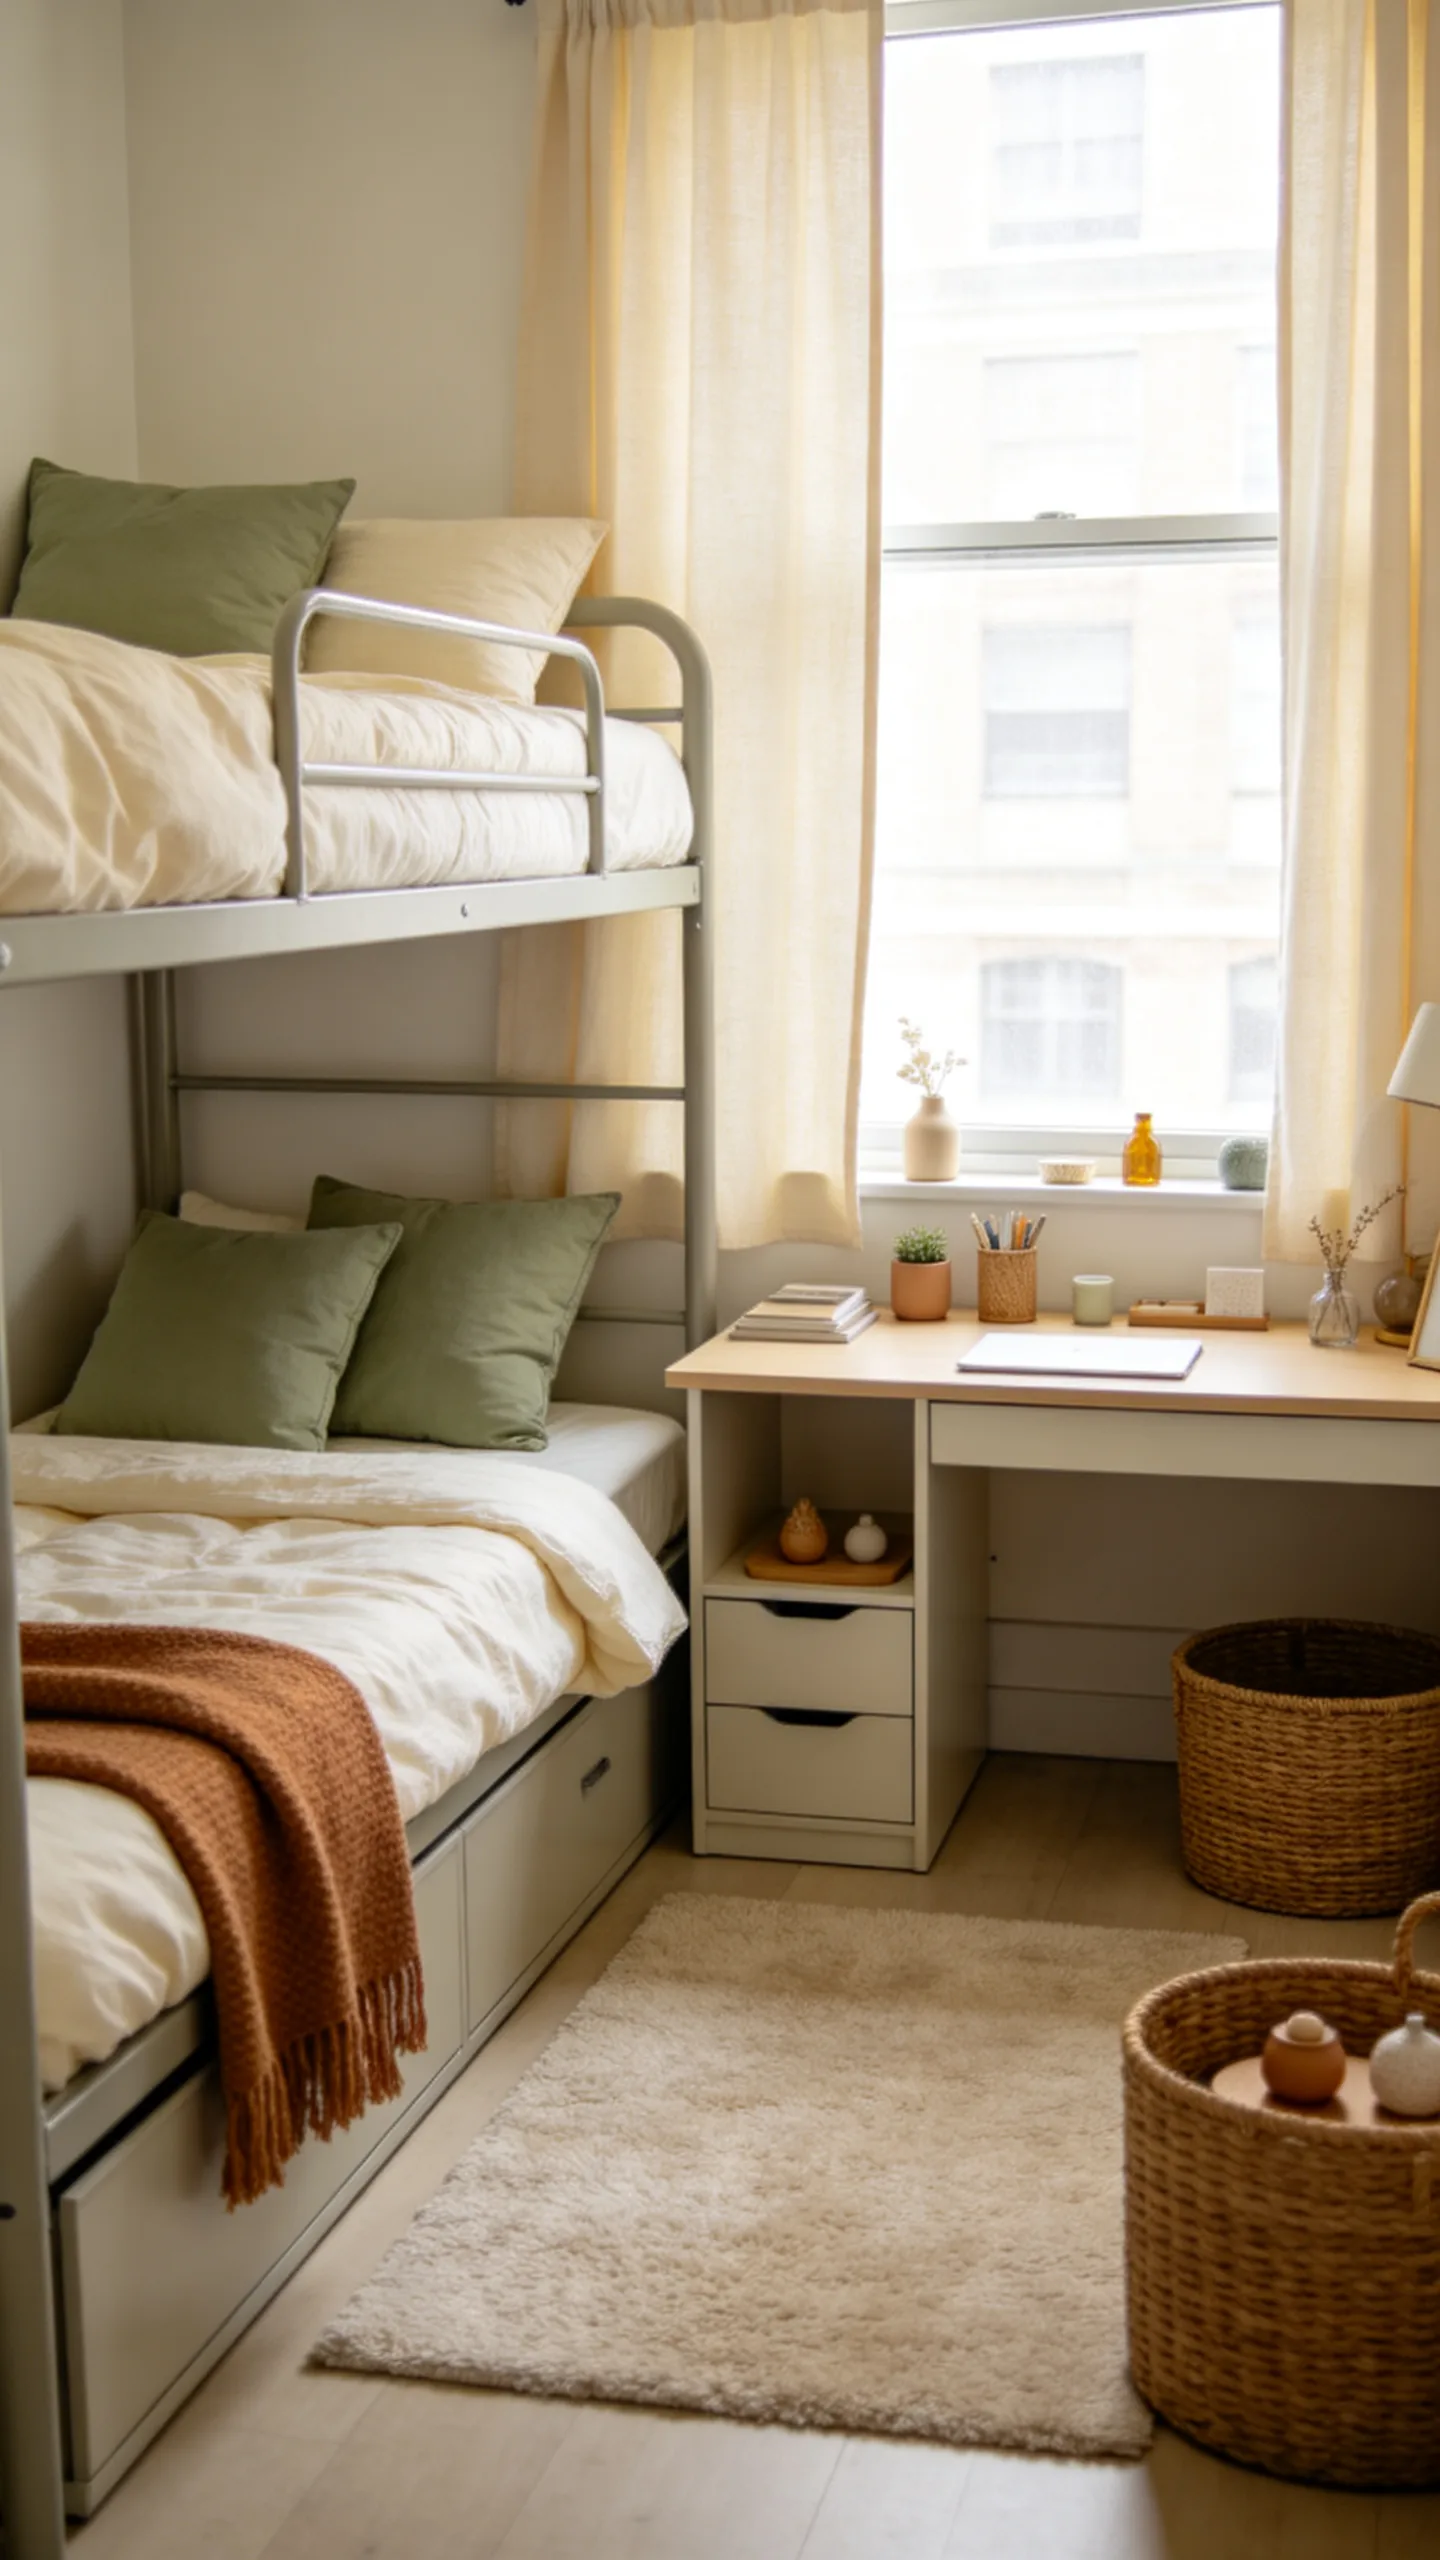
Build the room around three coordinating colors so bedding, storage, and wall decor feel intentional rather than cluttered. Start with a calm base such as cream, light gray, or white, add a gentle color like blush, sage, dusty blue, or lavender, and finish with a darker accent such as charcoal, navy, or warm brown.
Use the lightest shade on large surfaces, including the comforter, curtains, and rug, to help the room feel more open. Bring the other two colors into smaller pieces such as throw pillows, desk accessories, art prints, and baskets. A limited palette also makes it easier to combine your decor with a roommate’s style.
2. Layer the Bed With Cozy, Washable Textiles
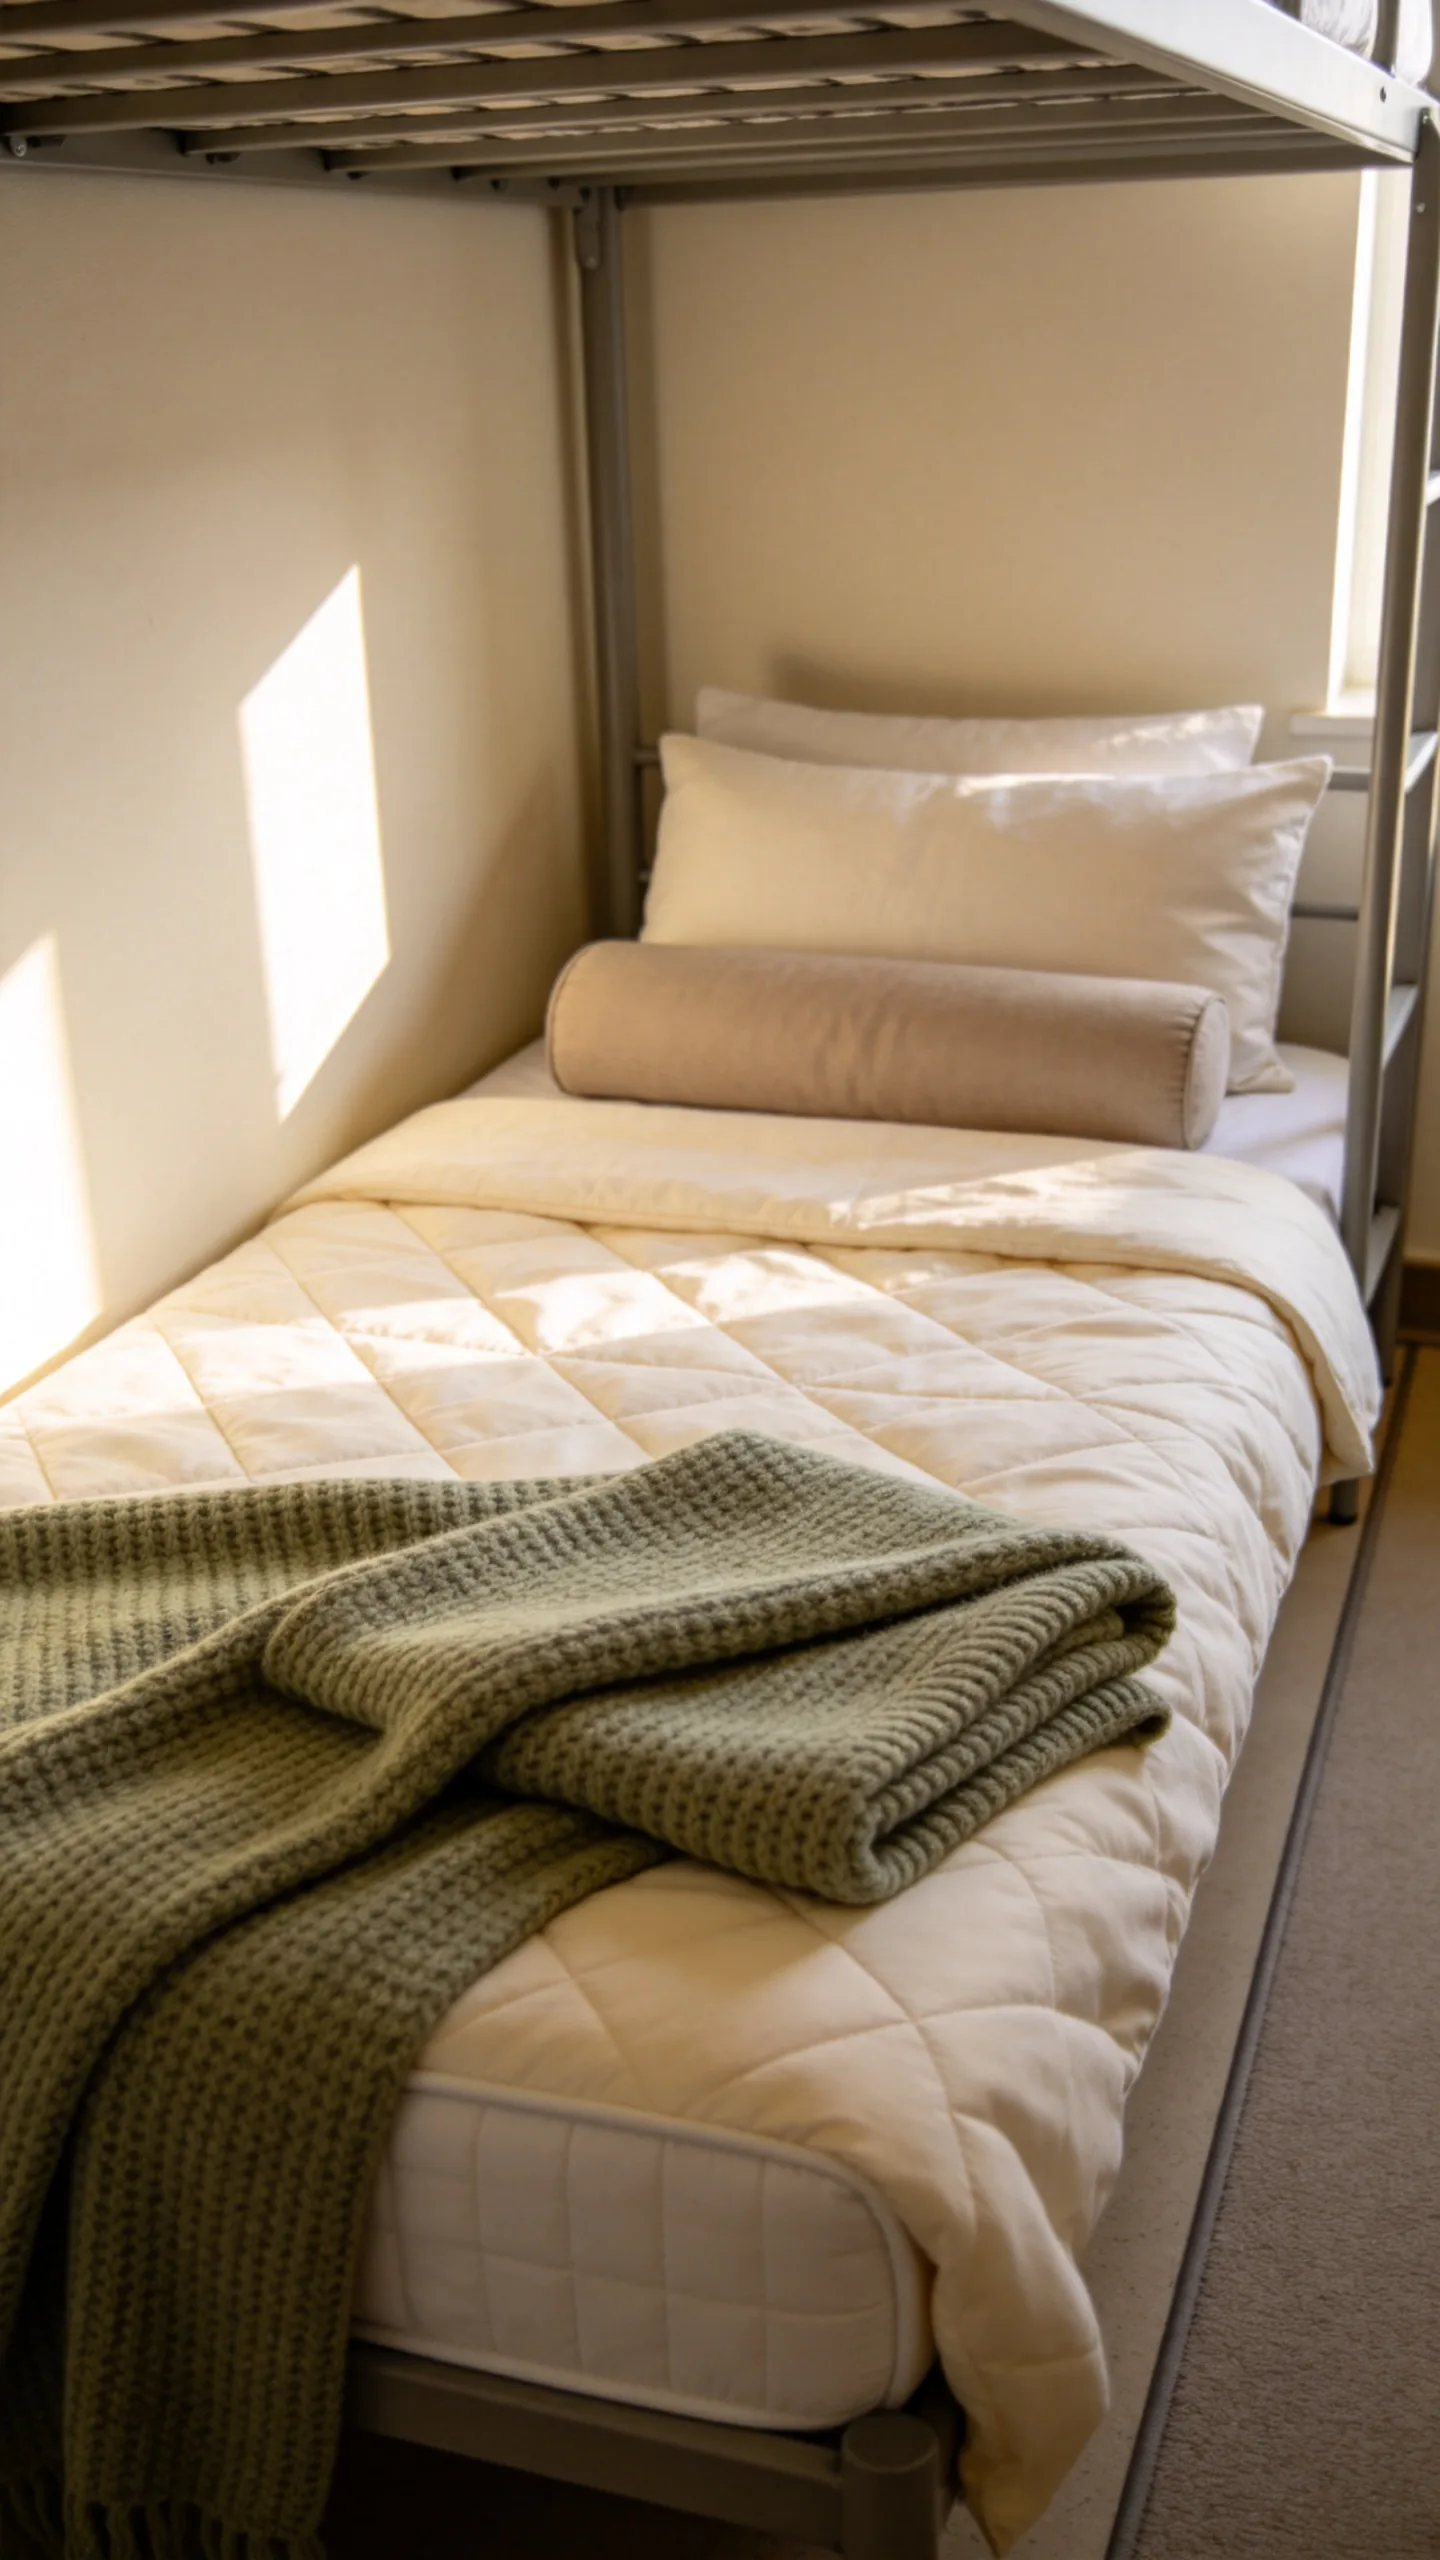
Because the bed is often the largest visual element in a dorm room, comfortable bedding can set the mood for the entire space. Cover a standard dorm mattress with a fitted mattress pad, a simple comforter, and a textured throw blanket folded across the foot. Choose machine-washable fabrics that can handle frequent laundry and everyday use.
Add two or three pillows in different sizes instead of filling the bed with cushions that need to be moved every night. A long lumbar pillow works especially well against a wall when the bed doubles as seating. Mixing cotton, fleece, knit, or quilted textures creates depth without using additional floor space.
3. Hang a Fabric Headboard With Removable Strips
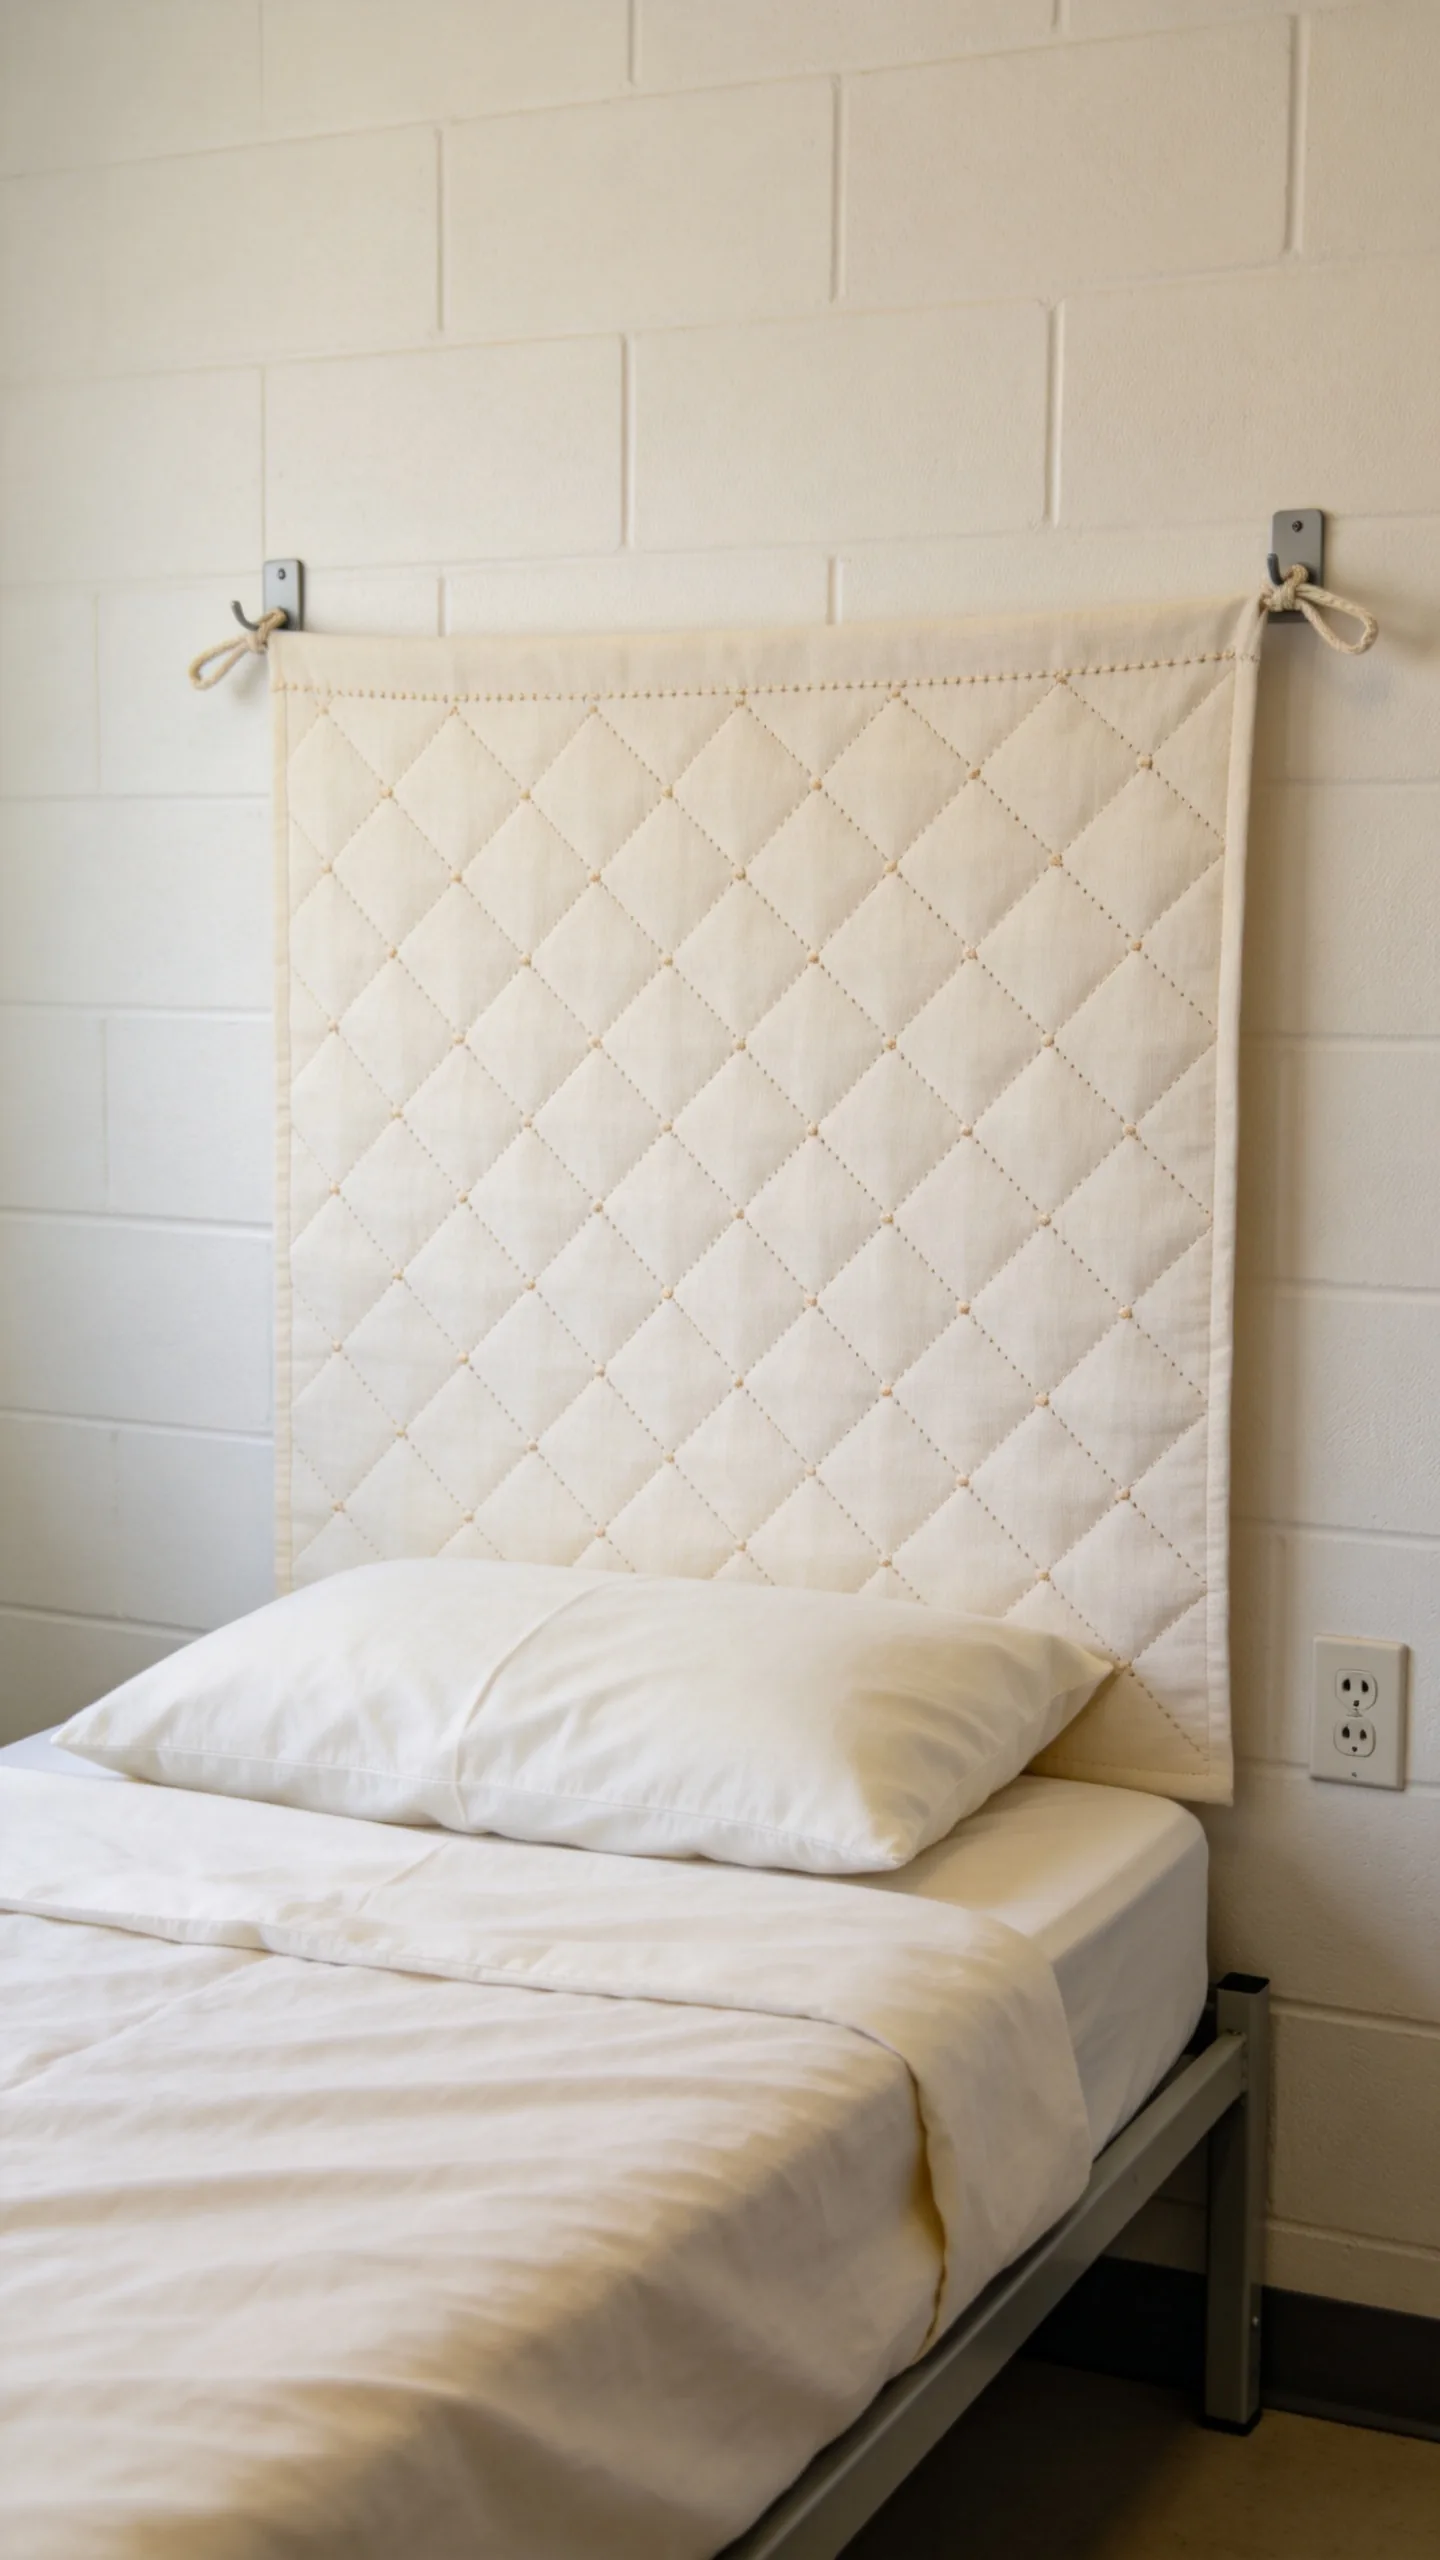
A lightweight fabric headboard can make a basic dorm bed look finished while softening a plain cinder-block or painted wall. Choose a padded headboard designed to hang from loops, or create a simple visual headboard with a quilted wall panel, woven mat, or neatly hemmed fabric.
Position it behind the pillows using removable hooks or strips approved by the residence hall. Keep the width close to the mattress so it does not crowd a roommate’s side or interfere with outlets. A neutral linen texture, floral print, or small gingham pattern adds personality without the weight and installation demands of a traditional headboard.
4. Add a Slim Rug Beside the Bed
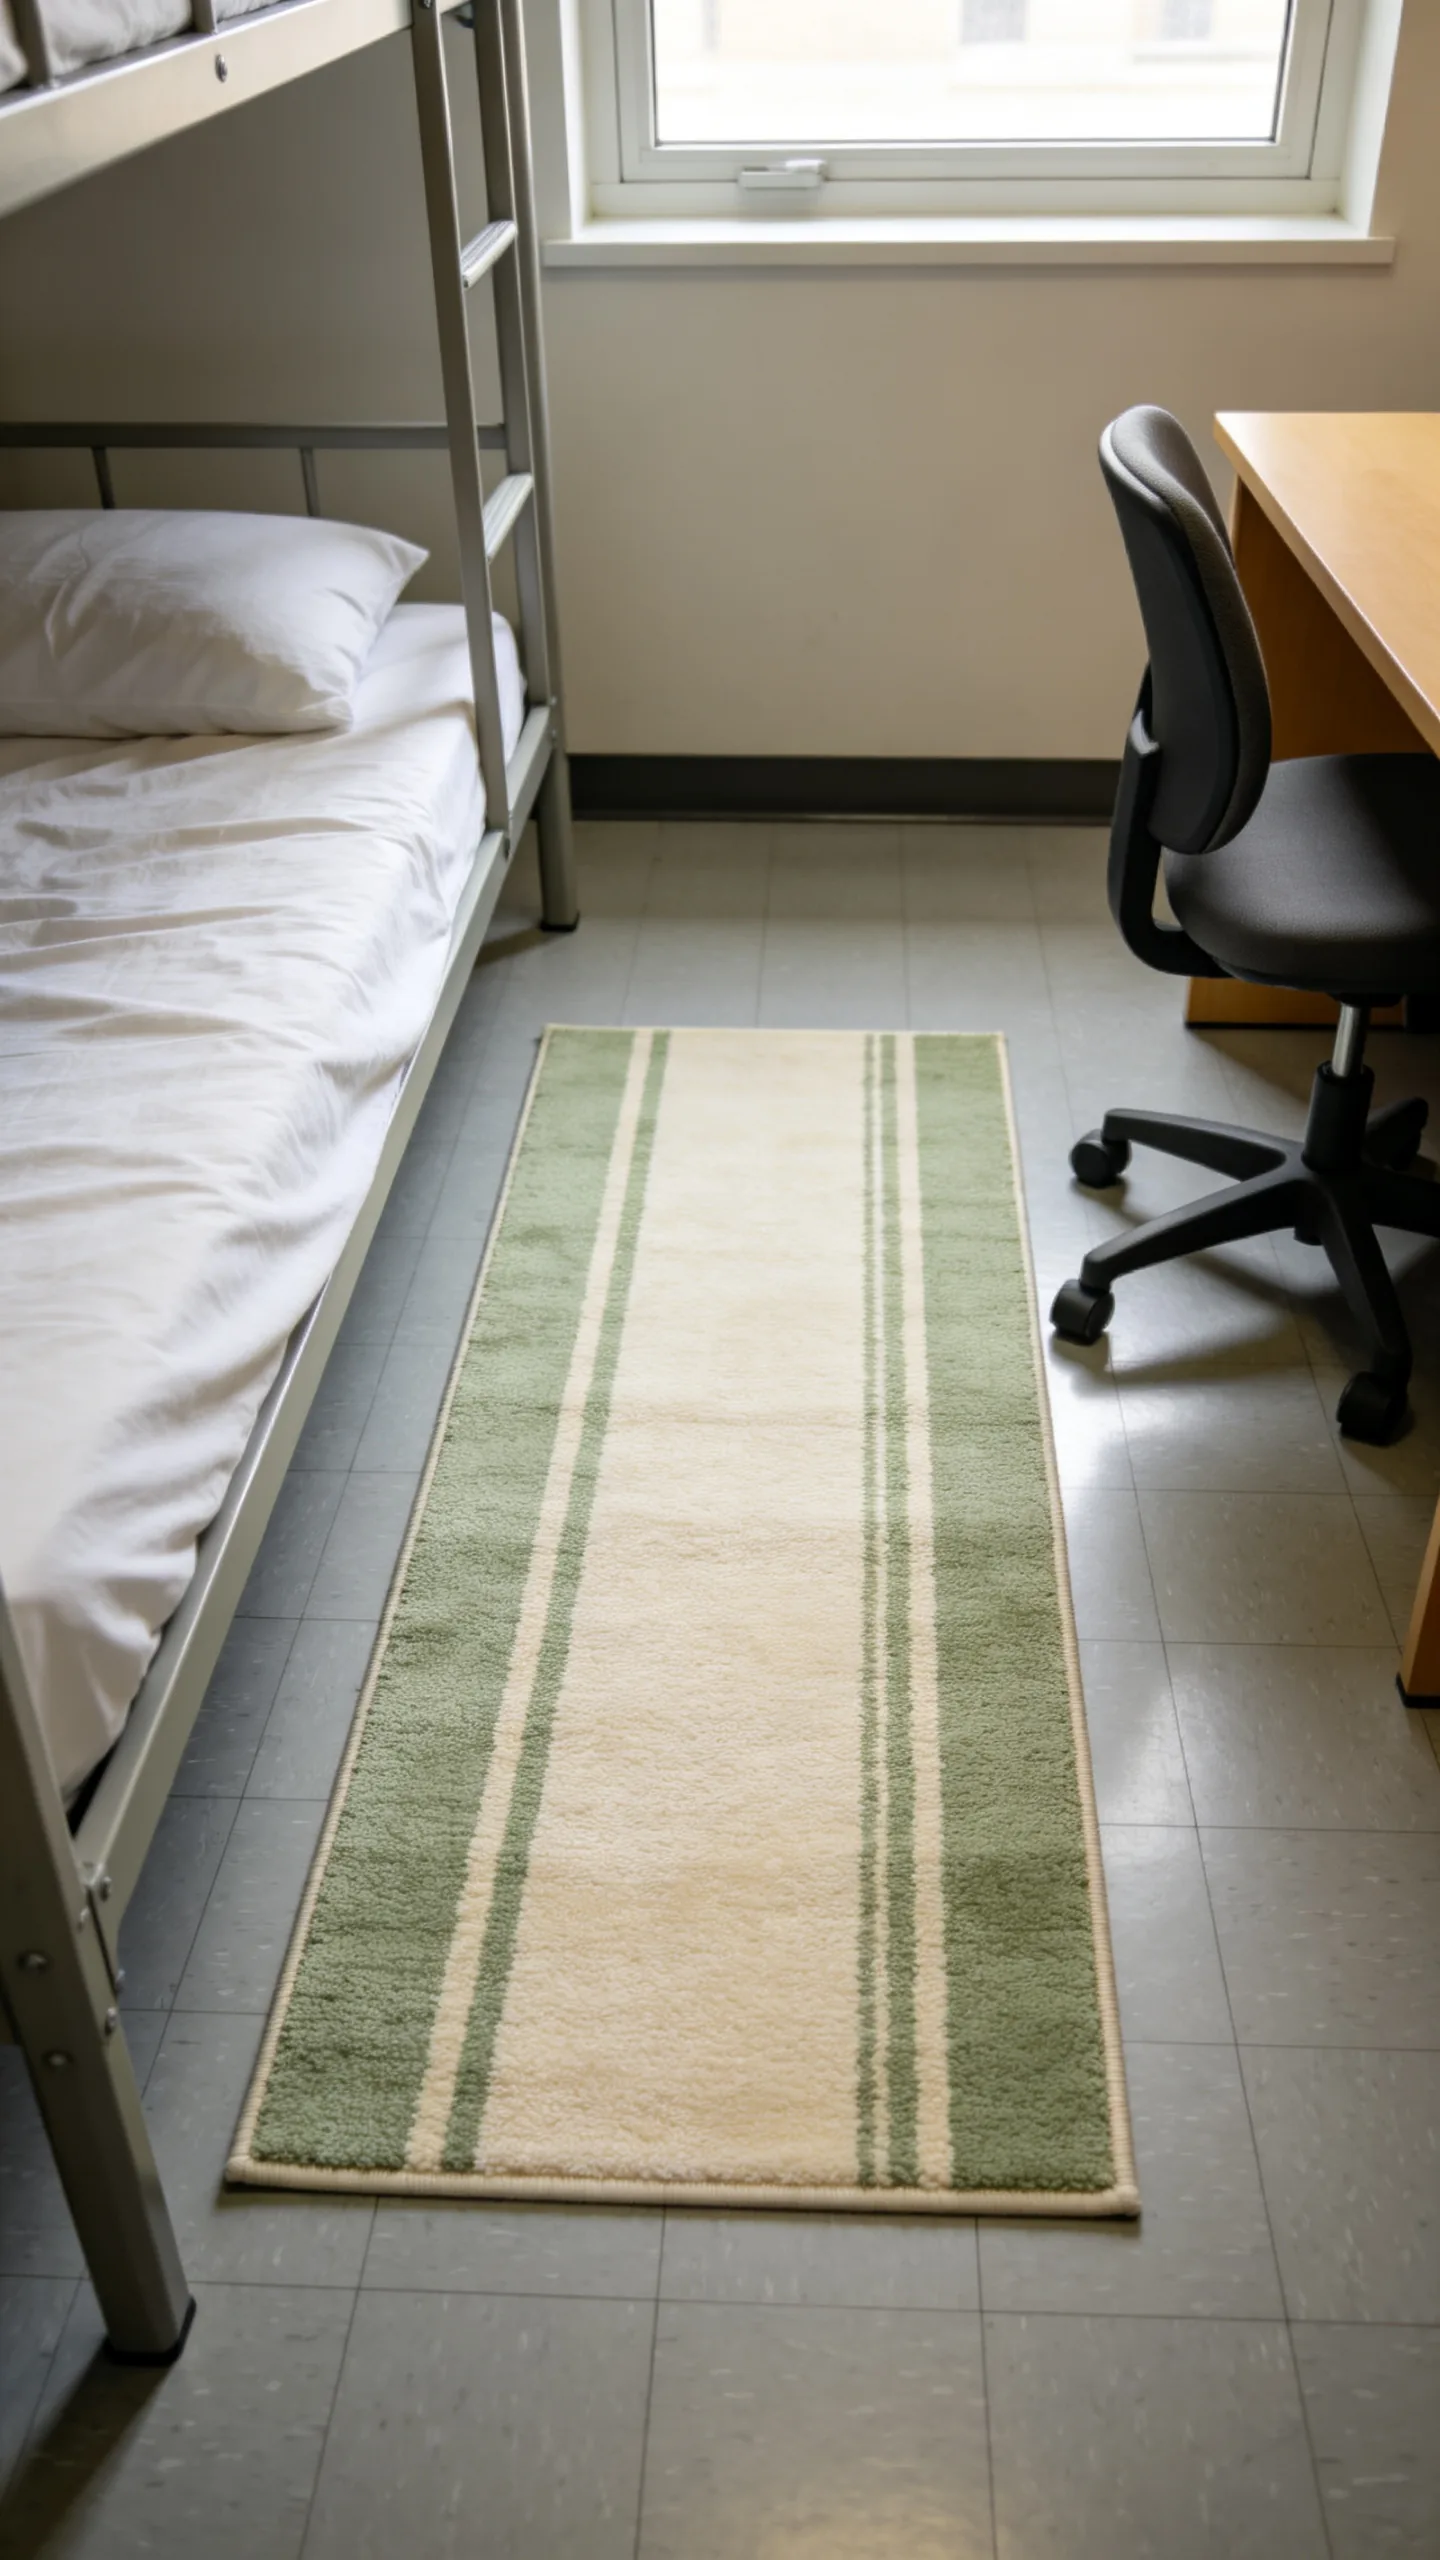
A rug brings softness to cold tile or vinyl flooring and visually defines the sleeping area. In a narrow dorm, try a washable runner beside the bed rather than a large rug that extends under every piece of furniture. A runner approximately 2 by 6 feet can provide a comfortable landing spot while preserving the main walkway.
Choose a low-pile or flat-weave material so desk chairs and rolling storage move easily. Subtle stripes can make the room look longer, while a small-scale pattern helps disguise everyday dirt. Use a thin nonslip rug pad if permitted so the edges stay flat and do not become a tripping hazard.
5. Frame the Bed With Warm String Lights
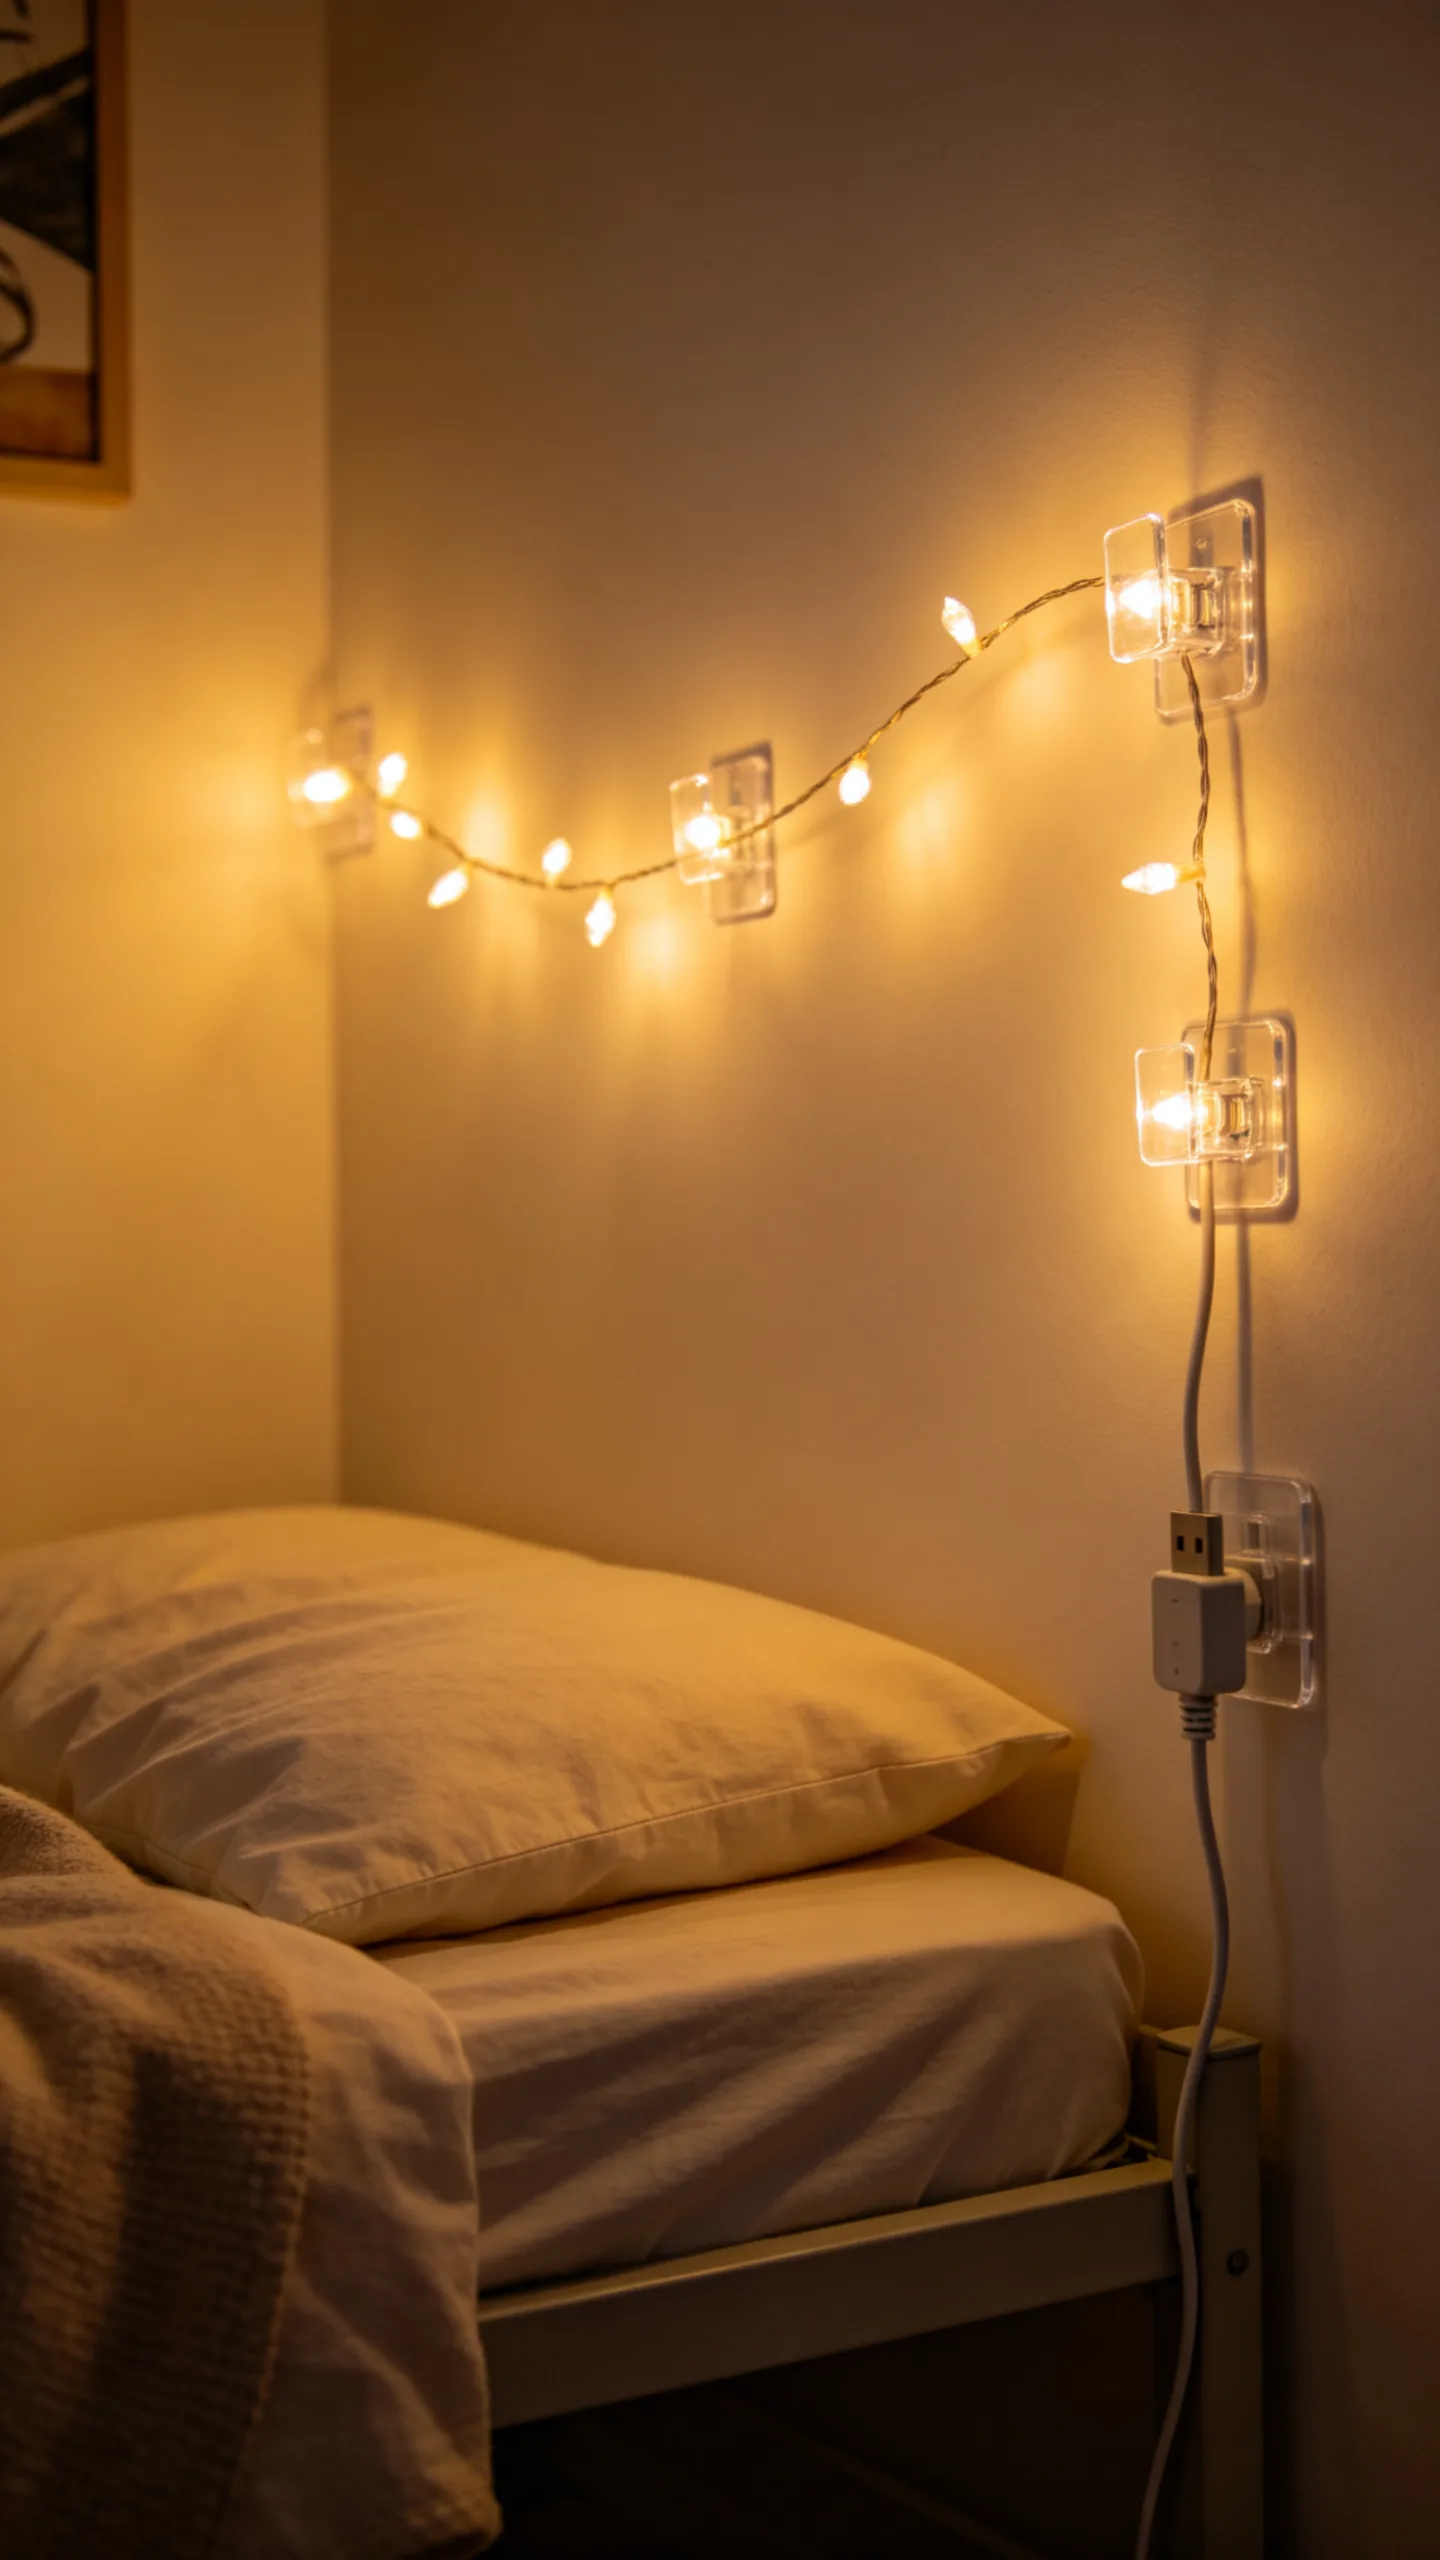
Warm white string lights can replace harsh overhead lighting with a softer evening glow. Outline the wall above the bed, drape the strand in a gentle curve, or run it along the edge of a bulletin board. Keeping the arrangement simple prevents the wall from looking busy and leaves room for art or photos.
Select lights that comply with dorm policies, and use removable clips rather than nails or staples. Battery-powered or USB-powered strands can reduce cord clutter near the floor. Avoid placing lights beneath bedding, behind fabric, or anywhere heat may become trapped, and switch them off when leaving the room.
6. Create a Removable Gallery Wall
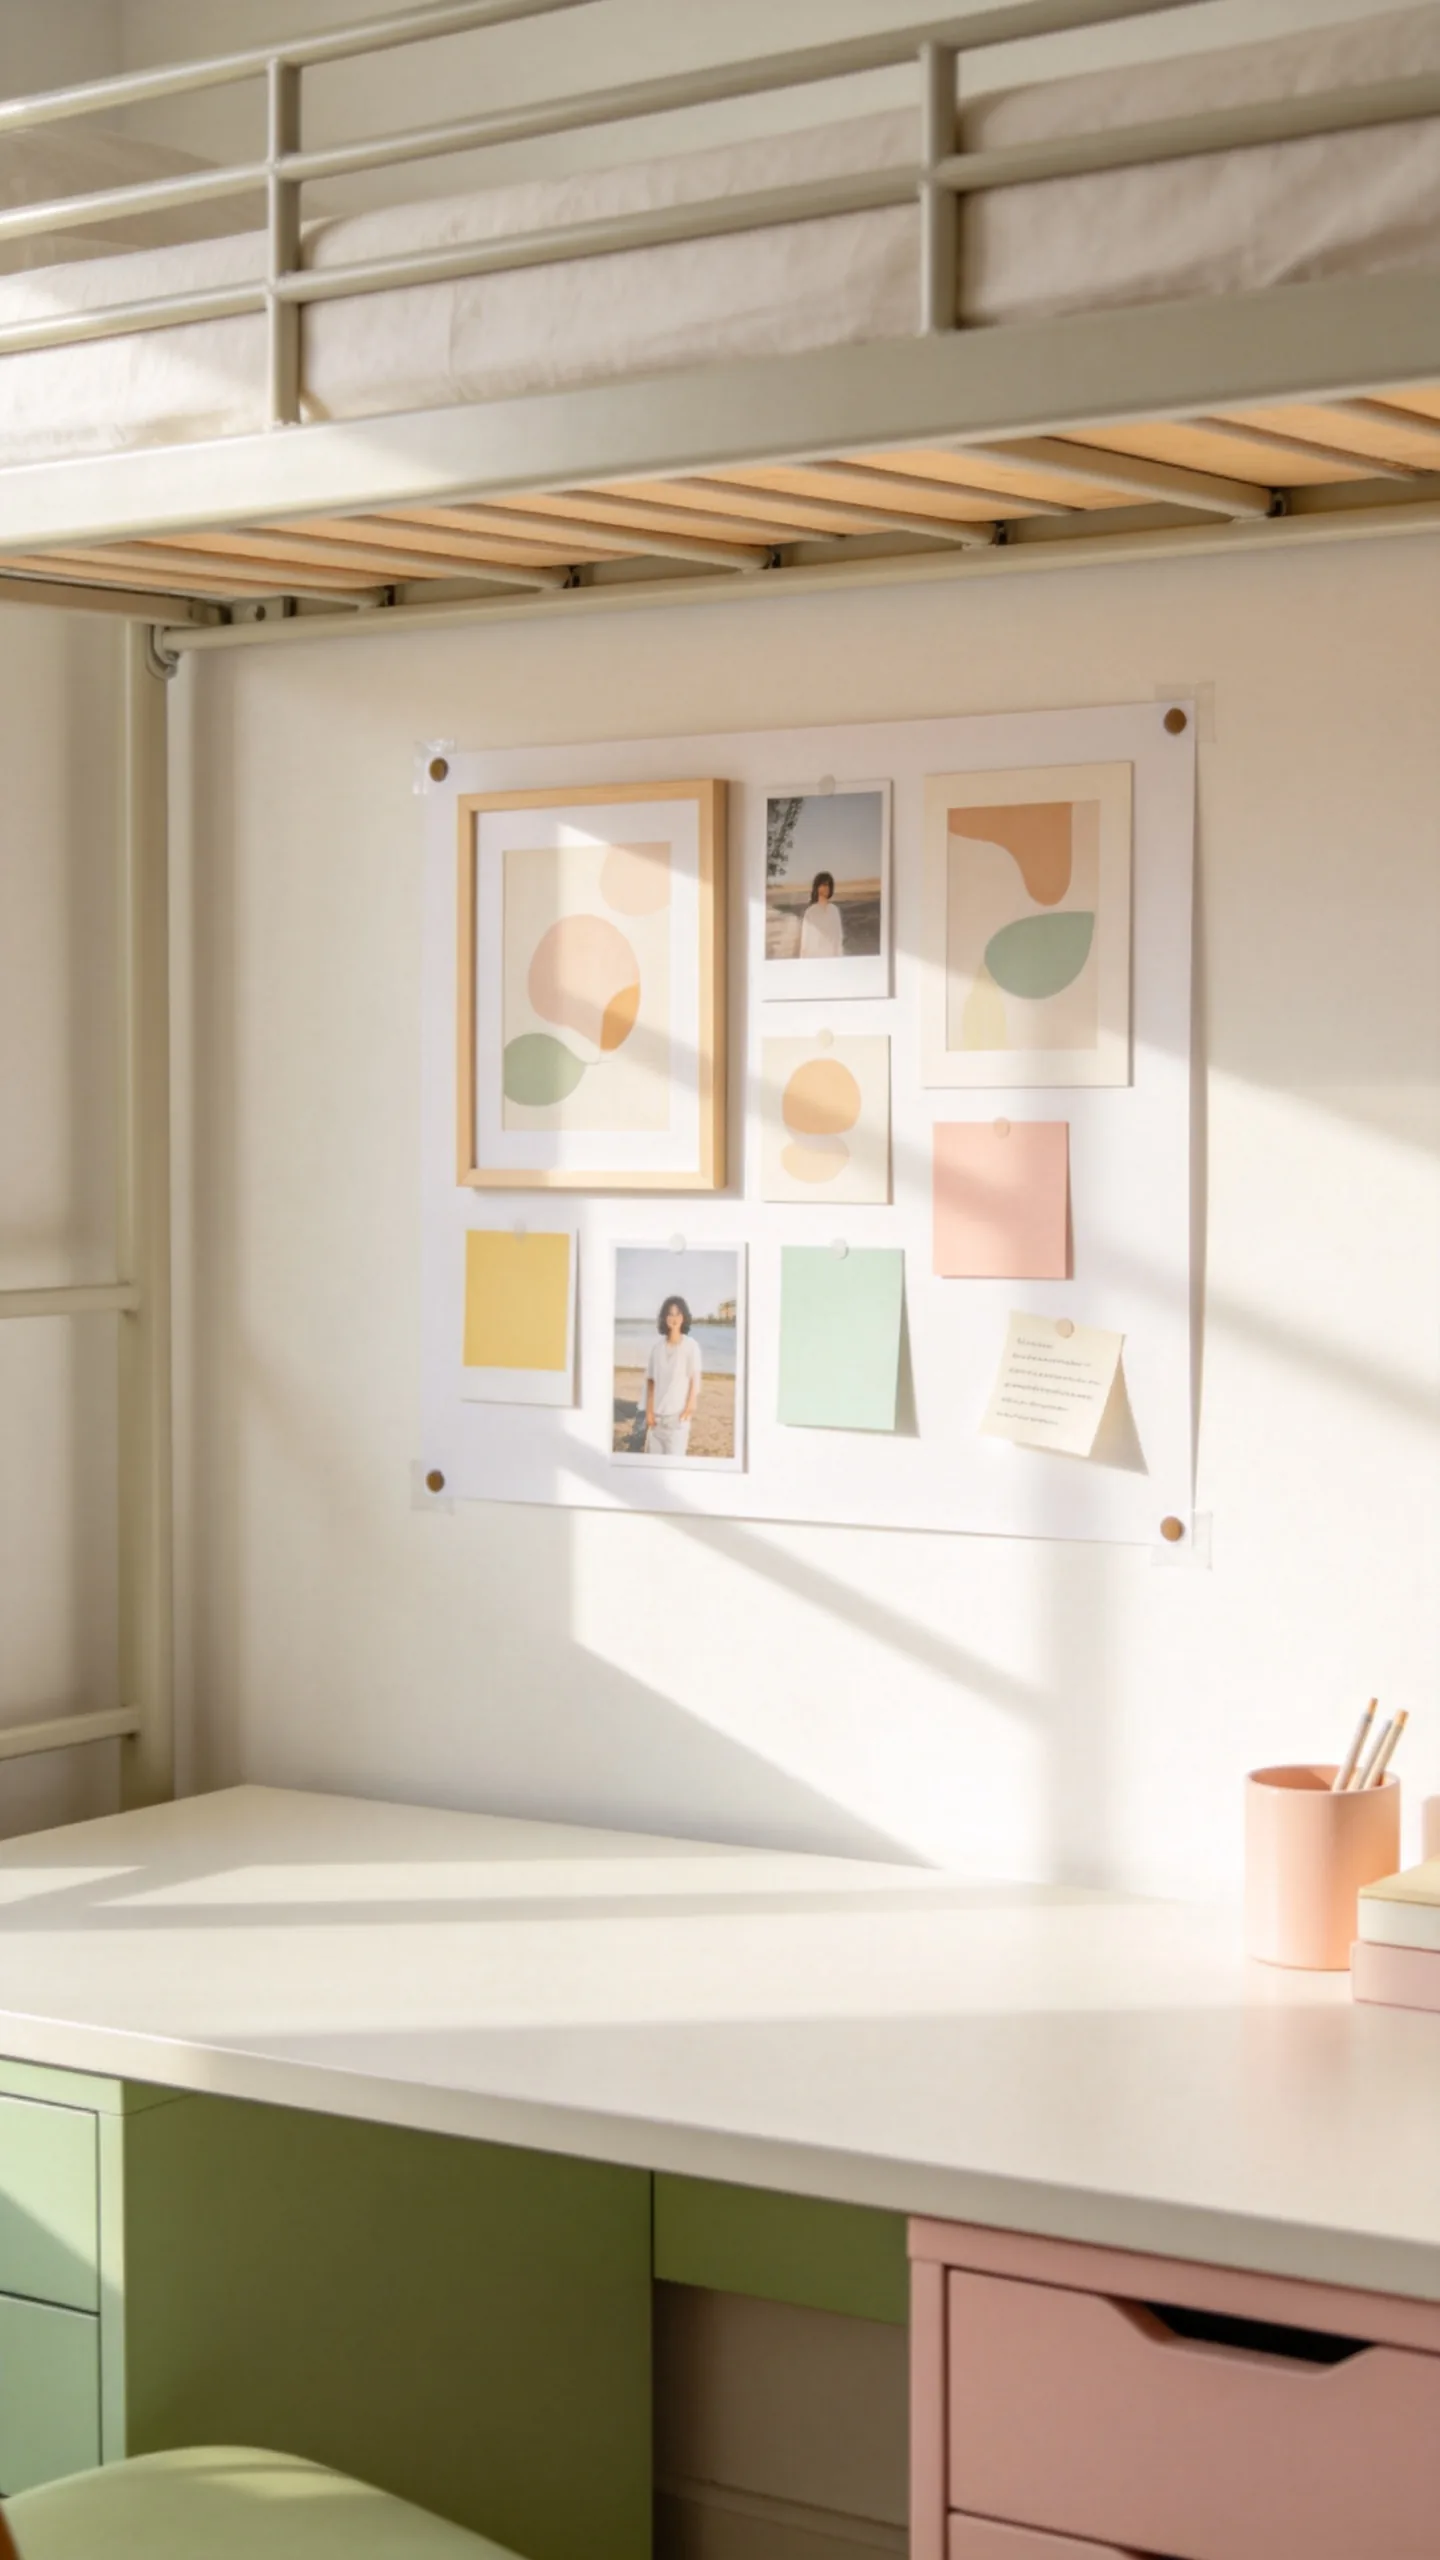
Turn the wall above a desk or bed into a compact gallery using unframed prints, postcards, photographs, ticket stubs, and small paper illustrations. Arrange the pieces within an imaginary rectangle so the collection reads as one focal point rather than scattered visual clutter.
Repeat colors from the bedding to connect the display to the rest of the room. Lightweight paper art is easier to hang with dorm-approved adhesive than glass frames, and it takes up almost no physical space. Leave a few inches between the gallery and nearby shelves or lamps to keep the wall composition breathable.
7. Use a Photo Grid as Changeable Wall Decor
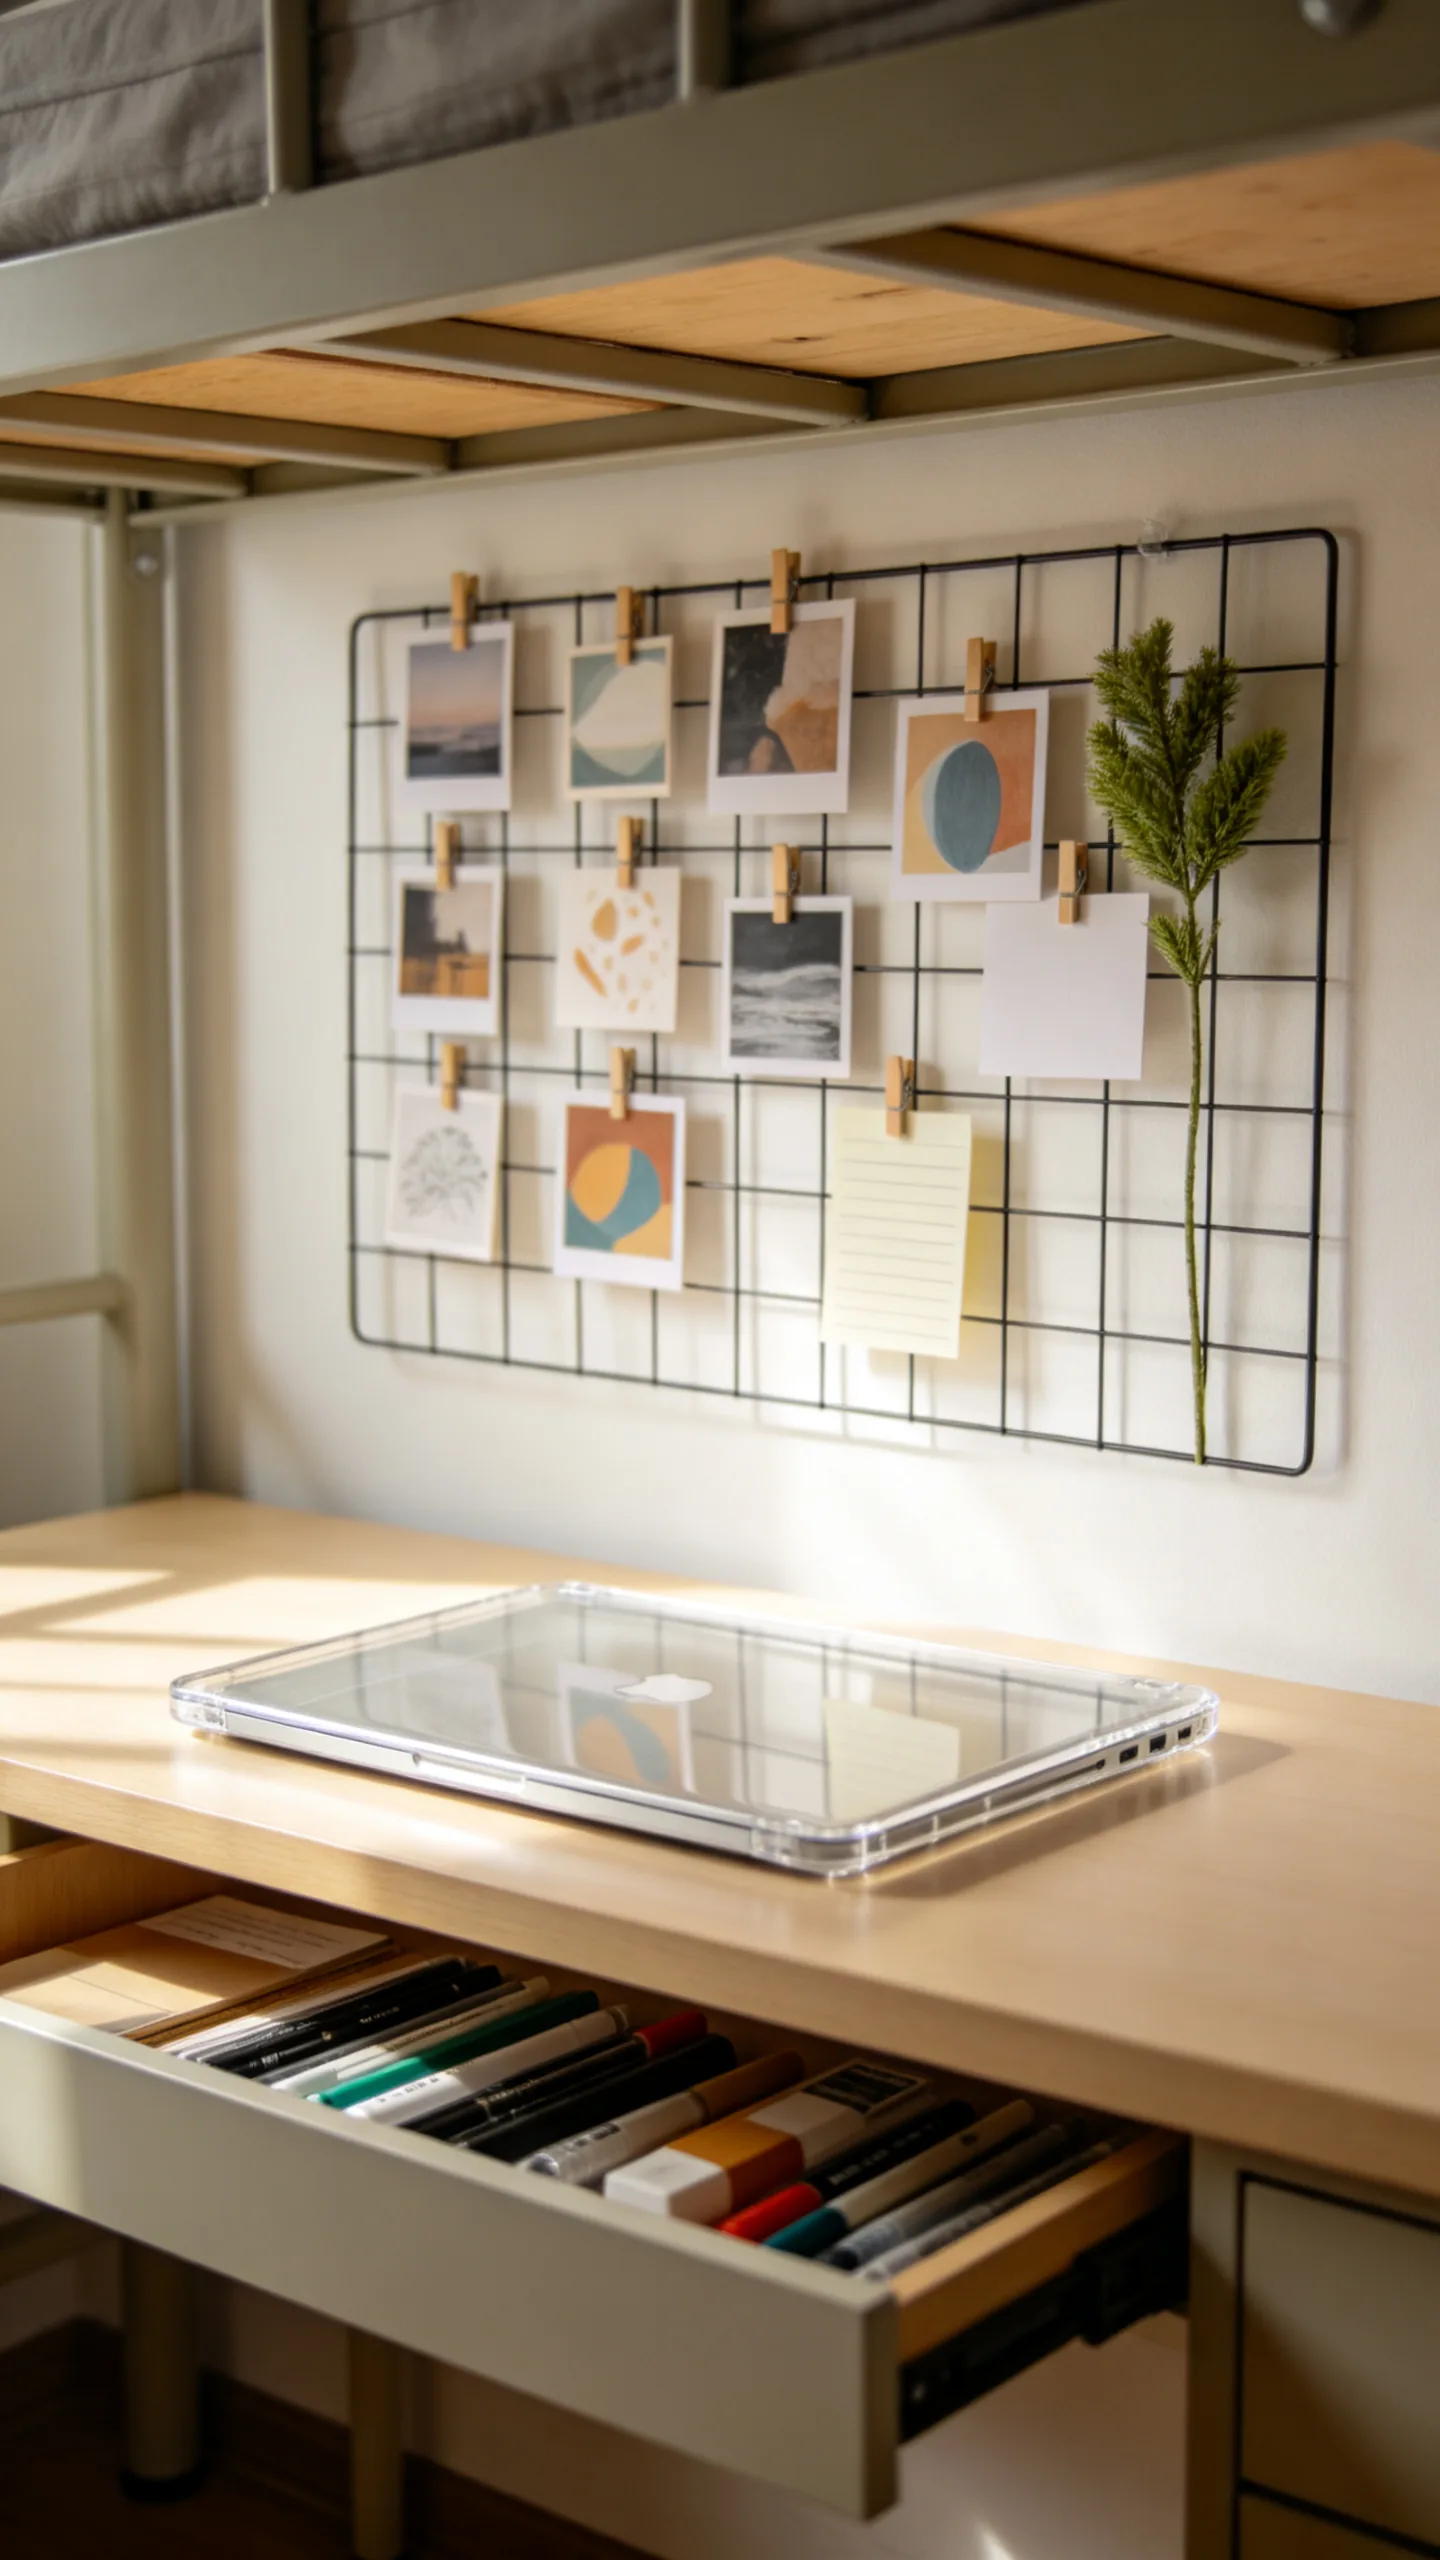
A wire photo grid offers a flexible way to display snapshots, reminders, mini calendars, and small art prints. Mount it above the desk where it can serve as both decoration and an organization station. Clips make it easy to update the display throughout the semester without repeatedly attaching items to the wall.
Limit the grid to a curated mix of photos and practical notes so it does not become visually overwhelming. Add one lightweight accessory, such as a small fabric pennant or faux greenery stem, for texture. Keep heavier supplies in desk drawers rather than hanging them from the grid, especially if the mounting method has a low weight limit.
8. Raise the Bed for Hidden Storage
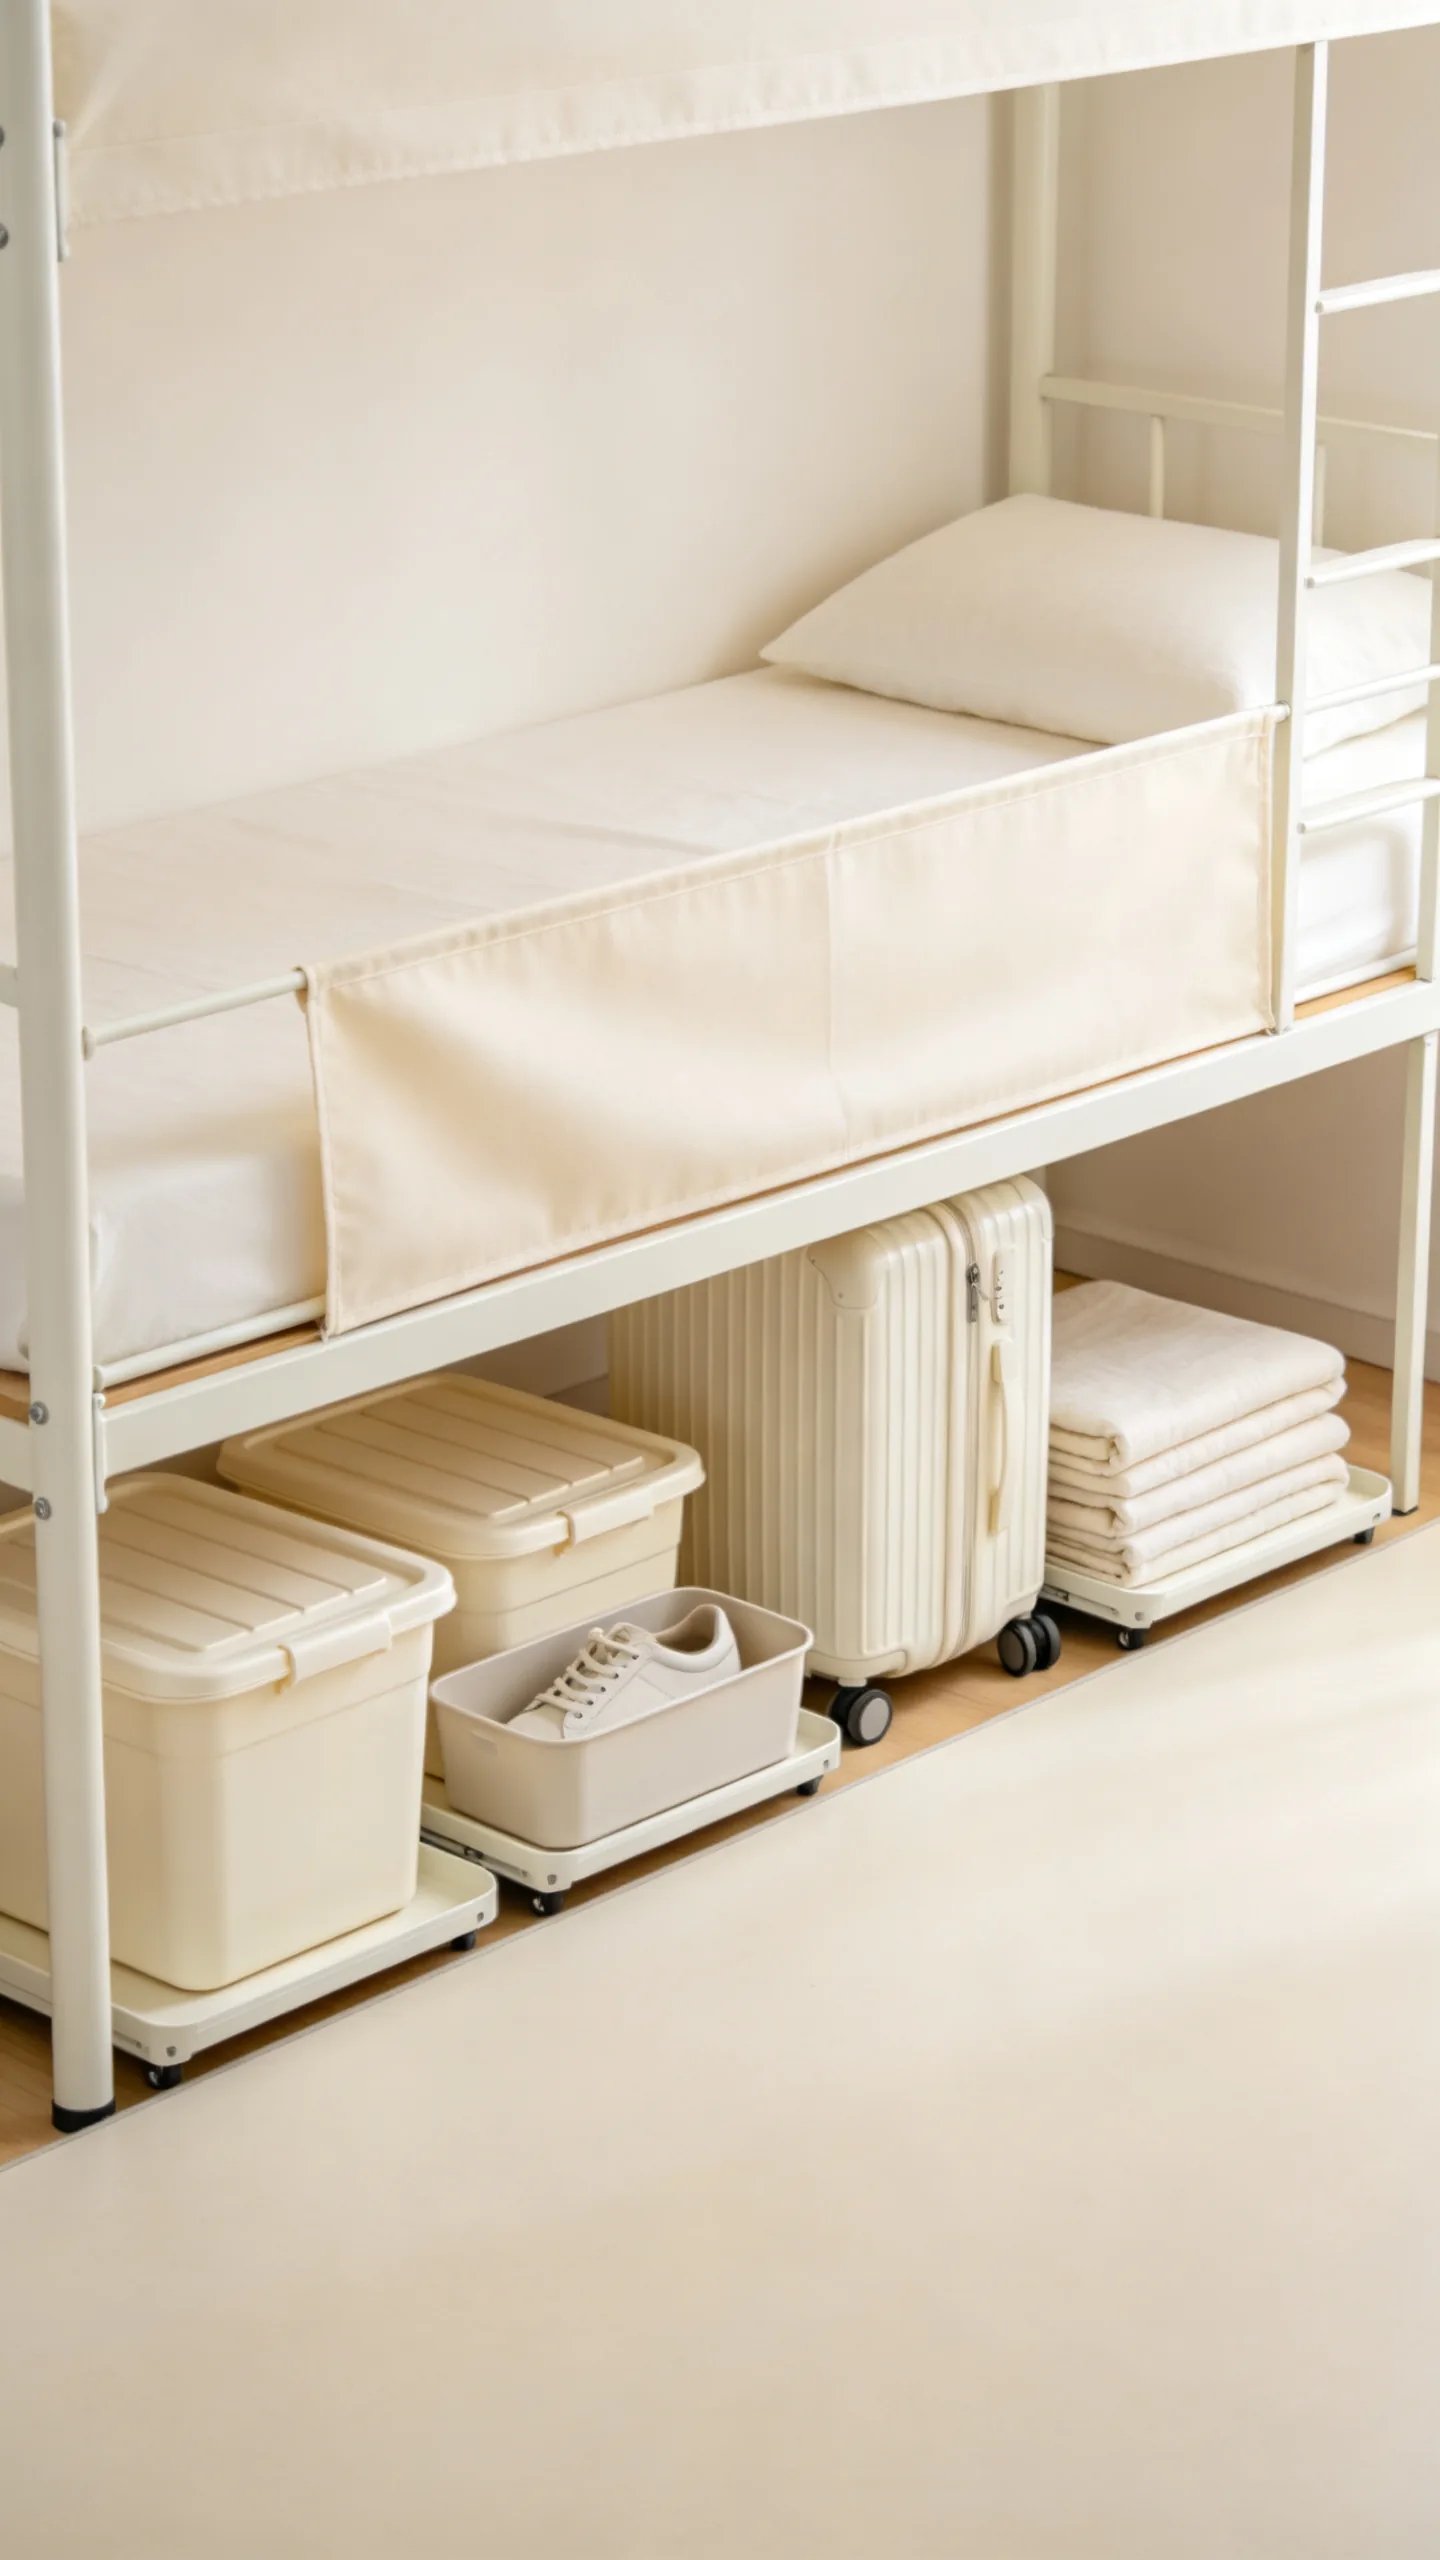
If residence hall furniture allows it, raise the bed to create storage underneath without adding another cabinet. Use approved risers or the bed’s built-in height settings, following campus guidelines. The extra clearance can hold luggage, seasonal clothes, spare linens, shoes, and bulkier school supplies.
Place belongings in matching lidded bins to reduce visual clutter, and label the ends so items are easy to find. Choose containers that slide out from the aisle without hitting a desk or the opposite bed. A fitted bed skirt or simple fabric panel can conceal the bins, making the sleeping area look calmer and more polished.
9. Turn a Rolling Cart Into a Bedside Station
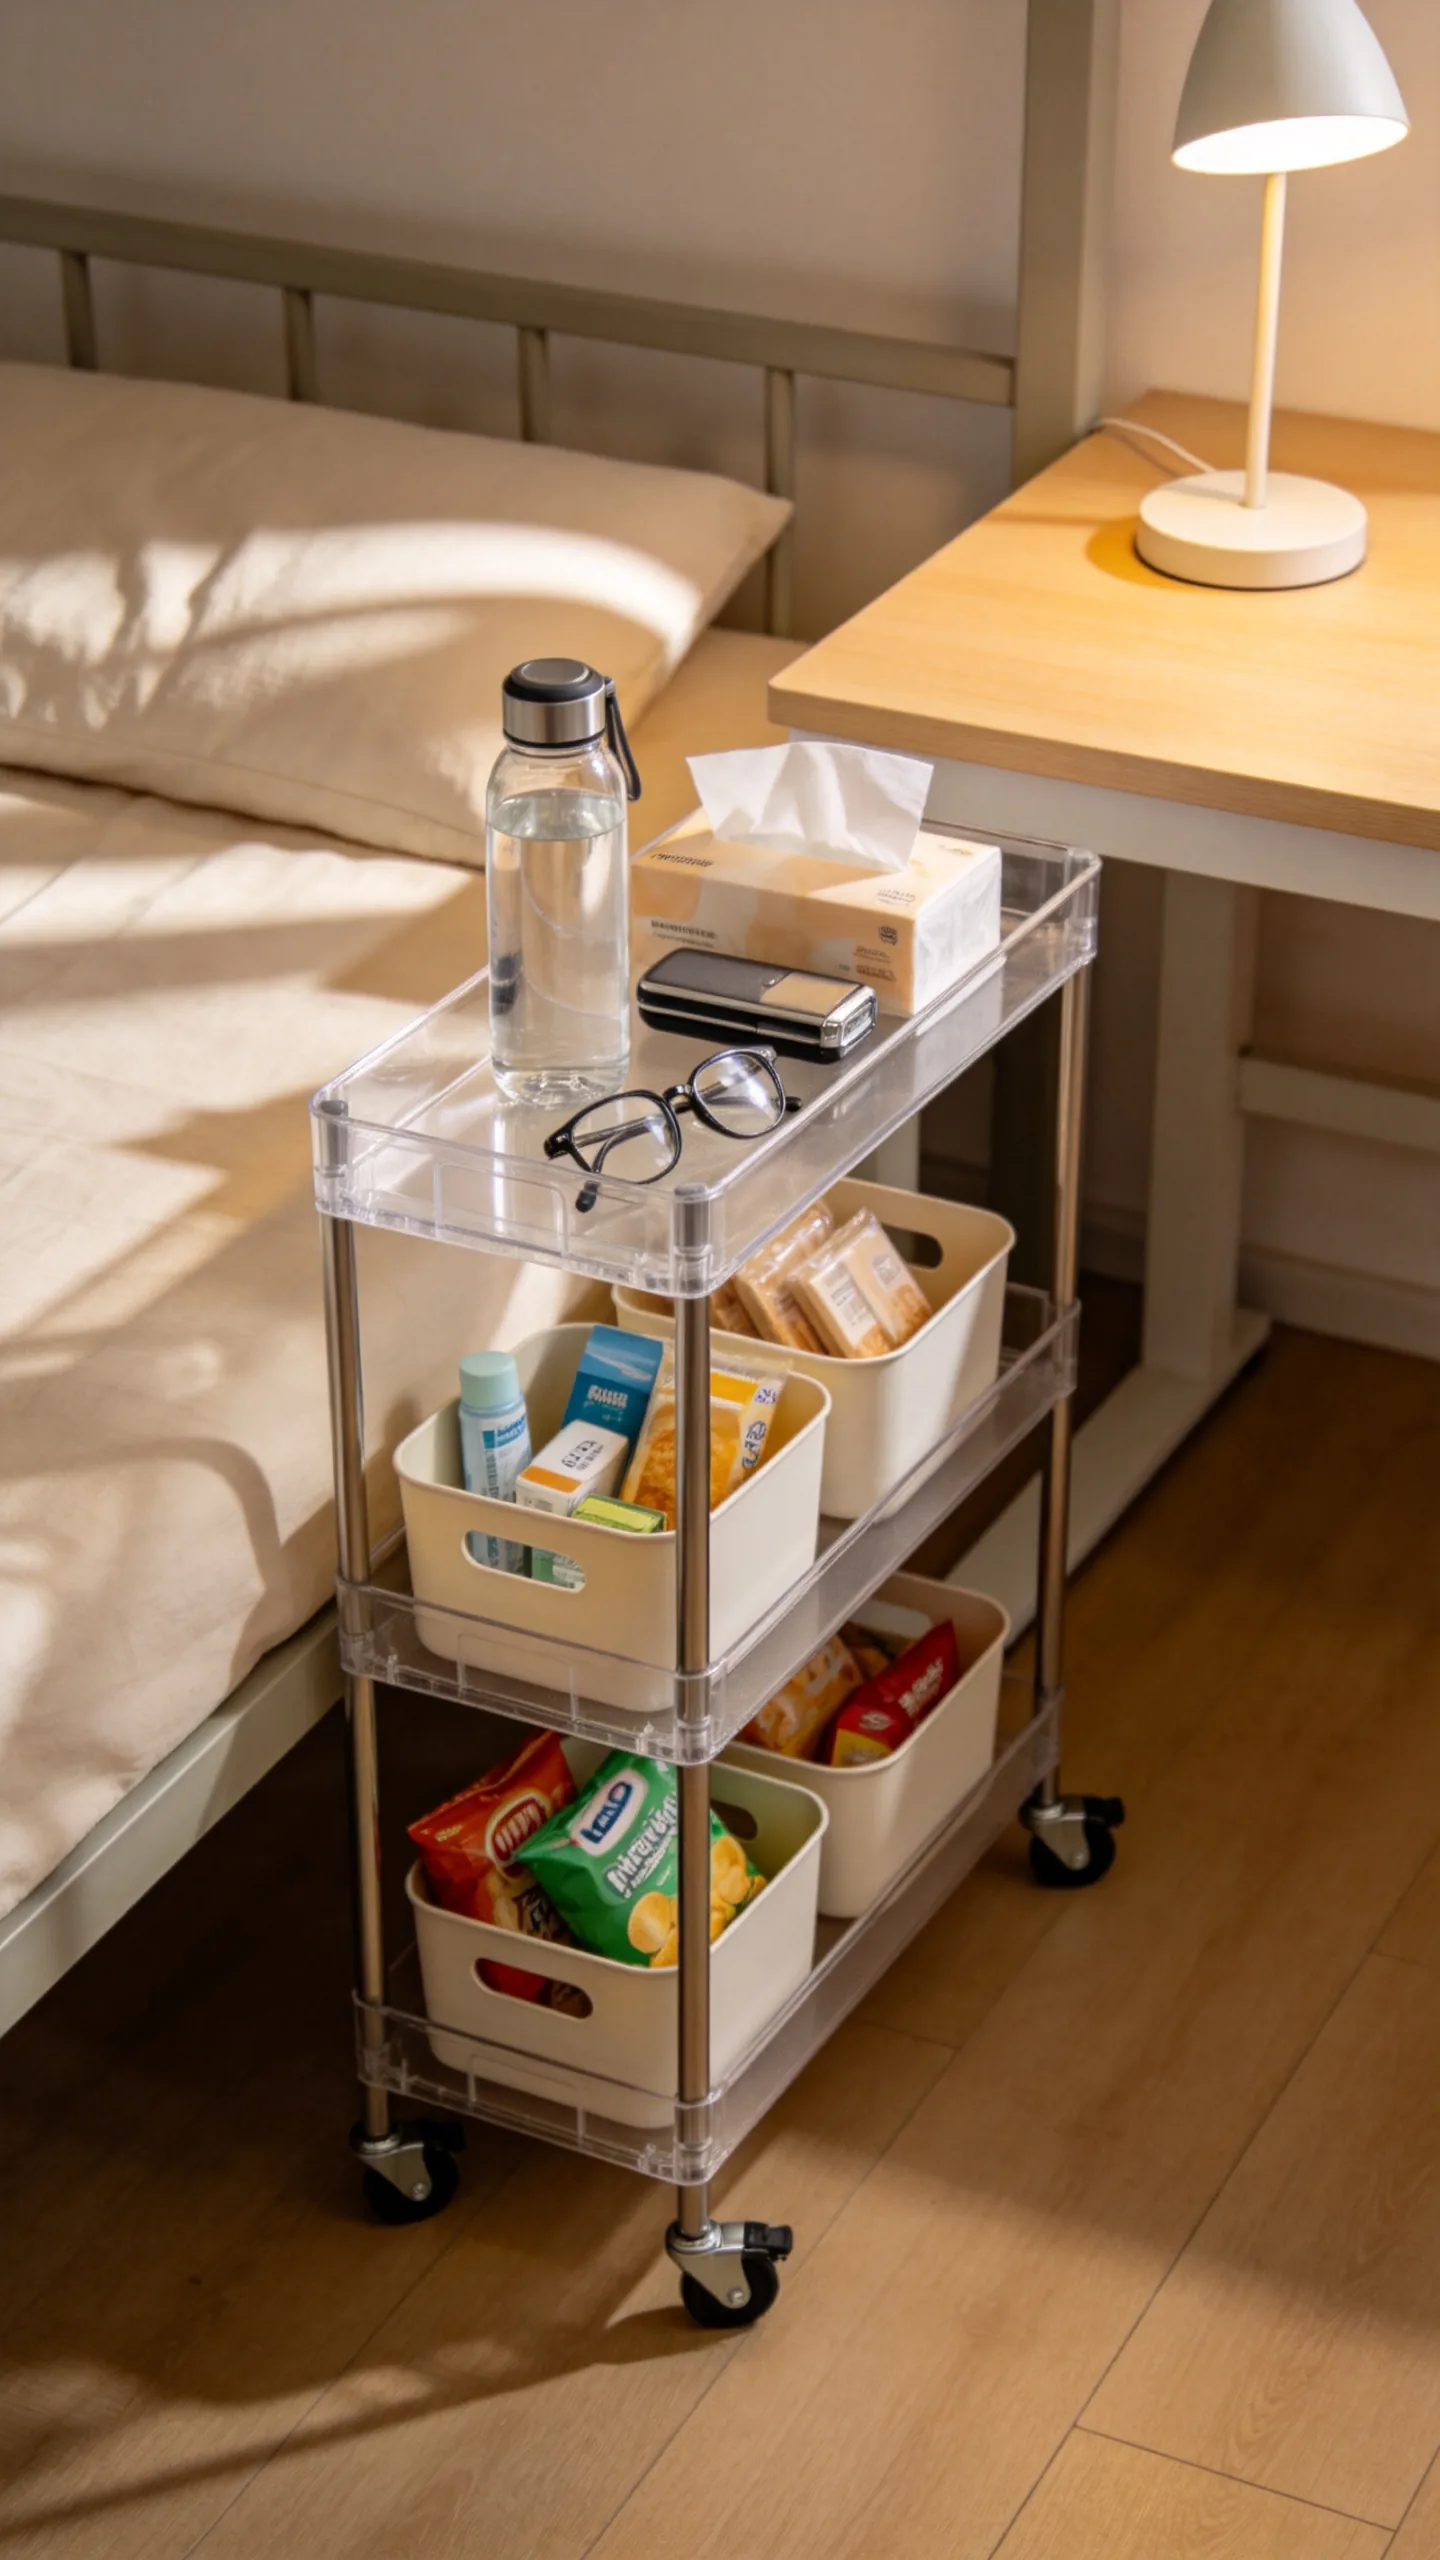
A narrow three-tier rolling cart can function as a nightstand, snack station, beauty organizer, or mobile school-supply unit. Position it beside the bed and reserve the top tier for items used daily, such as a water bottle, glasses, tissues, and a reading lamp. Store less attractive supplies in small bins on the lower tiers.
The vertical design provides several levels of storage while using little floor space. Choose a cart with locking wheels so it stays stable, then roll it beside the desk when extra supplies are needed. Keeping the top surface mostly clear makes the room feel less crowded and gives you a safe place to set essentials.
10. Install a Bedside Caddy for Nighttime Essentials
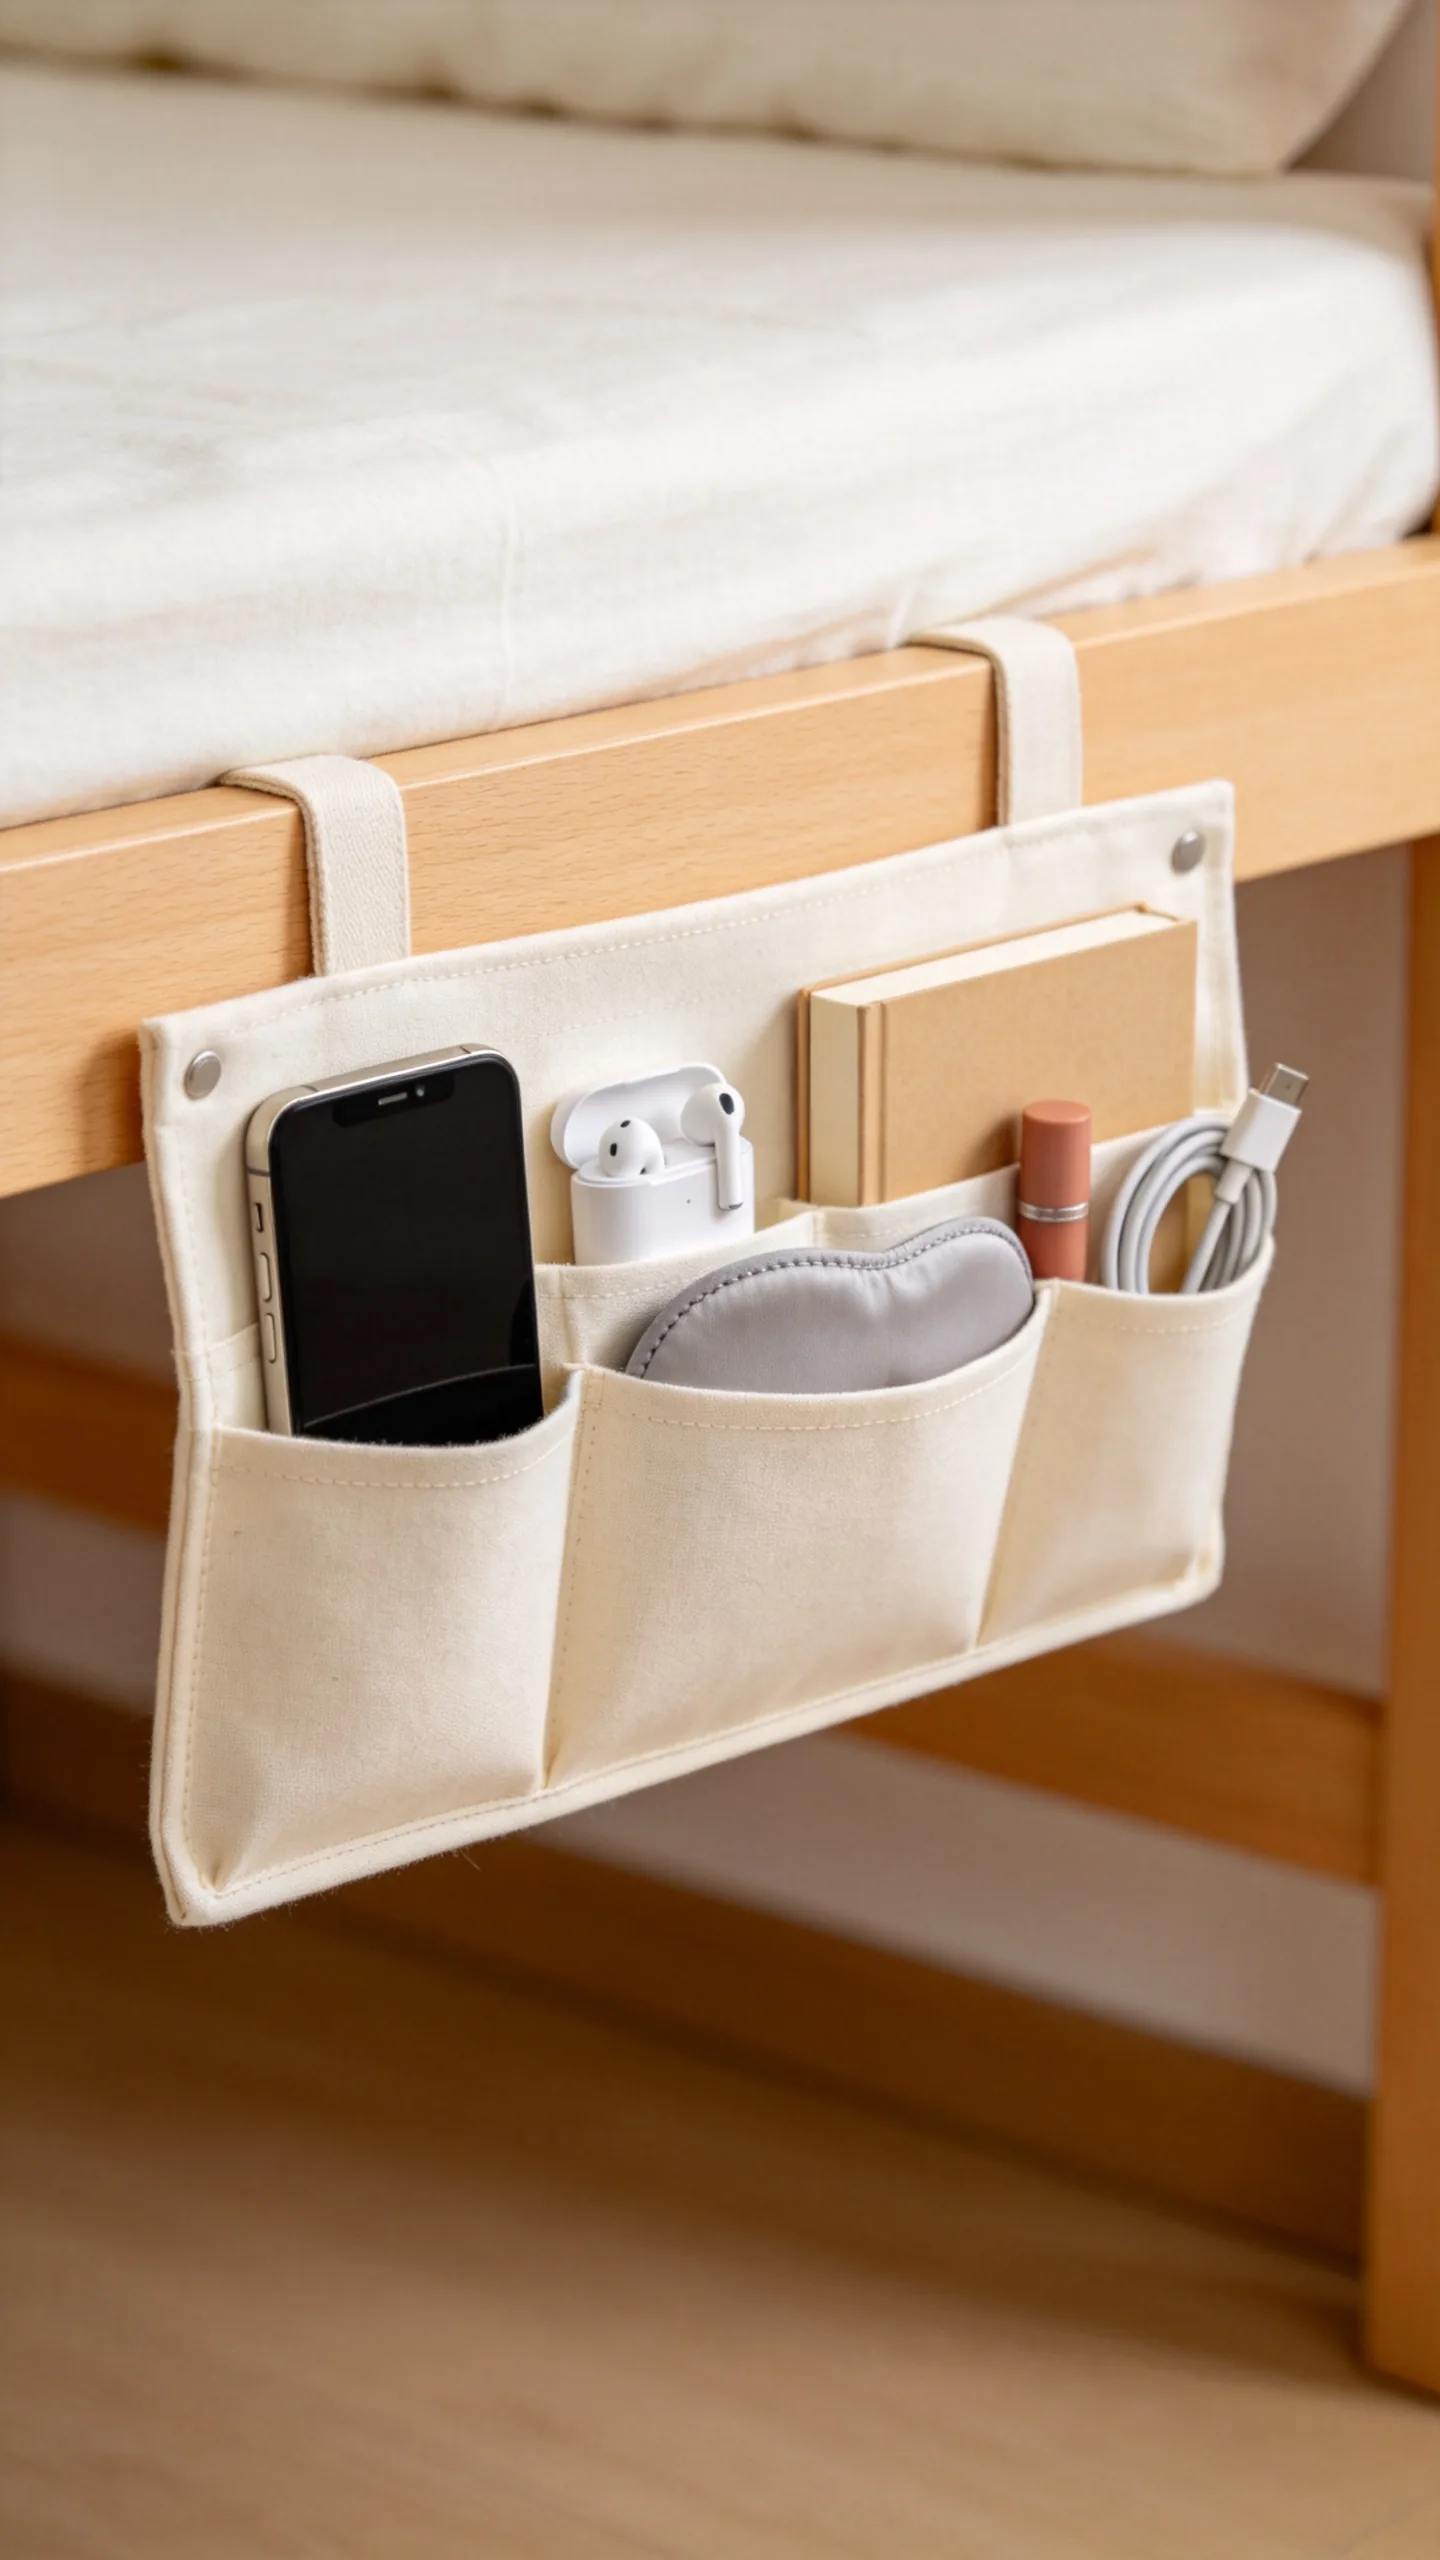
When there is not enough space for a nightstand, use a fabric bedside caddy that slips under the mattress or attaches to the bed frame. Its pockets can hold a phone, earbuds, book, lip balm, sleep mask, and charging cable without taking up any floor area.
Choose a structured caddy that will not sag into the walkway, and avoid overloading it with heavy objects. Position it near the head of the bed for easy access while keeping it away from ladders and climbing points on lofted beds. A caddy in the same color as the bedding blends into the room instead of adding another strong visual element.
11. Style the Desk With Vertical Organizers
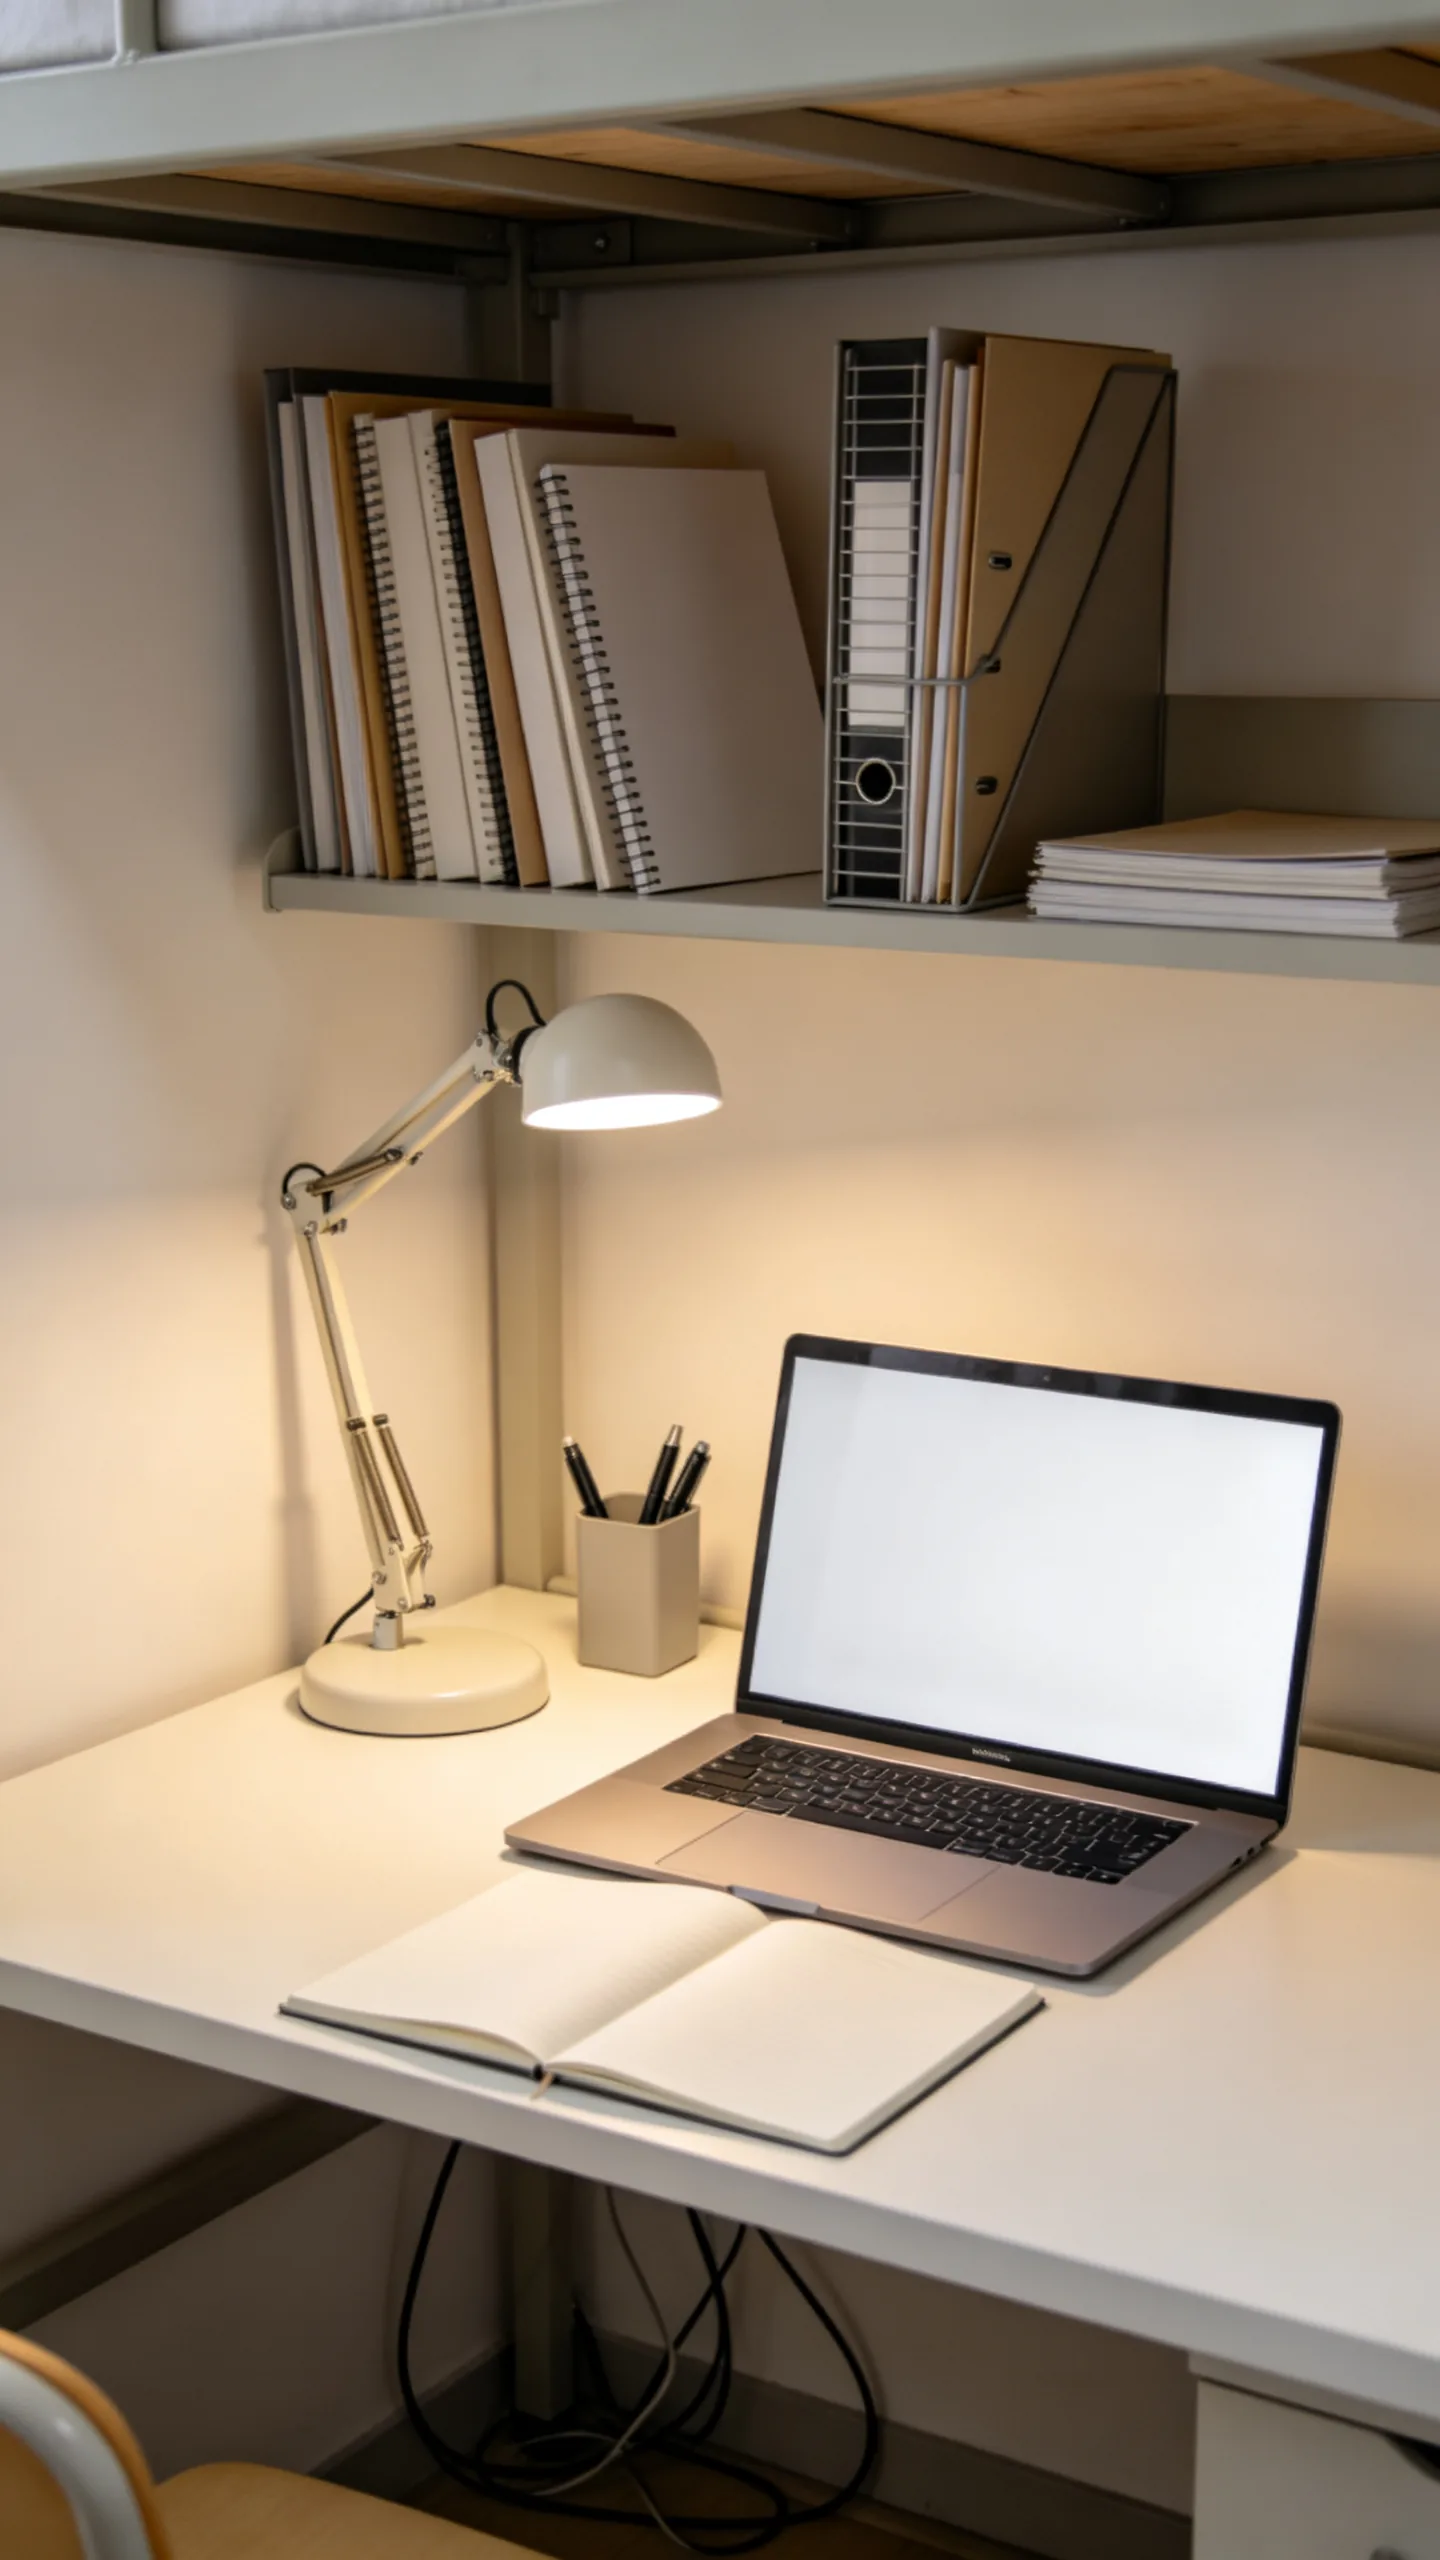
Keep the limited desktop open by moving supplies upward. A narrow book riser, stackable shelf, or vertical file holder can store textbooks, notebooks, mail, and folders without spreading them across the work surface. Place the tallest organizer against the wall so it does not block sightlines into the room.
Use one small tray for pens and daily essentials, then store backup supplies in a drawer or bin. A compact desk lamp with an adjustable arm provides focused task lighting without occupying much space. Leaving a clear area for a laptop and notebook makes the desk more inviting to use and easier to reset after studying.
12. Add a Mirror to Reflect Light
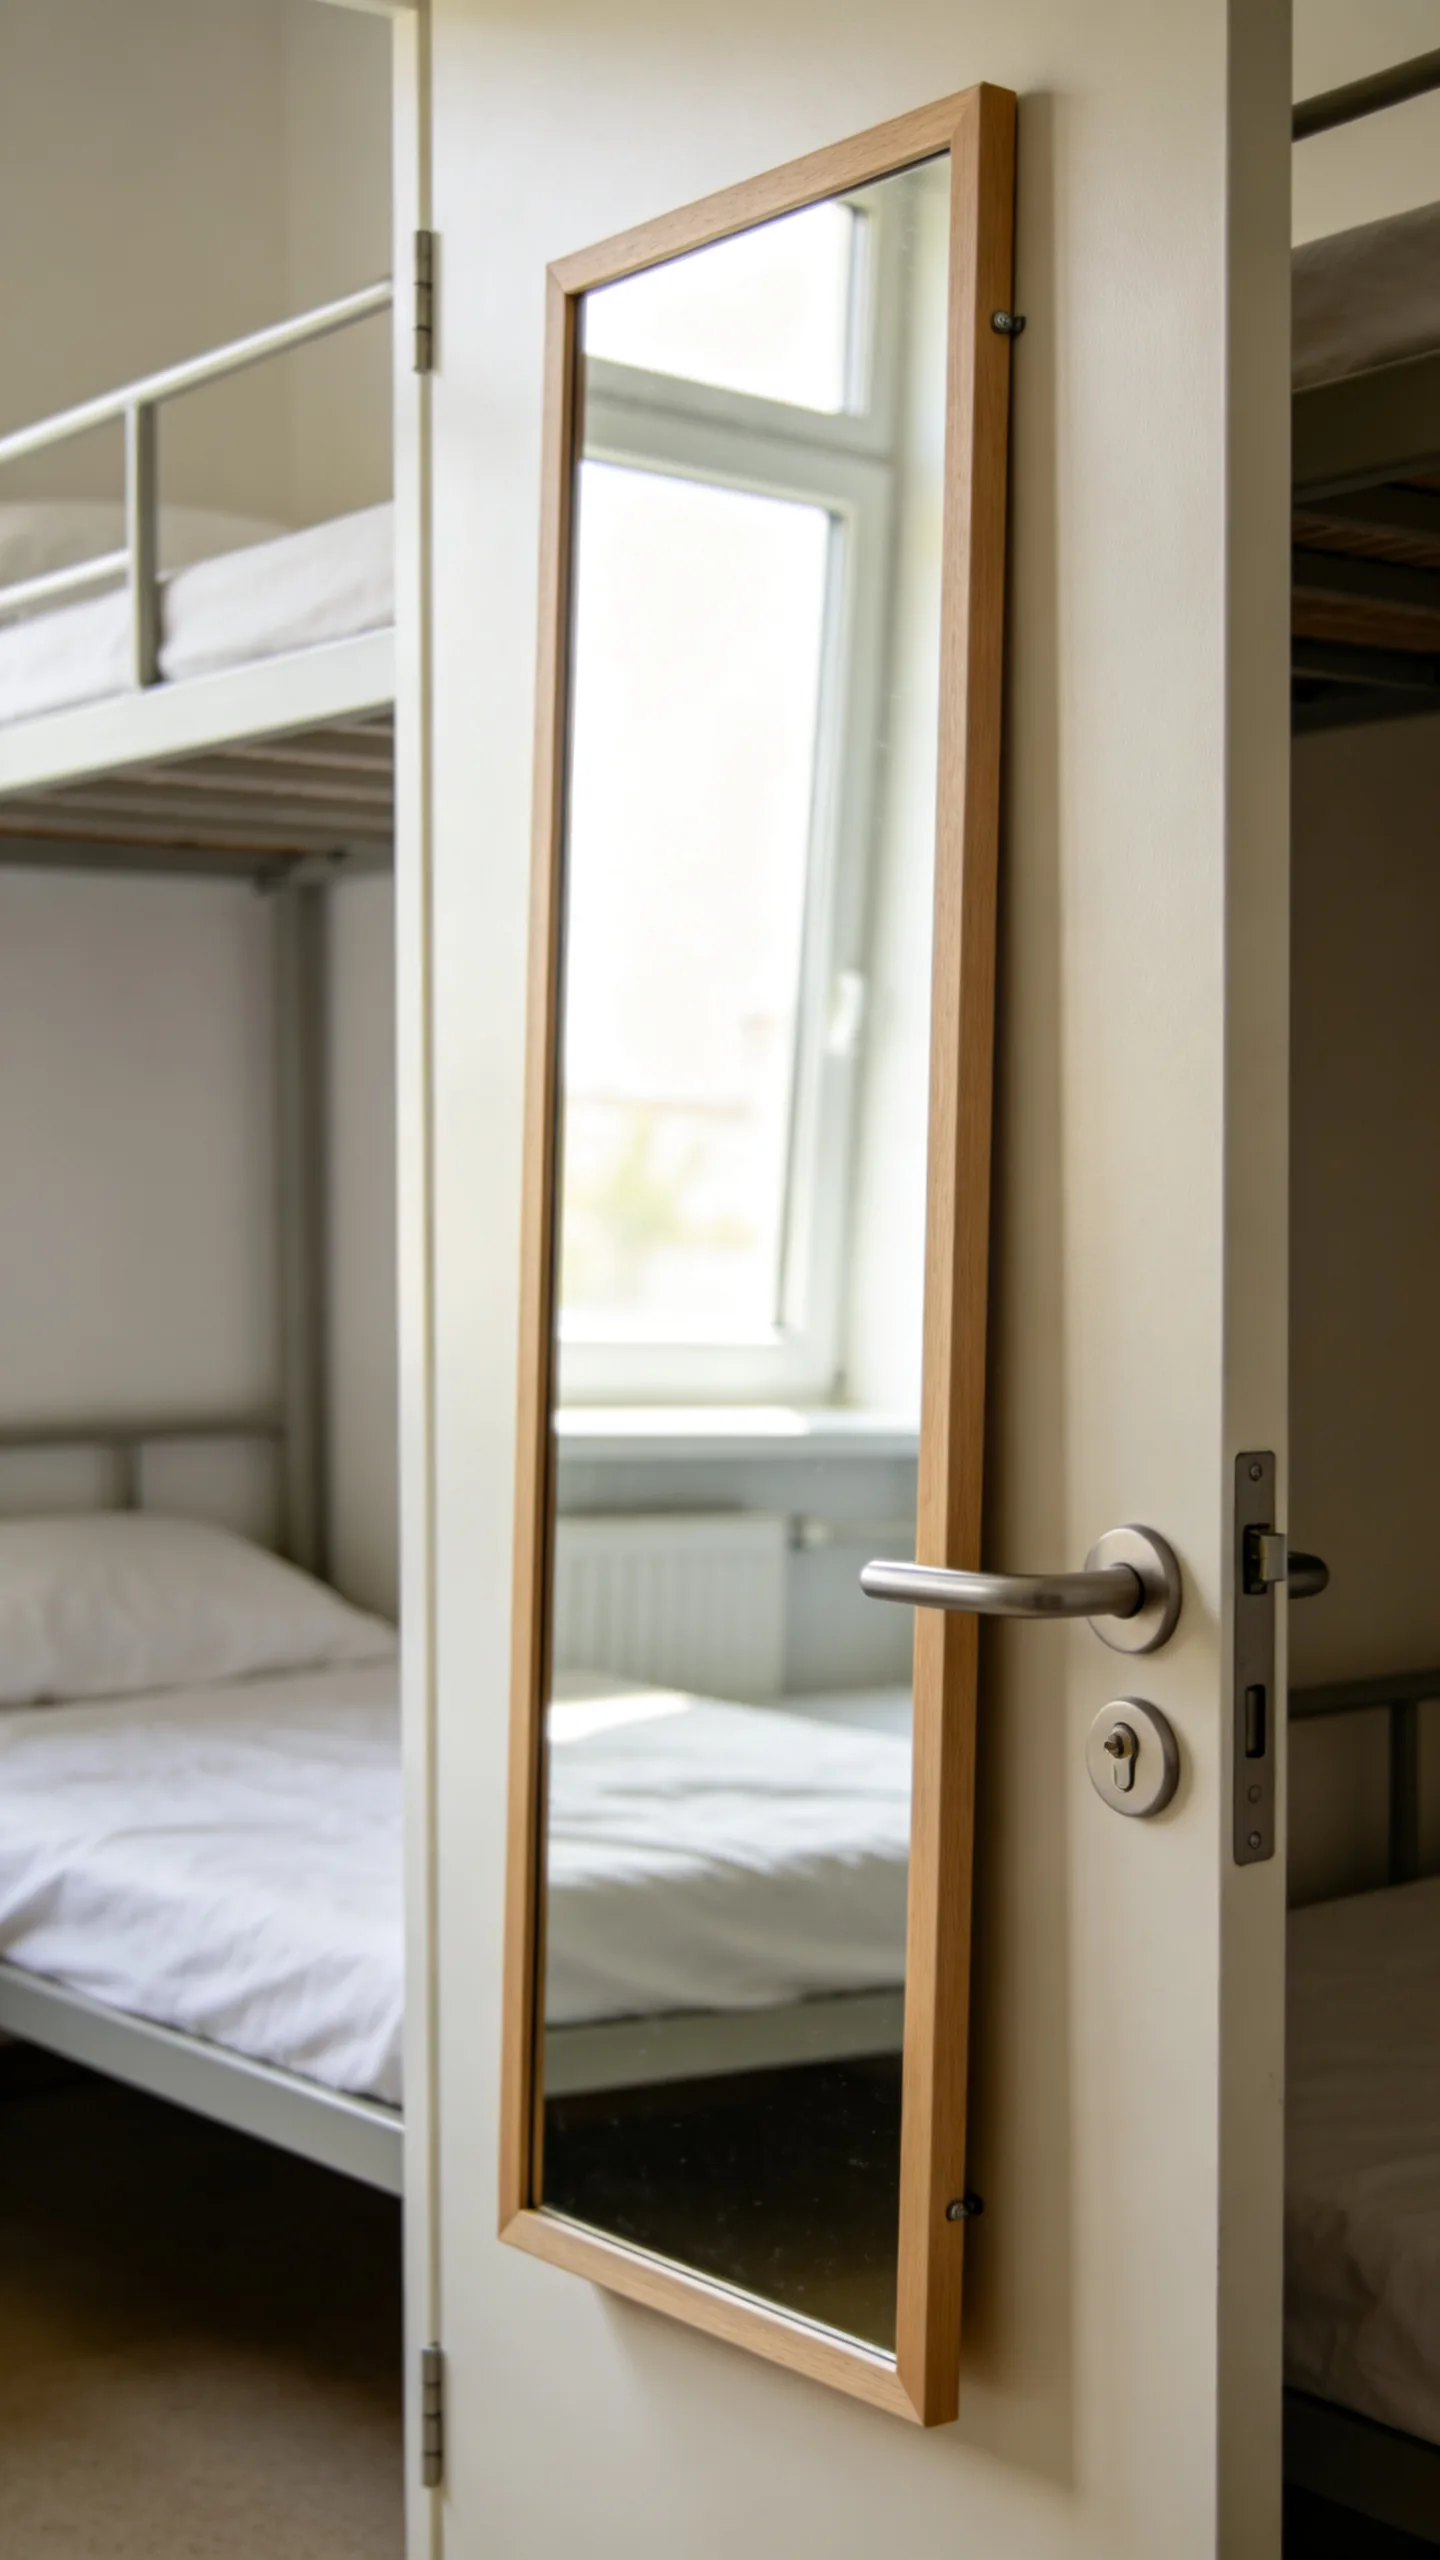
A mirror can make a narrow dorm feel brighter by reflecting daylight and extending the visual depth of the room. Hang a lightweight full-length mirror on the back of the door, lean an approved shatter-resistant mirror against a secure surface, or place a smaller mirror above the dresser.
For the strongest effect, position it across from or at an angle to the window rather than directly facing a cluttered storage area. A slim frame in white, light wood, or brushed metal keeps the look streamlined. Confirm where mirrors may be mounted, and use hardware or adhesive rated for both the mirror’s weight and the wall surface.
13. Soften the Window With Light Curtains
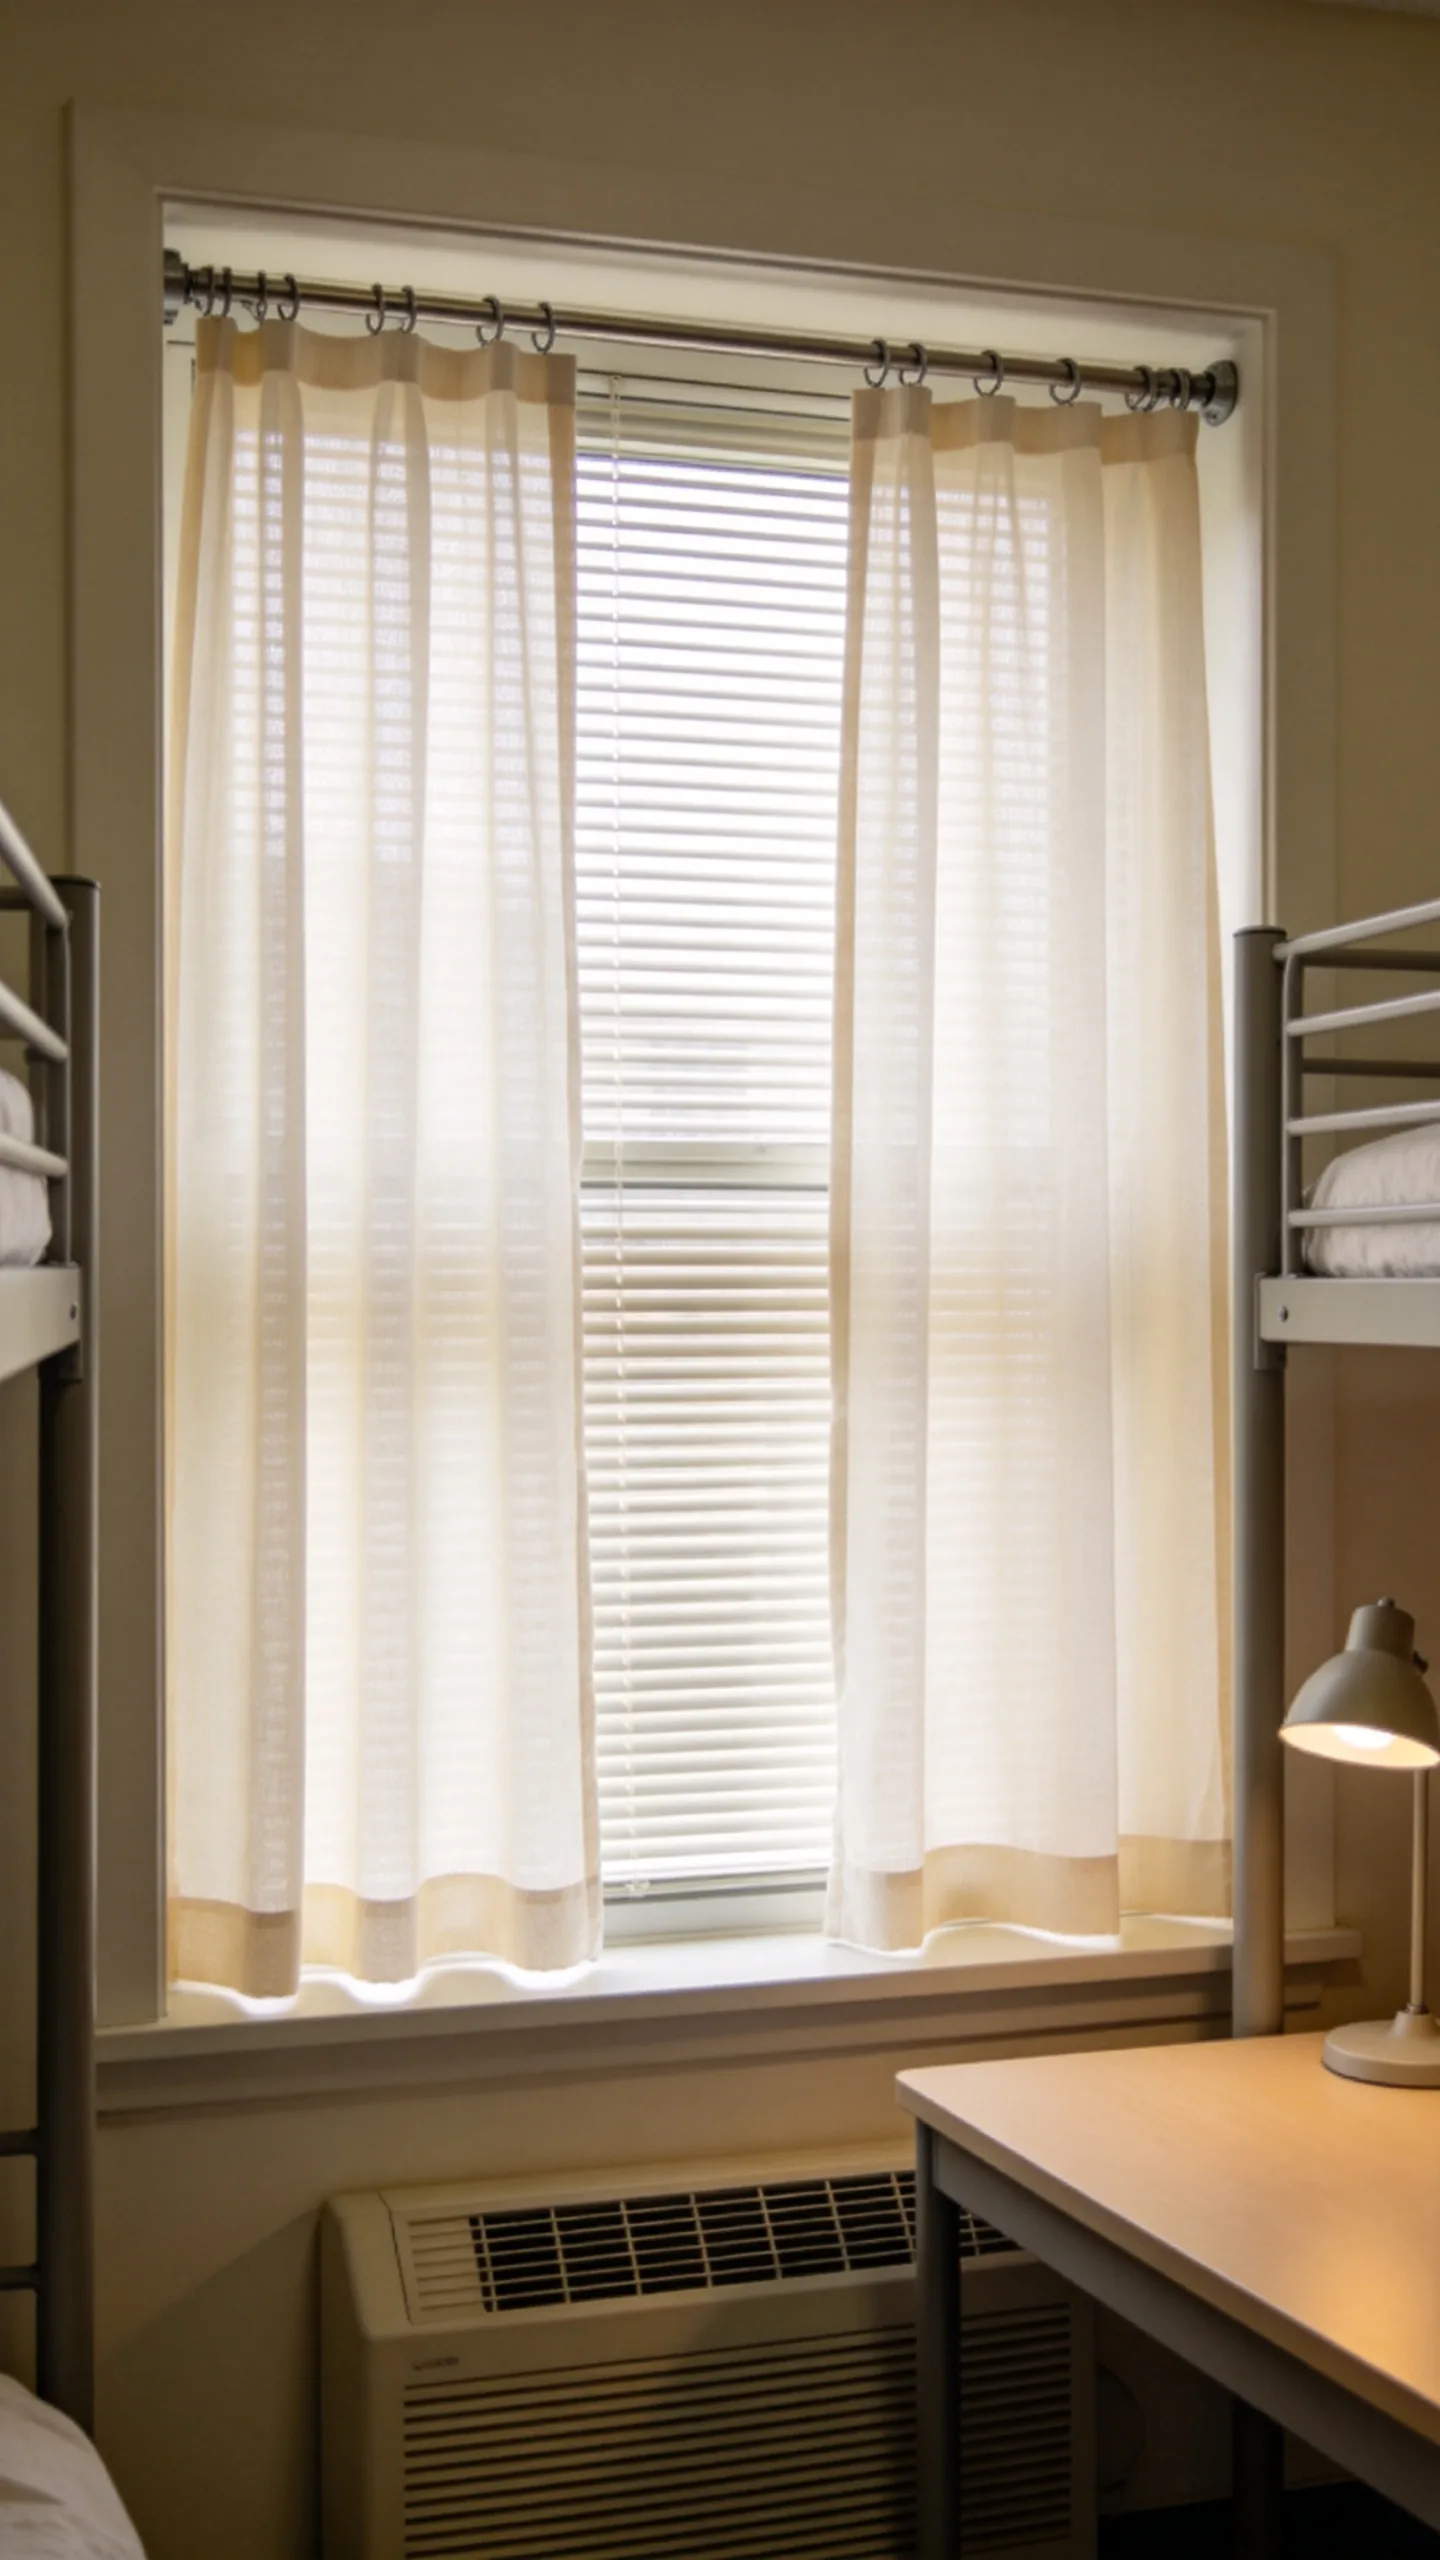
If dorm rules permit additional window treatments, lightweight curtains can soften blinds and make the room feel more residential. Choose sheer or semi-sheer panels in ivory, pale gray, or another light shade that allows daylight to pass through. A removable tension rod may work inside the window frame without drilling.
Keep the fabric clear of heaters, air-conditioning units, and desk lamps. Curtains that end near the sill are often more practical than floor-length panels in a tight room because they do not collect dust or interfere with furniture. Check the residence hall’s fire-safety requirements before adding any window fabric.
14. Use Matching Baskets on Open Shelves
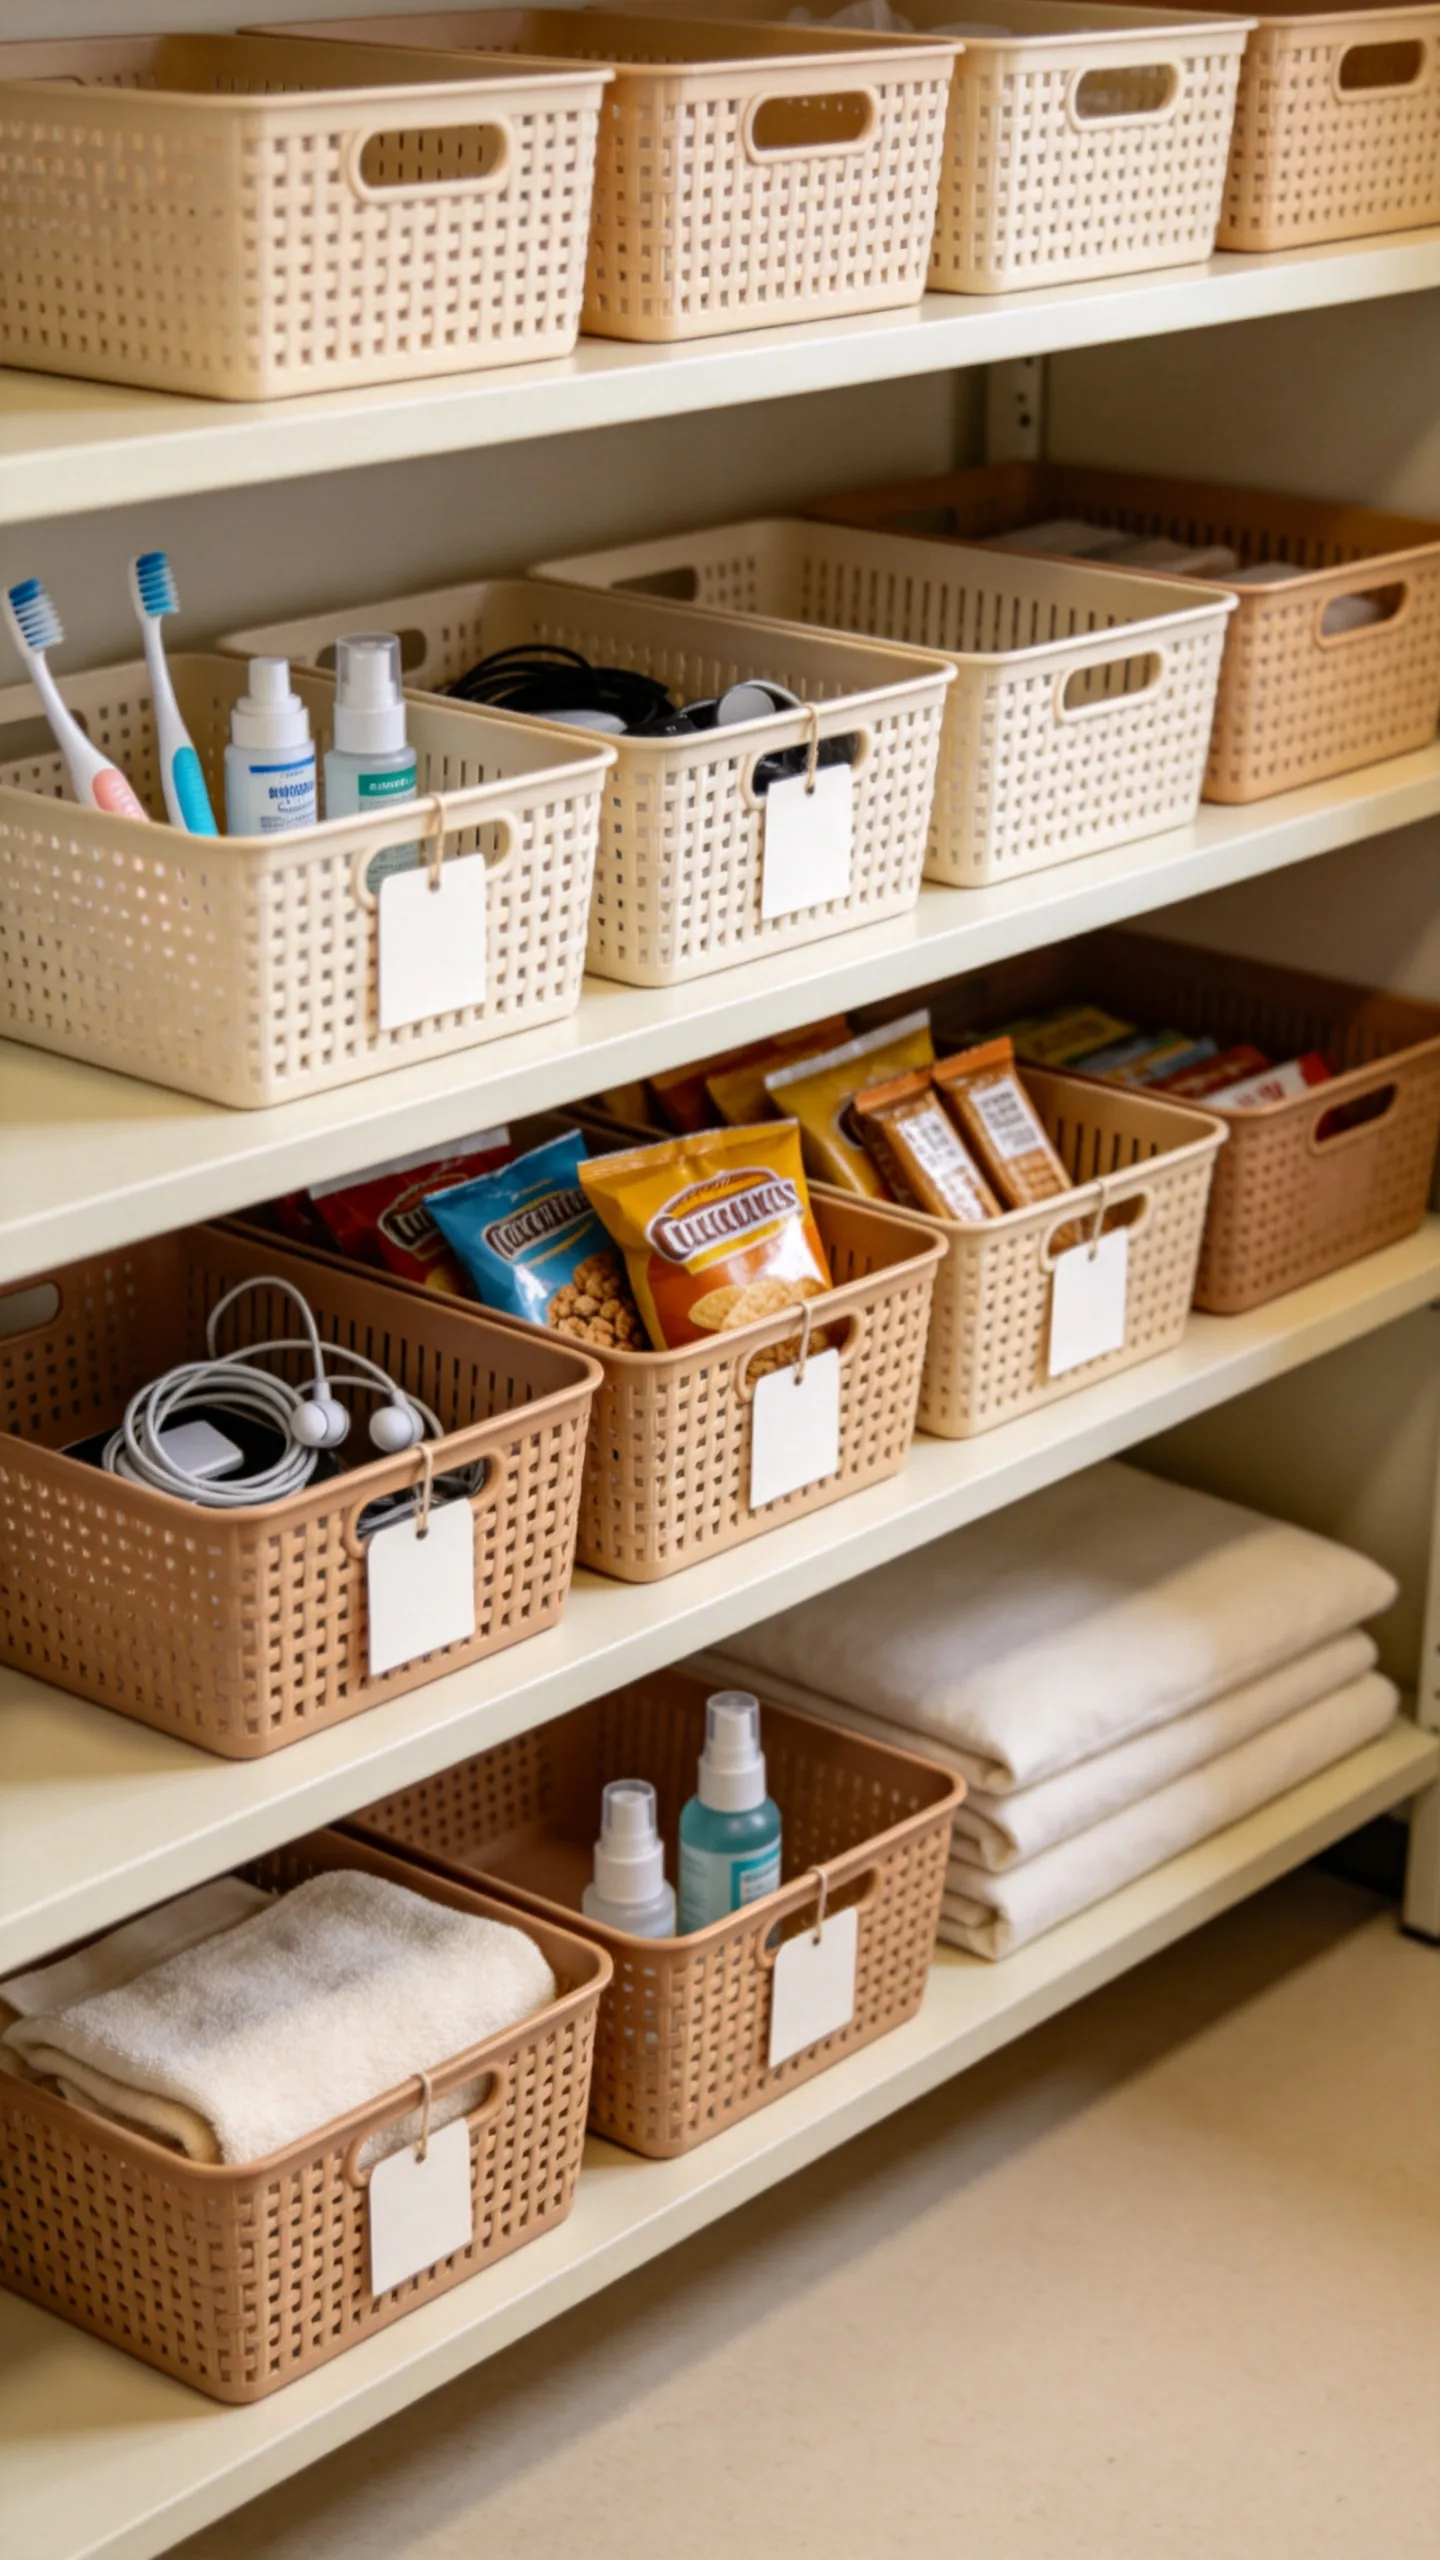
Open shelving looks calmer when small belongings are grouped into coordinated baskets or bins. Use them for toiletries, cleaning supplies, electronics, snacks, or extra linens, and assign each container one category. Labels on the front make shared or frequently used items easier to locate.
Fabric cubes create a soft look, while woven-look plastic baskets are easier to wipe clean. Select containers that fit the shelf depth so they do not project into the walkway. Repeating one material or color across the room visually connects different storage zones and prevents practical organizers from making the dorm feel overly utilitarian.
15. Build a Compact Coffee and Snack Corner
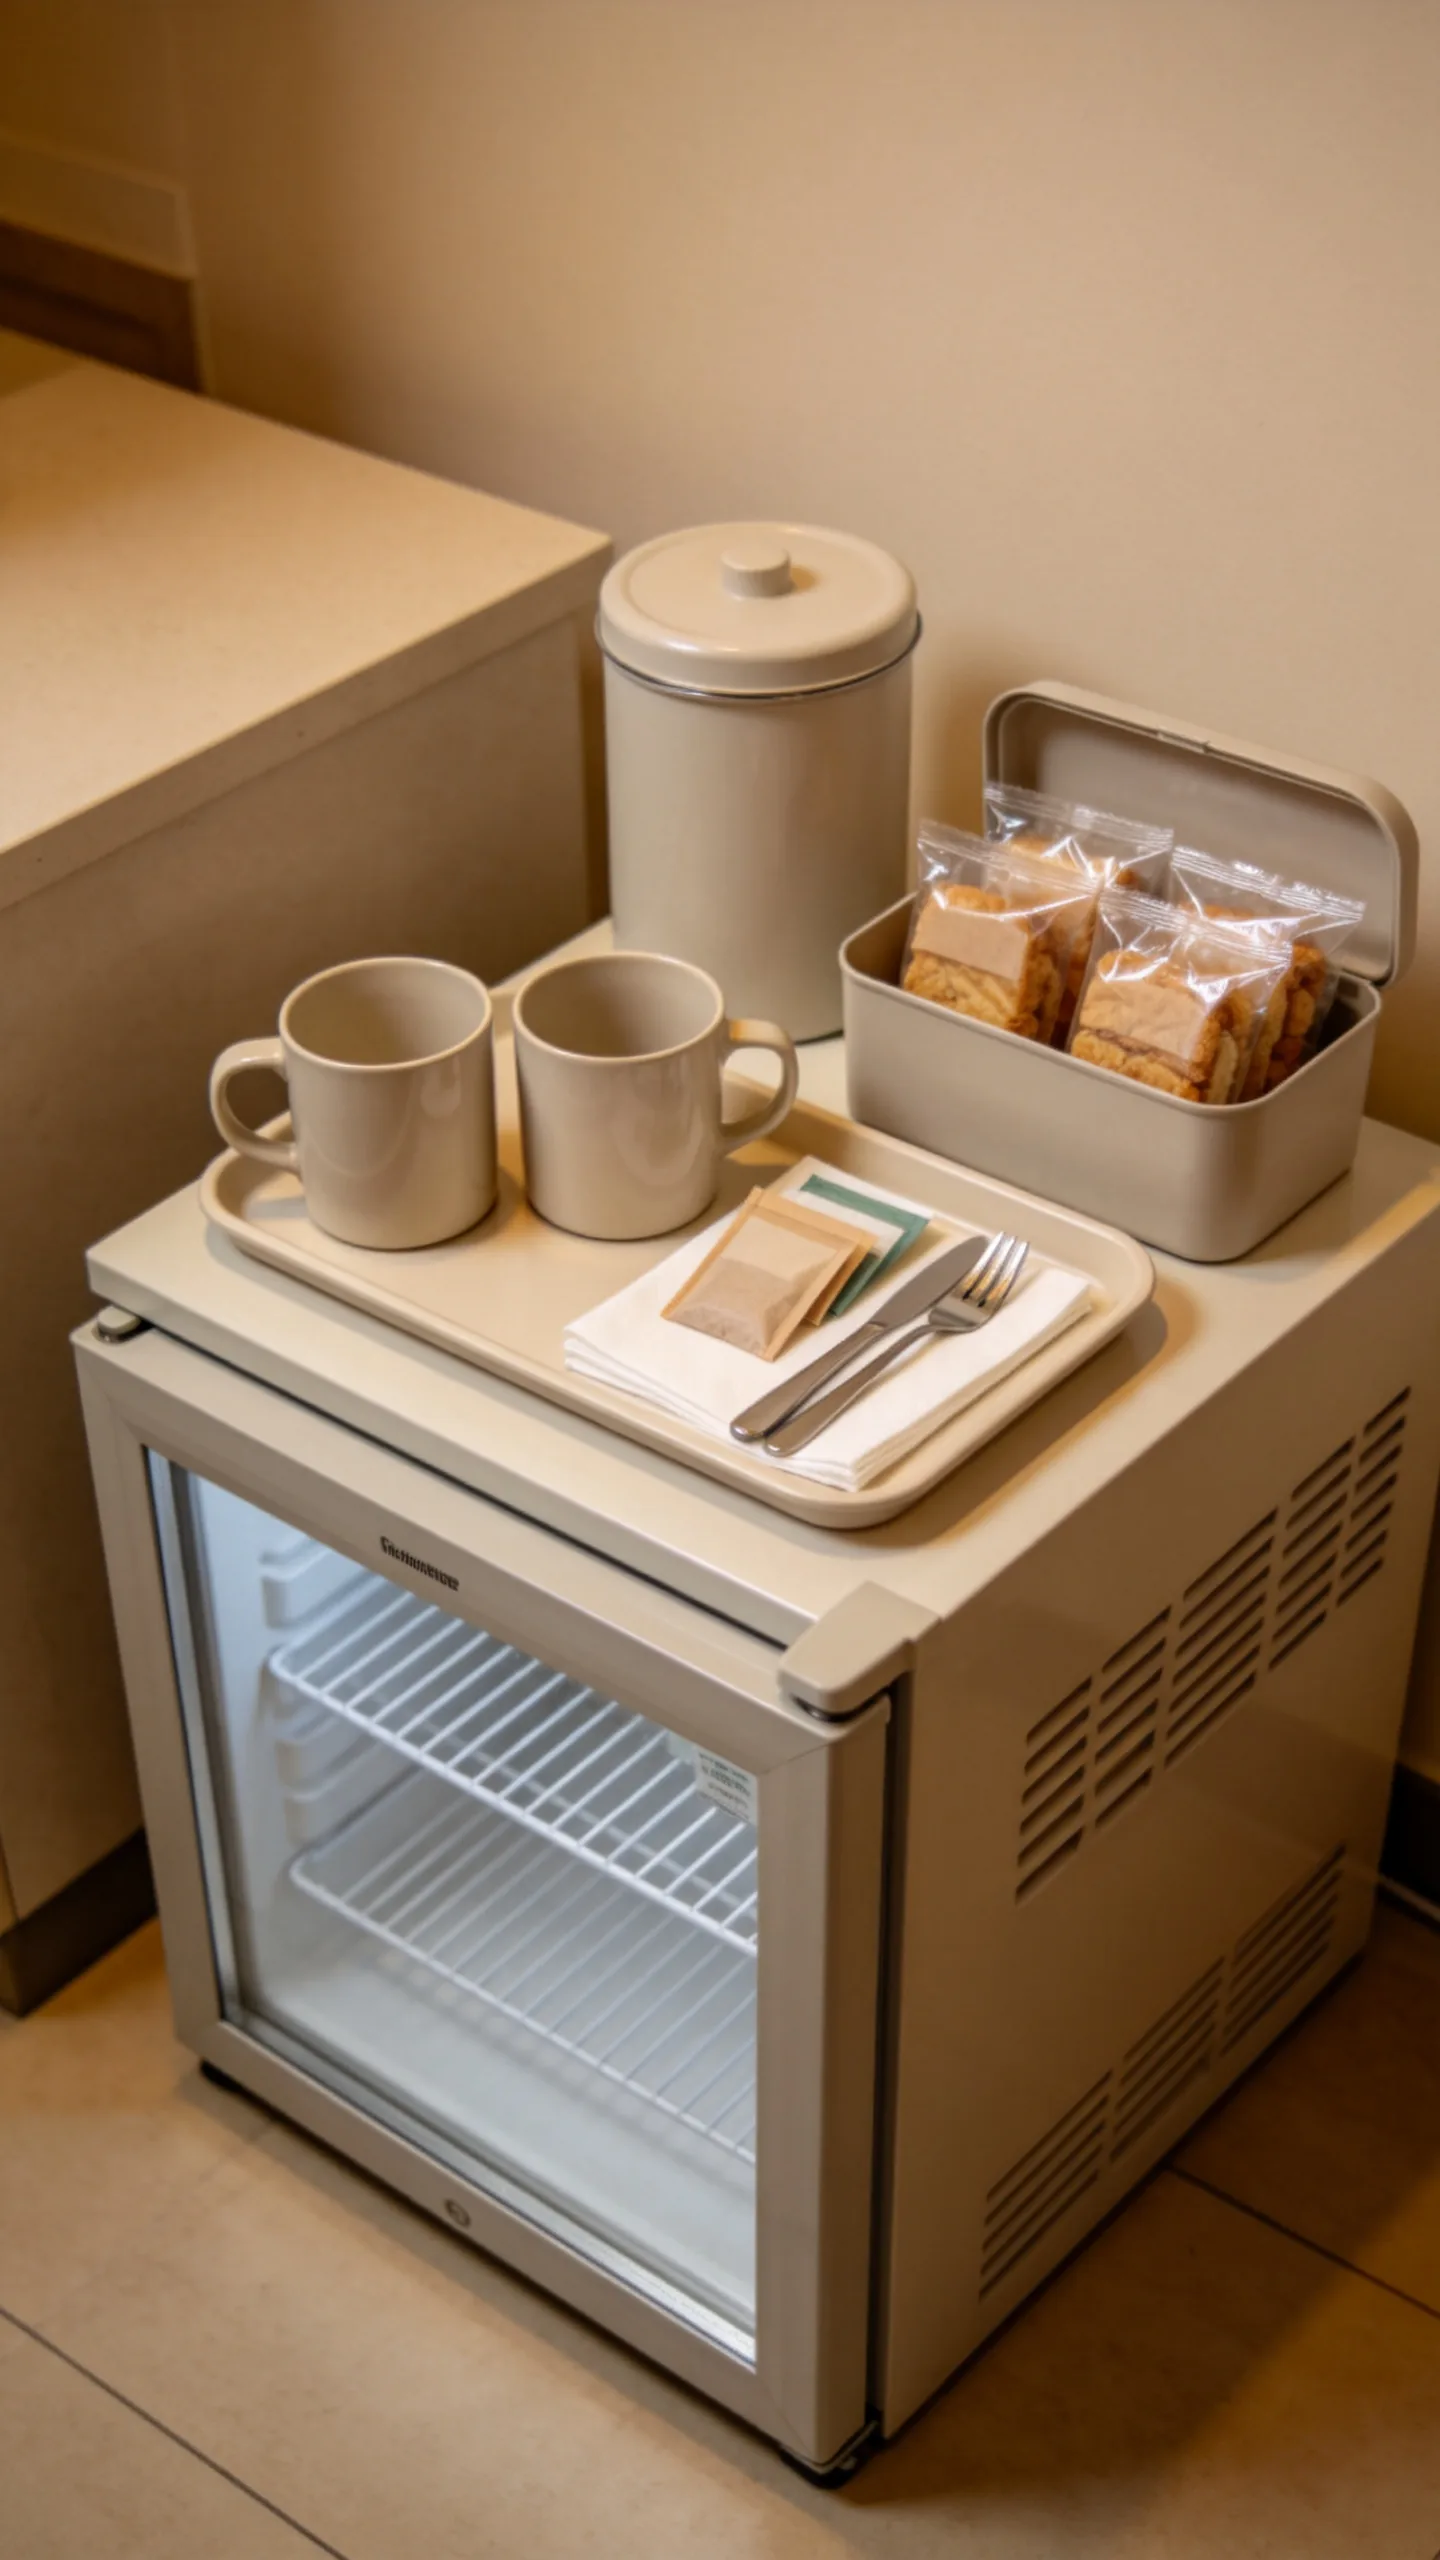
Dedicate one sturdy surface to drinks and shelf-stable snacks so food does not spread across the desk. The top of a permitted mini fridge, a microwave cart, or one level of a rolling cart can hold mugs, tea packets, napkins, and a small tray. Keep appliances together only if campus housing allows them.
A tray creates a clear boundary and catches crumbs or spills, while a nearby lidded bin can organize granola bars and utensils. Leave ventilation space around the refrigerator and other approved appliances. Storing food in sealed containers helps the room stay tidy and avoids turning an already small space into a collection of open packages.
16. Decorate With Low-Maintenance Greenery
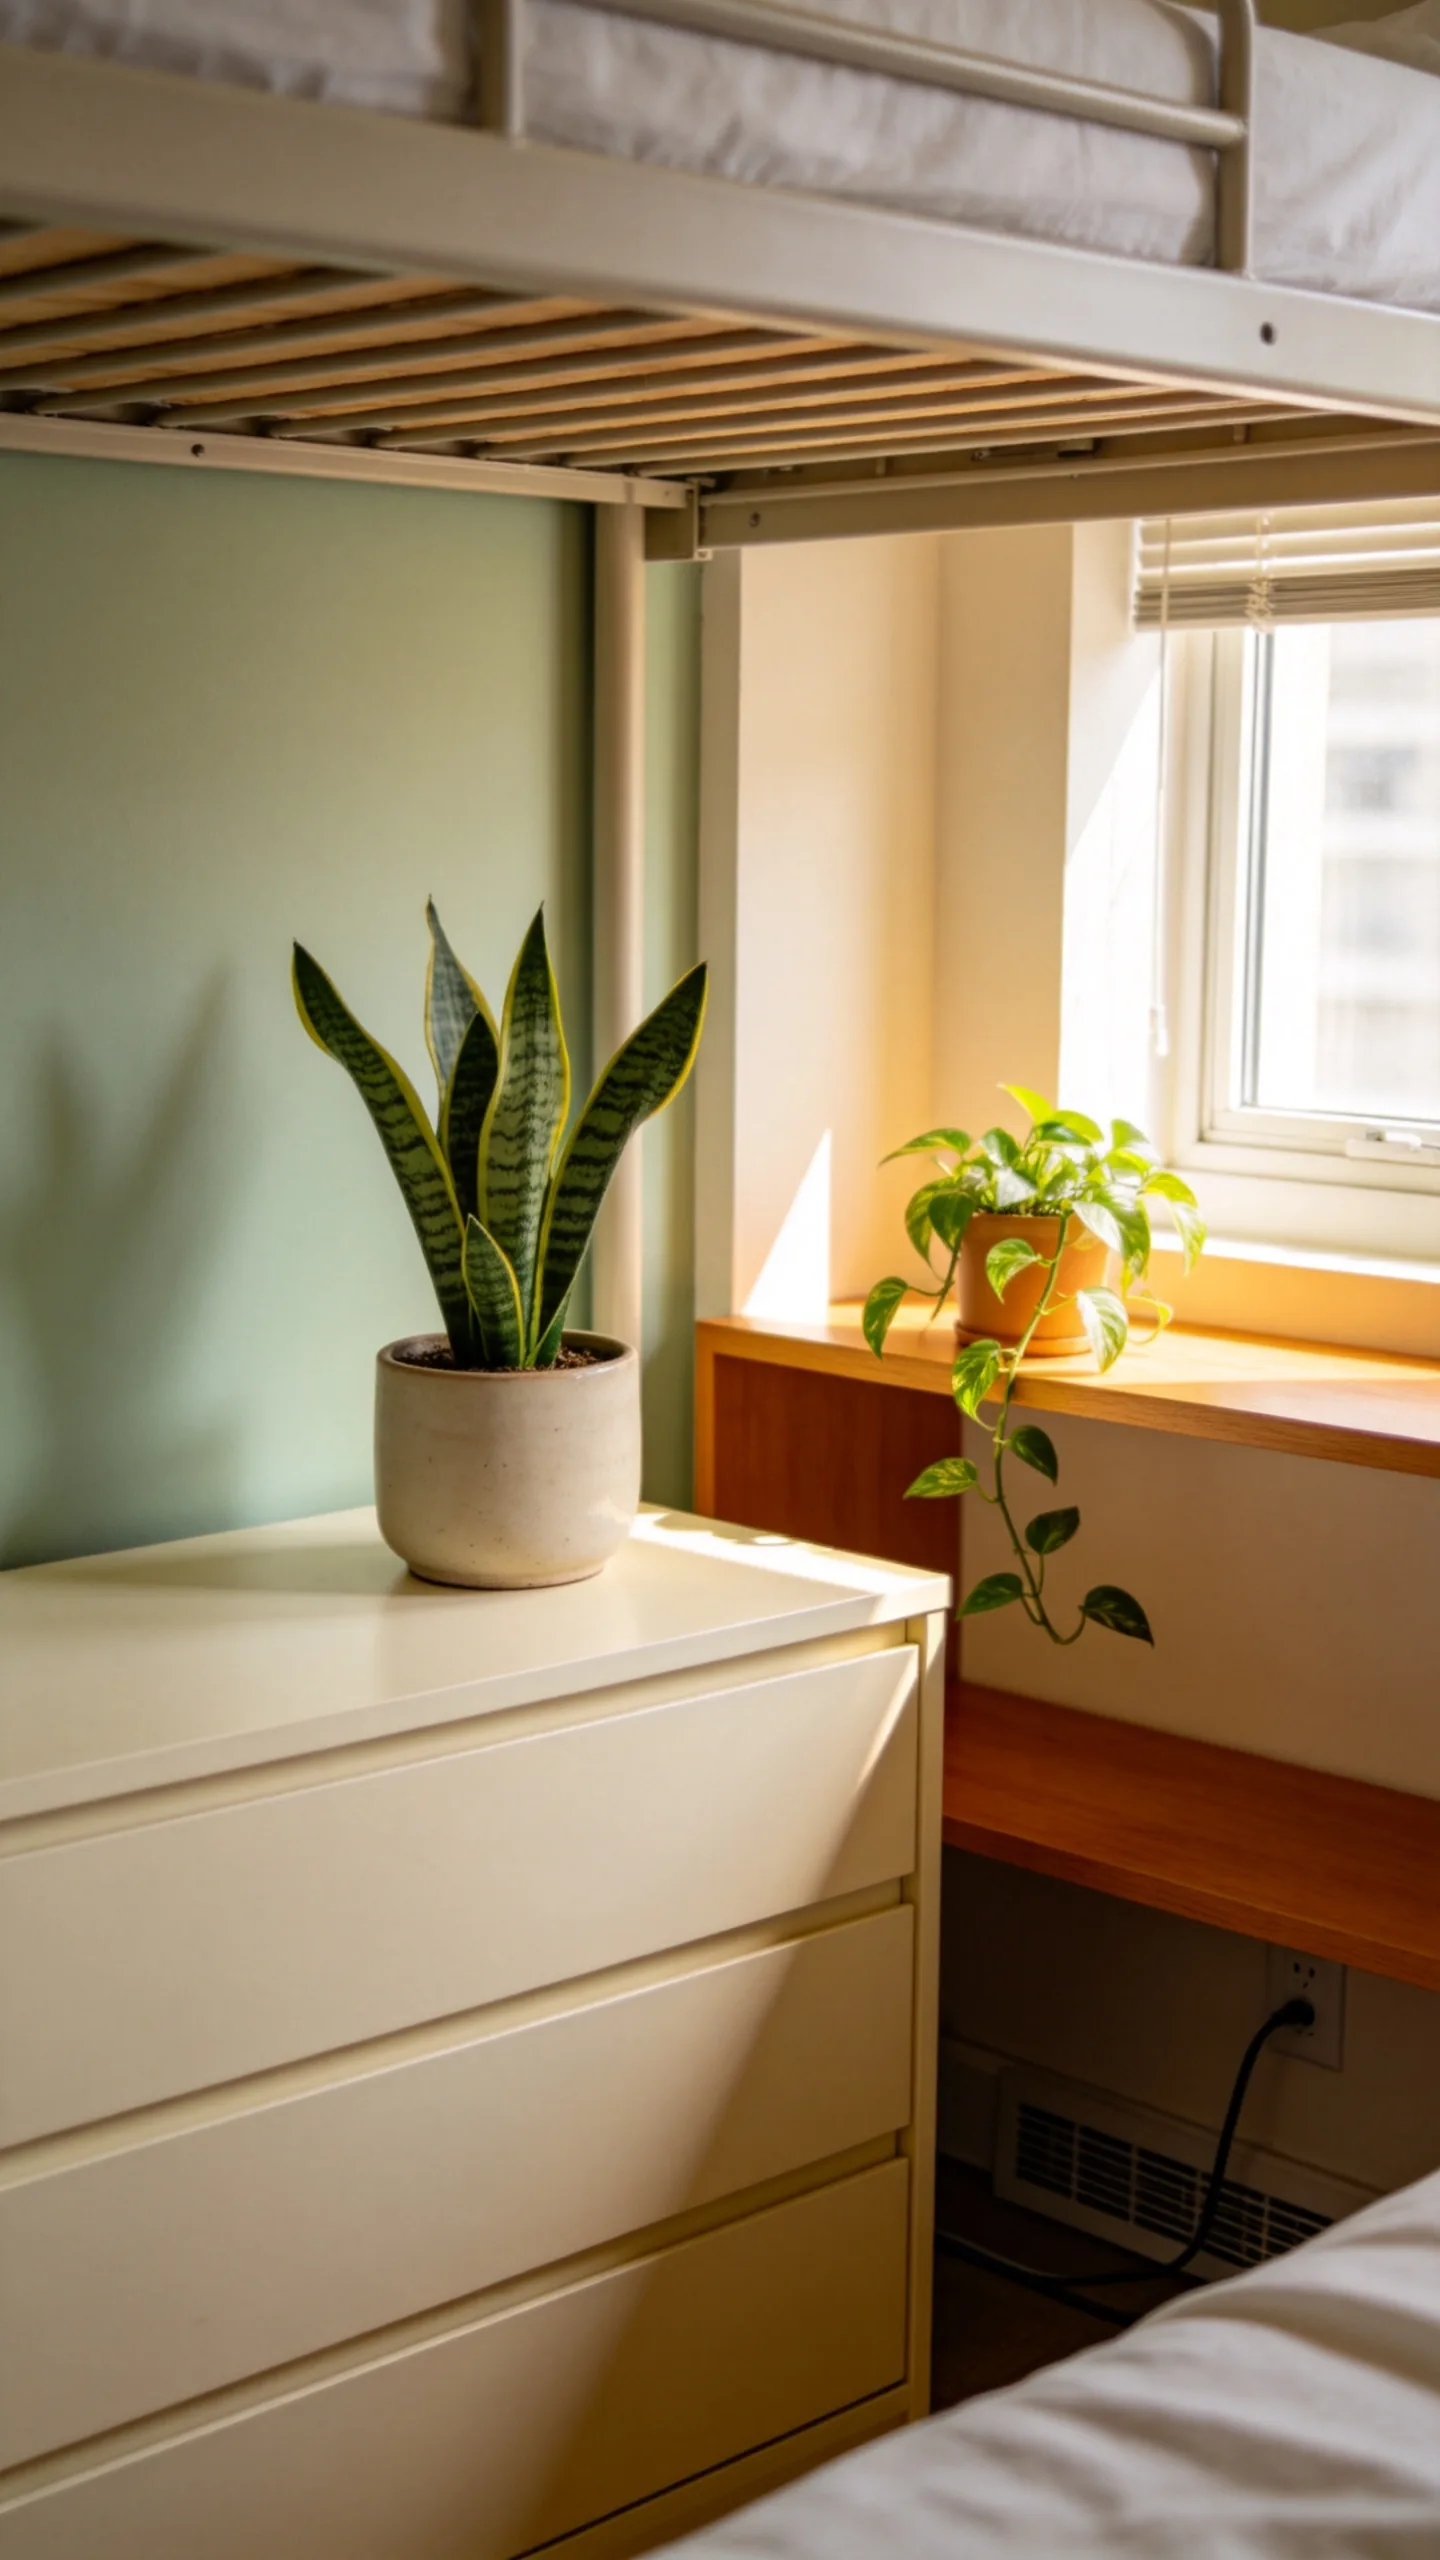
A few plants can add color and life to a dorm without taking over the room. Place one compact plant on a windowsill, desk shelf, or dresser where it will not be knocked over. Pothos, snake plants, and ZZ plants are commonly chosen for indoor conditions, but the right option depends on the available light.
If care routines or limited sunlight make live plants impractical, use a realistic faux vine or small artificial potted plant. Keep trailing greenery away from sprinklers, vents, and electrical cords. One or two deliberate green accents will look fresher than multiple tiny pots scattered across every surface.
17. Add Peel-and-Stick Accents to Approved Surfaces
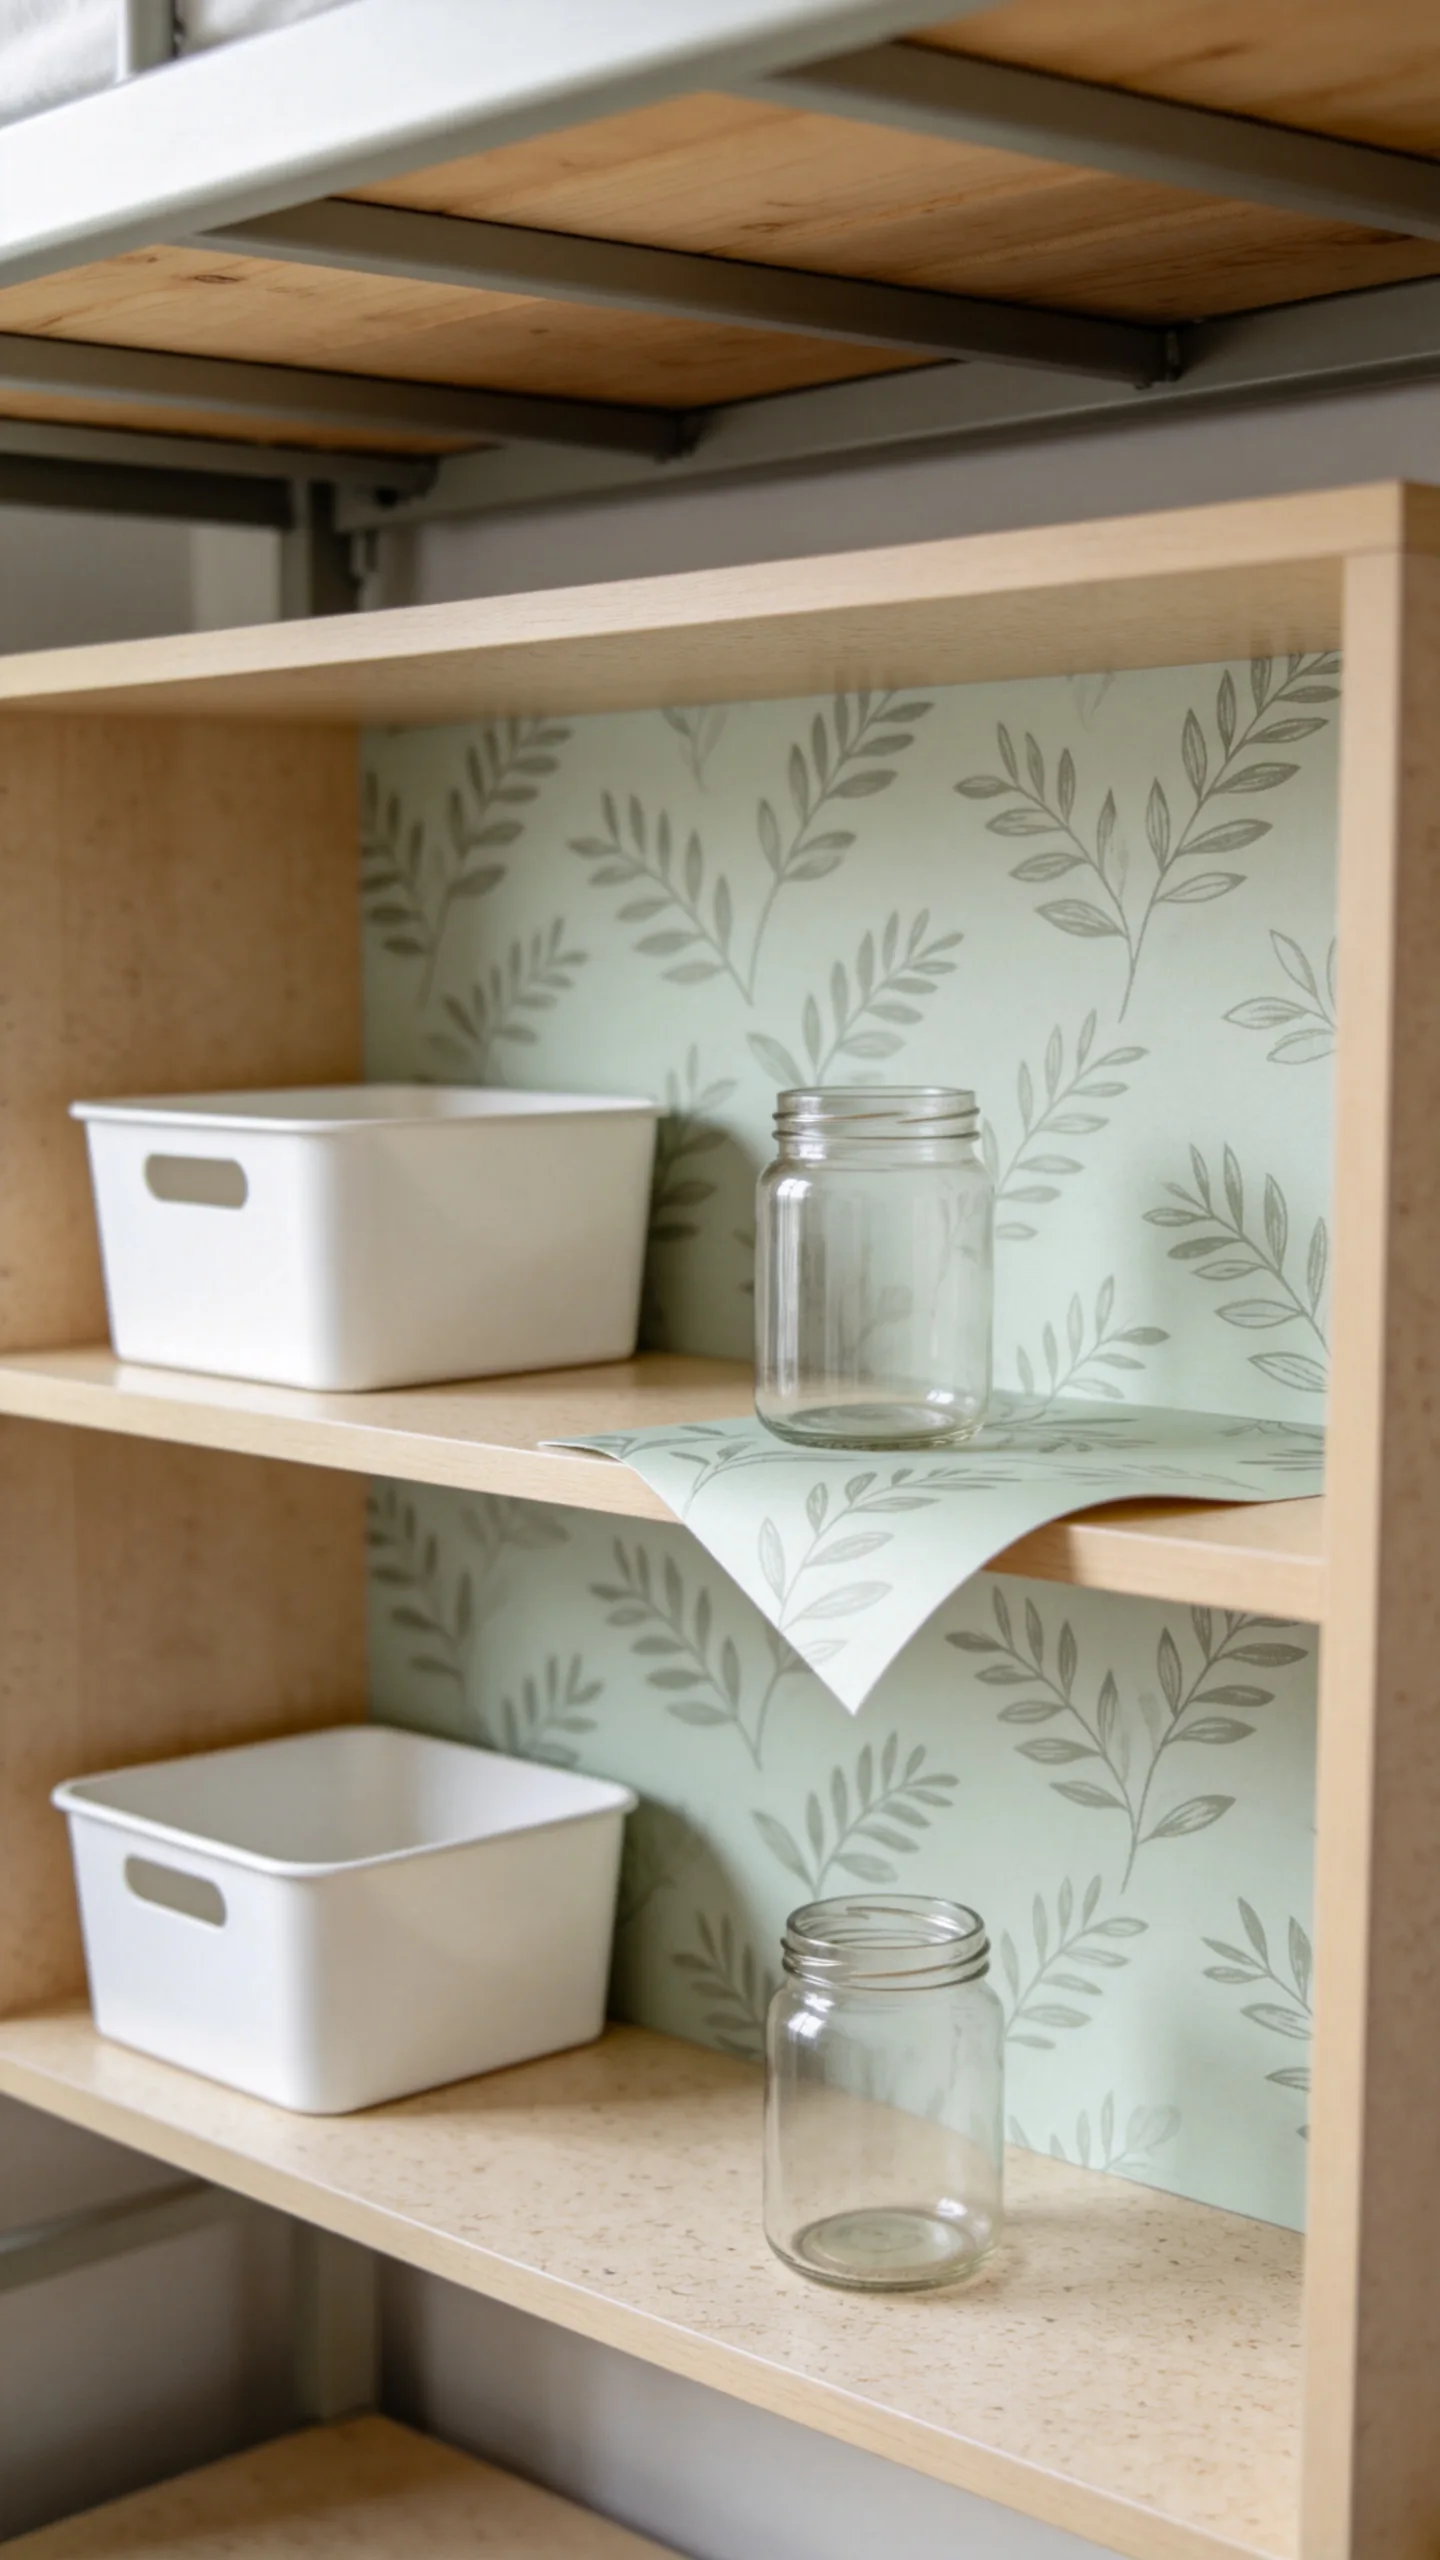
Removable wallpaper or decals can give a plain room a stronger focal point without painting. Apply a small amount to an approved surface, such as the back panel of a bookshelf, the front of a storage bin, or a section of wall behind the desk. A limited application is easier to remove and less likely to overwhelm a compact room.
Small patterns, subtle arches, and muted botanical designs tend to work better than oversized, high-contrast prints in tight spaces. Always check housing rules and test the product in an inconspicuous area first. Remove it slowly according to the manufacturer’s directions to reduce the risk of damaging paint or laminate.
18. Make the Door an Organization Zone
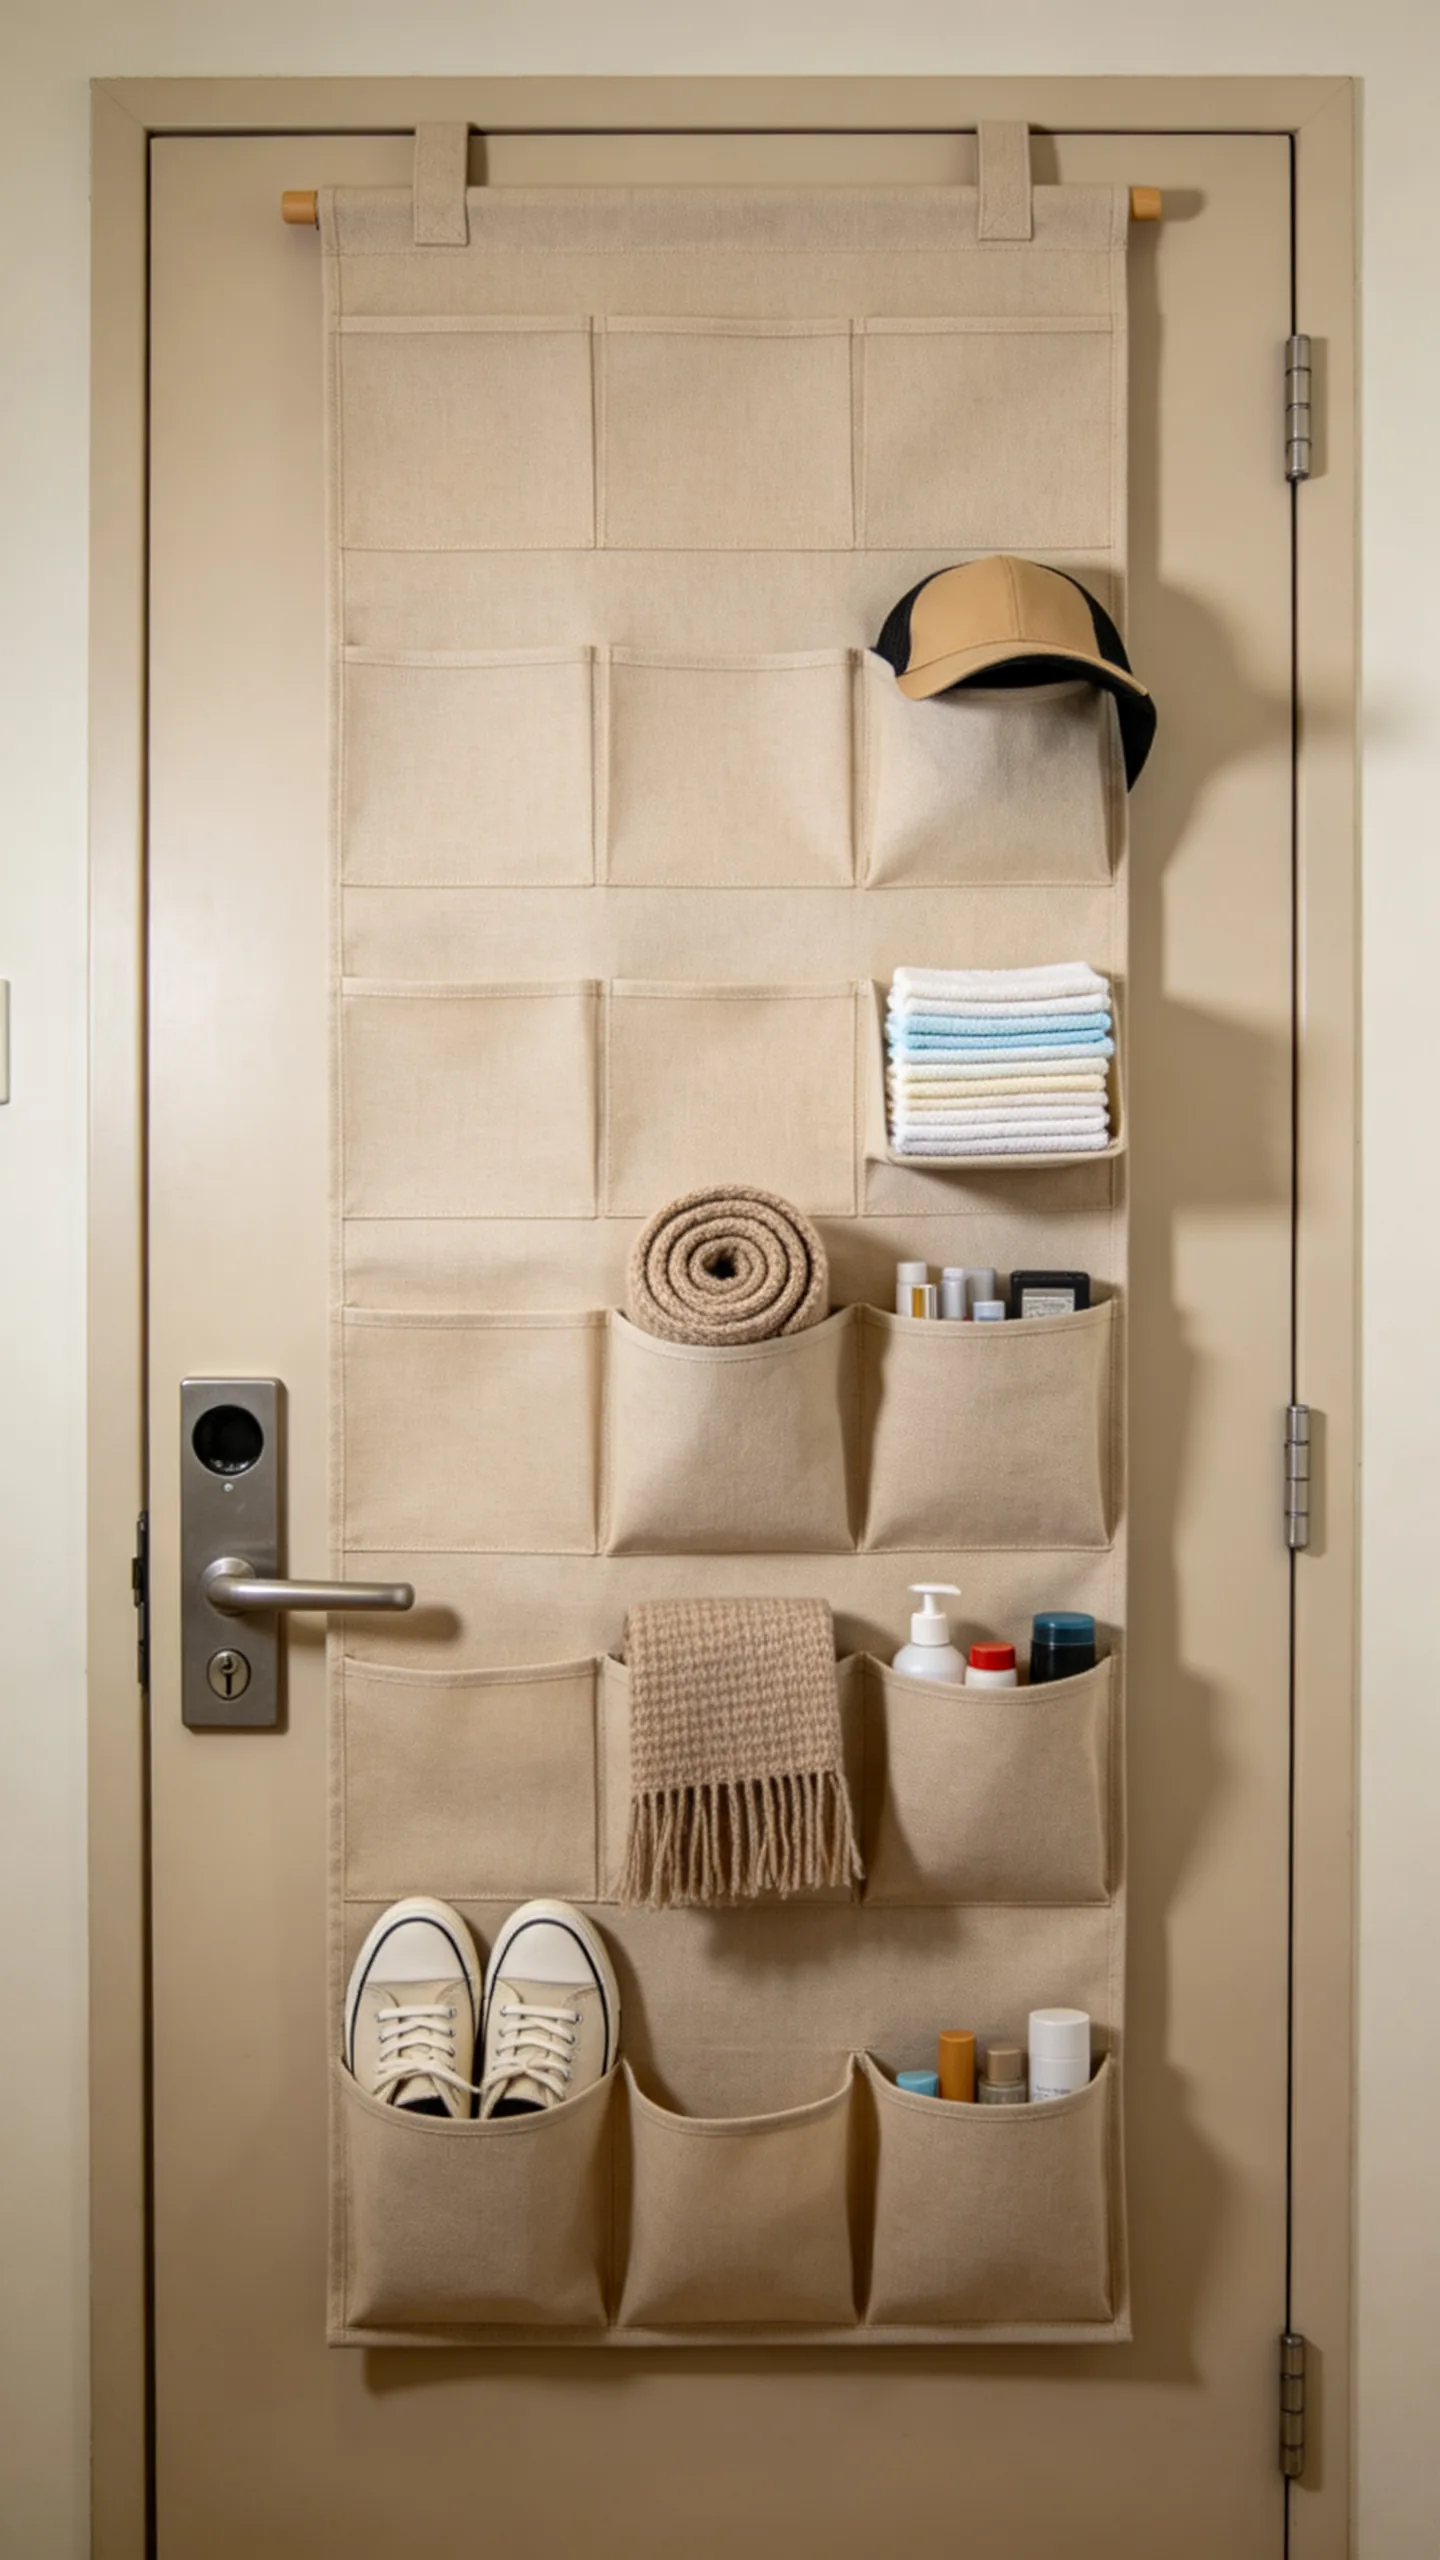
The back of the dorm door can hold frequently used items without consuming valuable floor or wall space. Use an approved over-the-door organizer for shoes, hats, scarves, cleaning products, or grab-and-go accessories. Clear pockets make contents easy to identify, while fabric pockets create a tidier appearance.
Avoid filling every compartment, since excessive weight can affect how the door closes. Keep the handle, lock, peephole, and emergency information unobstructed. Organizing items by category turns an overlooked vertical surface into practical storage while keeping the main room clear.
19. Create a Cozy Reading Corner With a Floor Cushion
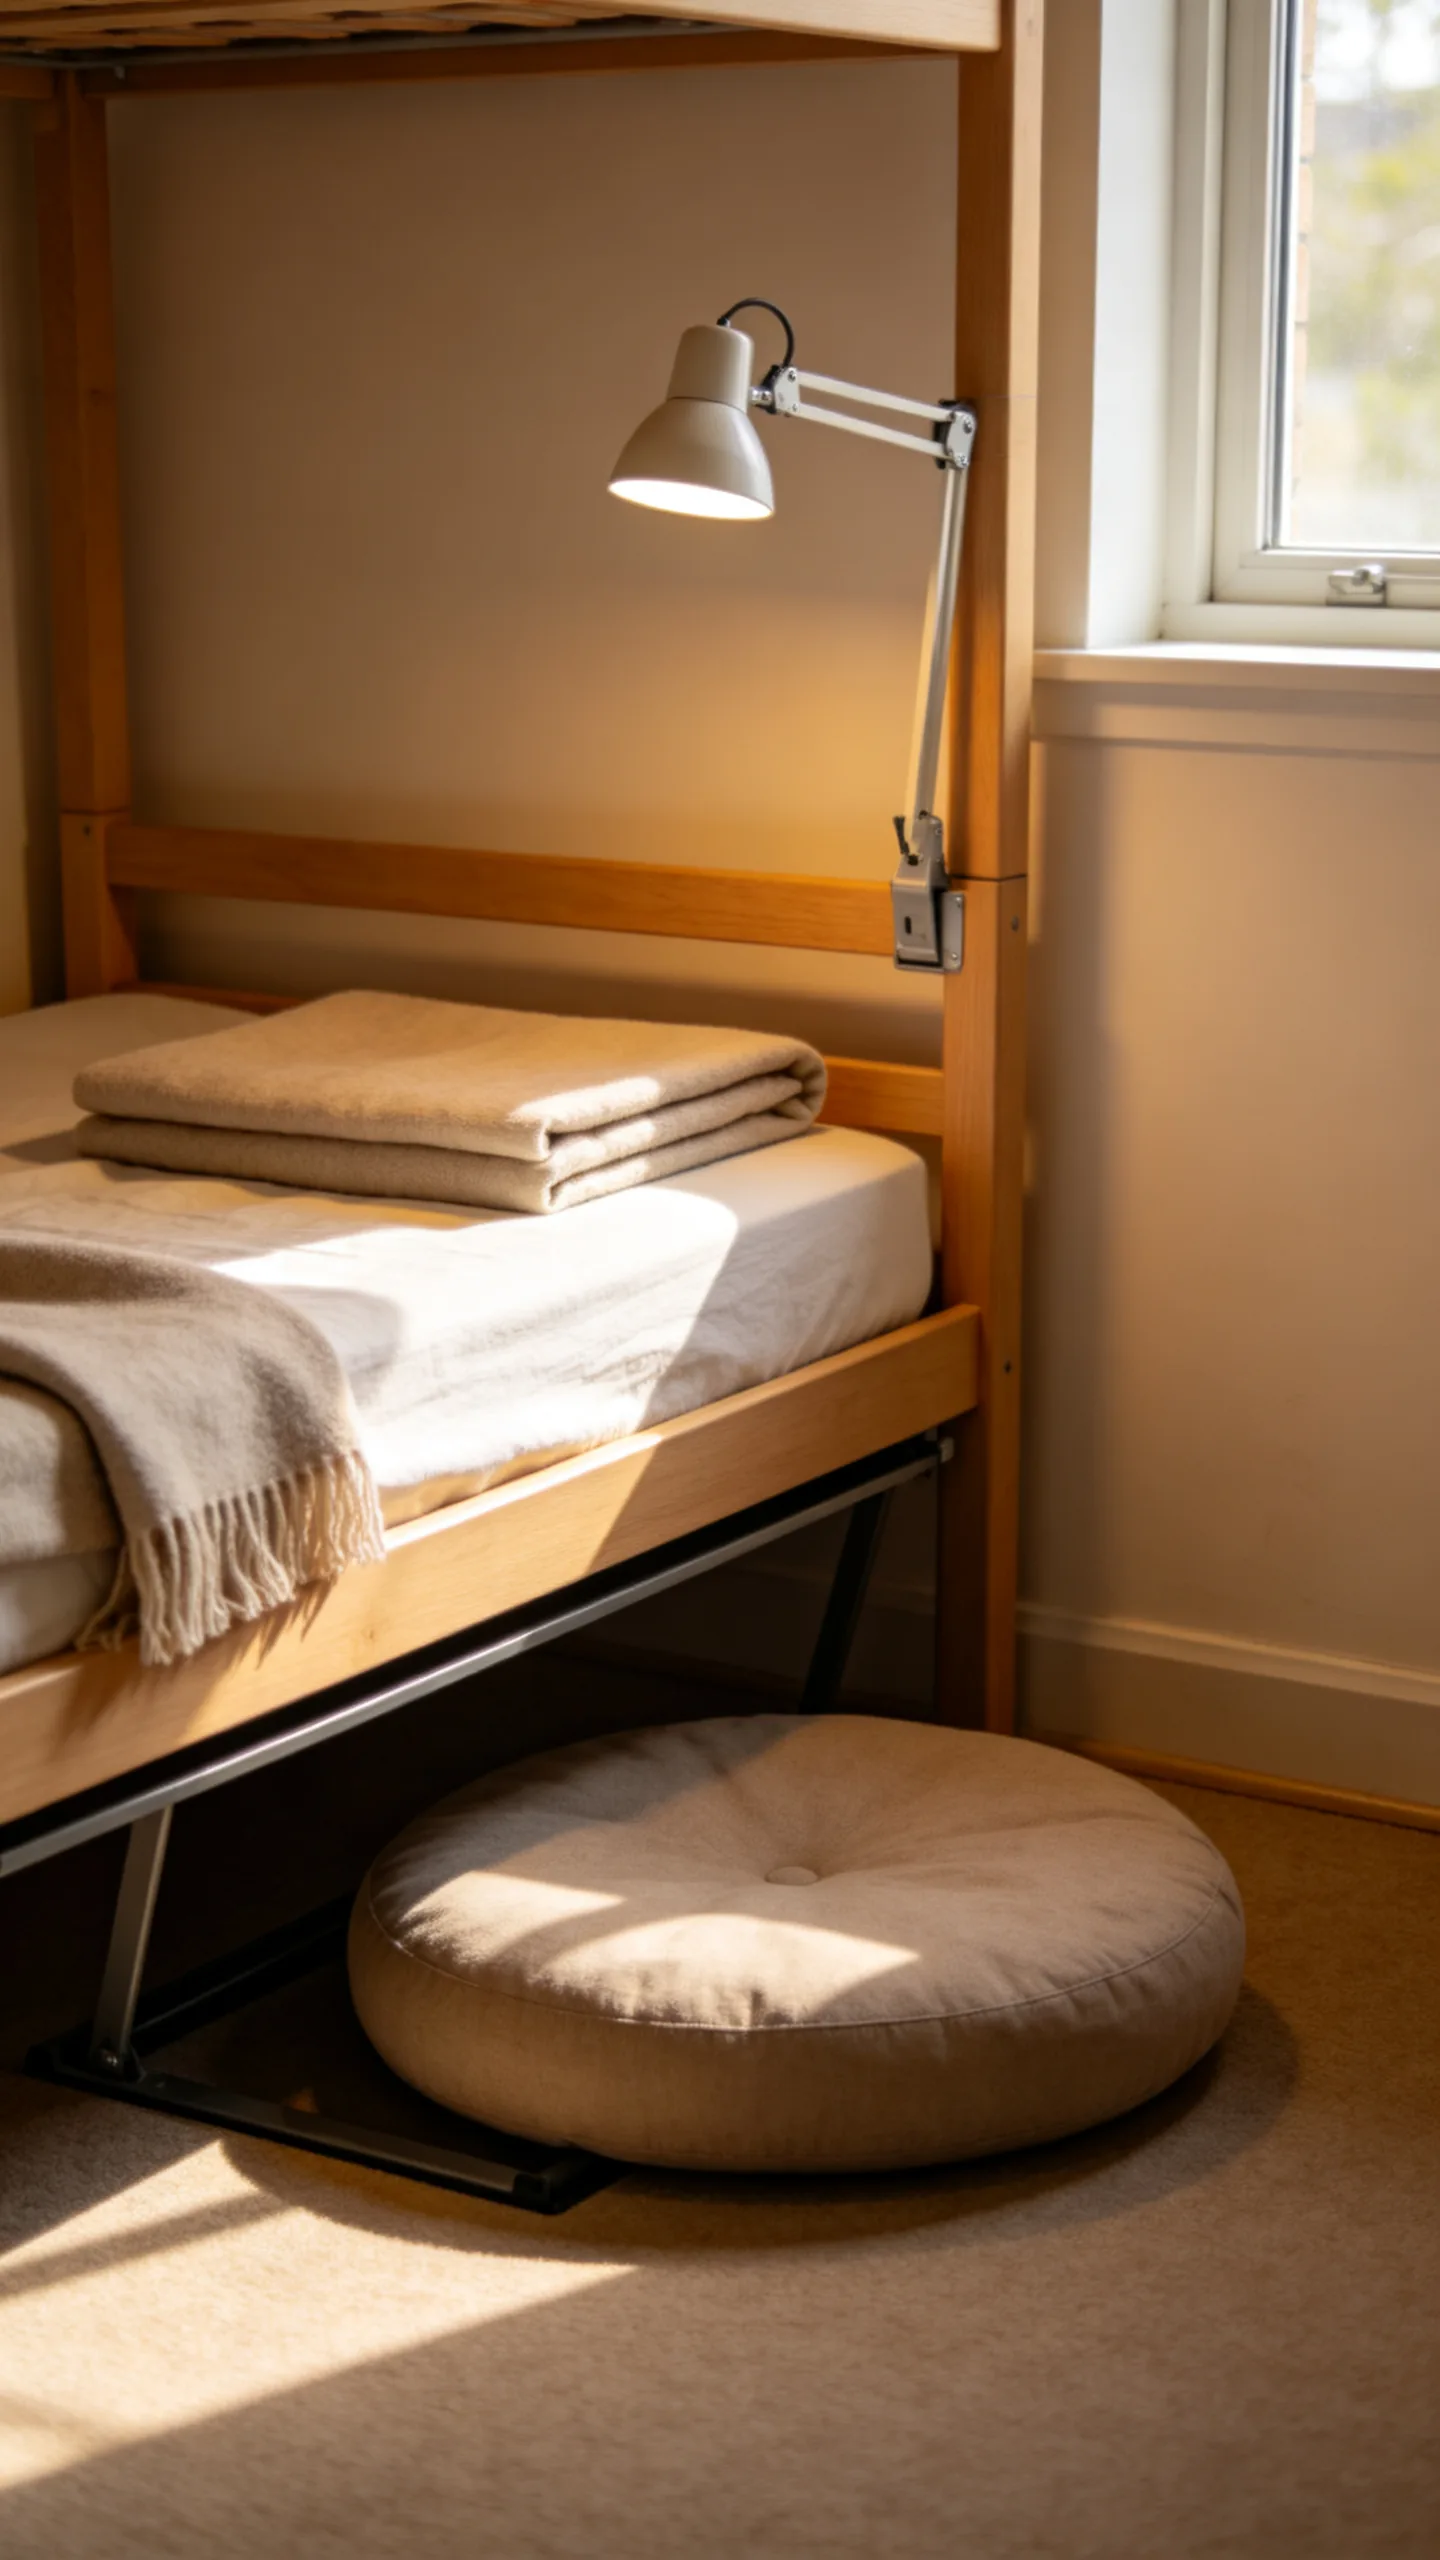
If the layout includes an unused corner, turn it into a small reading or lounging spot with one supportive floor cushion or compact pouf. Place it near the window or beside the bed, where it will not block drawers, closet doors, or the path to the exit.
Add a lightweight throw and use a clip-on reading lamp attached to a stable shelf or bed frame. Choose a cushion that can slide beneath a raised bed when not in use. This flexible setup provides extra seating for a visitor without committing to a bulky chair that would reduce traffic flow.
20. Coordinate Decor With Your Roommate
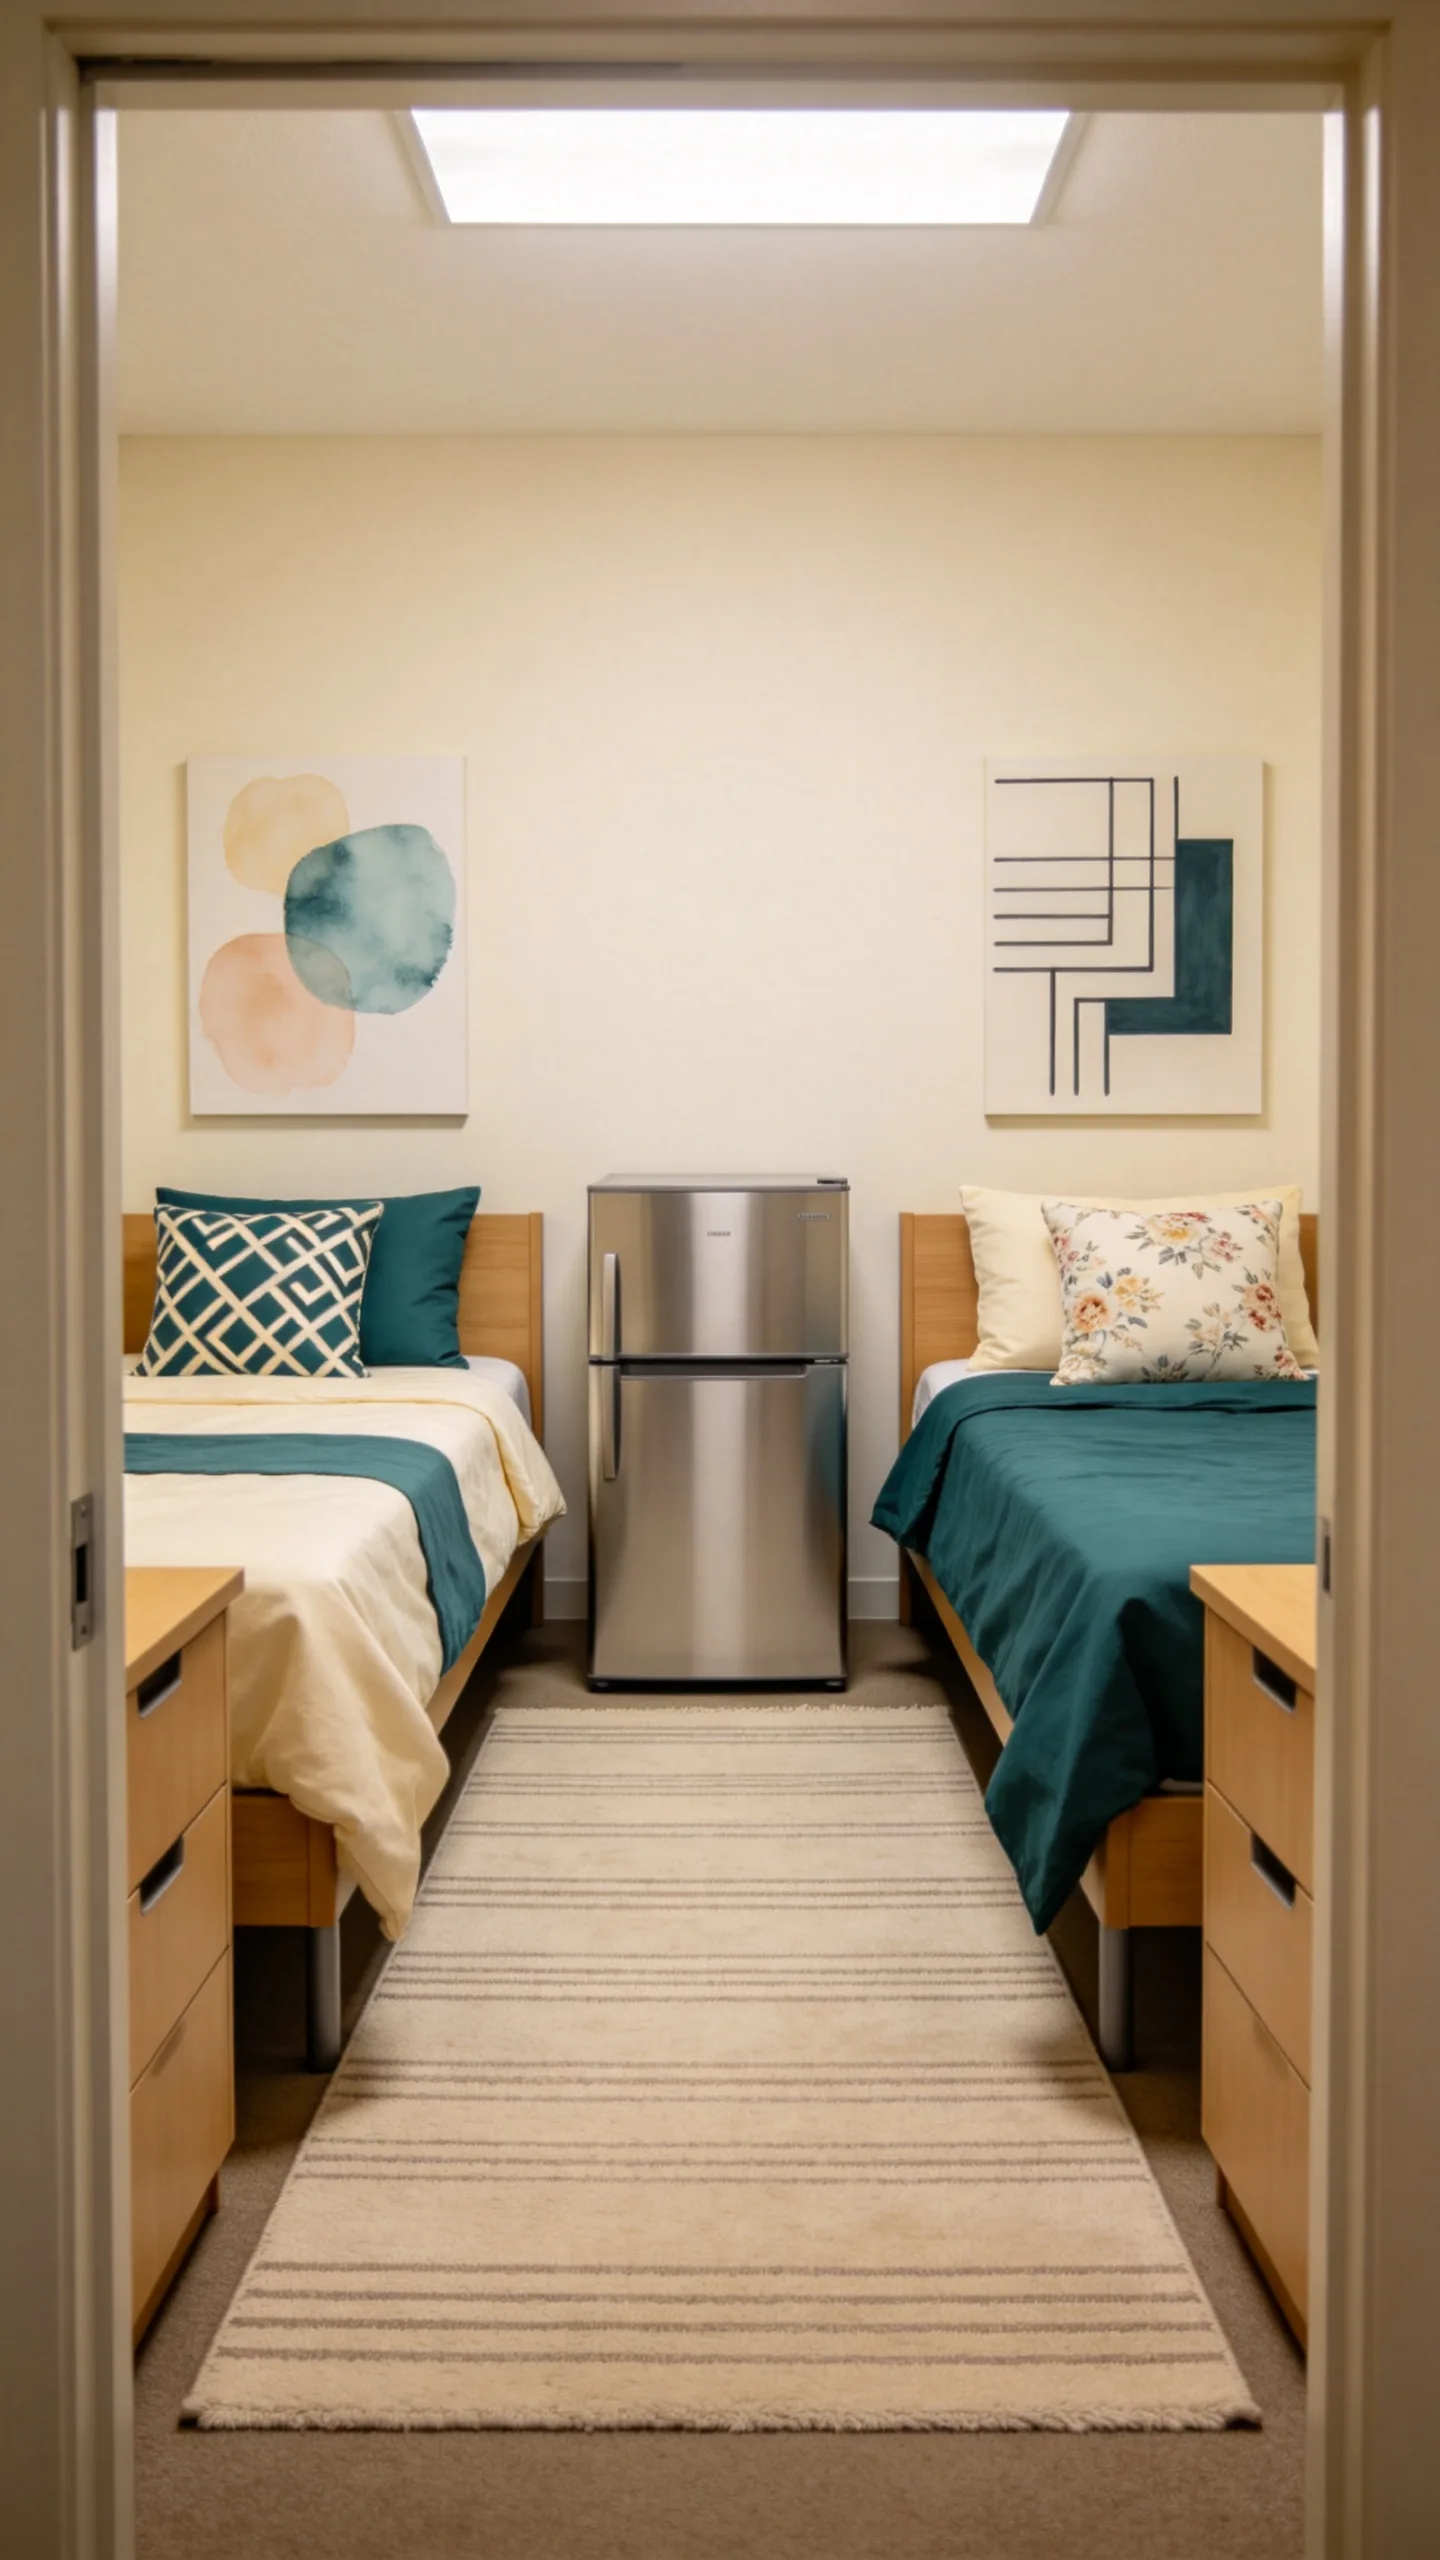
Shared dorms feel more cohesive when roommates coordinate a few large visual elements without buying identical decor. Agree on a general color family, matching rug tones, or compatible bedding styles before move-in. Each side can still feature different art, pillows, and personal objects.
Discuss where shared items such as the refrigerator, rug, mirror, and trash bin will go so the central walkway remains open. Keeping furniture edges aligned can improve sightlines and make the room look more orderly. A coordinated plan also helps avoid duplicate appliances and storage pieces that may not fit once both people unpack.
21. Finish With a Simple Nighttime Lighting Plan
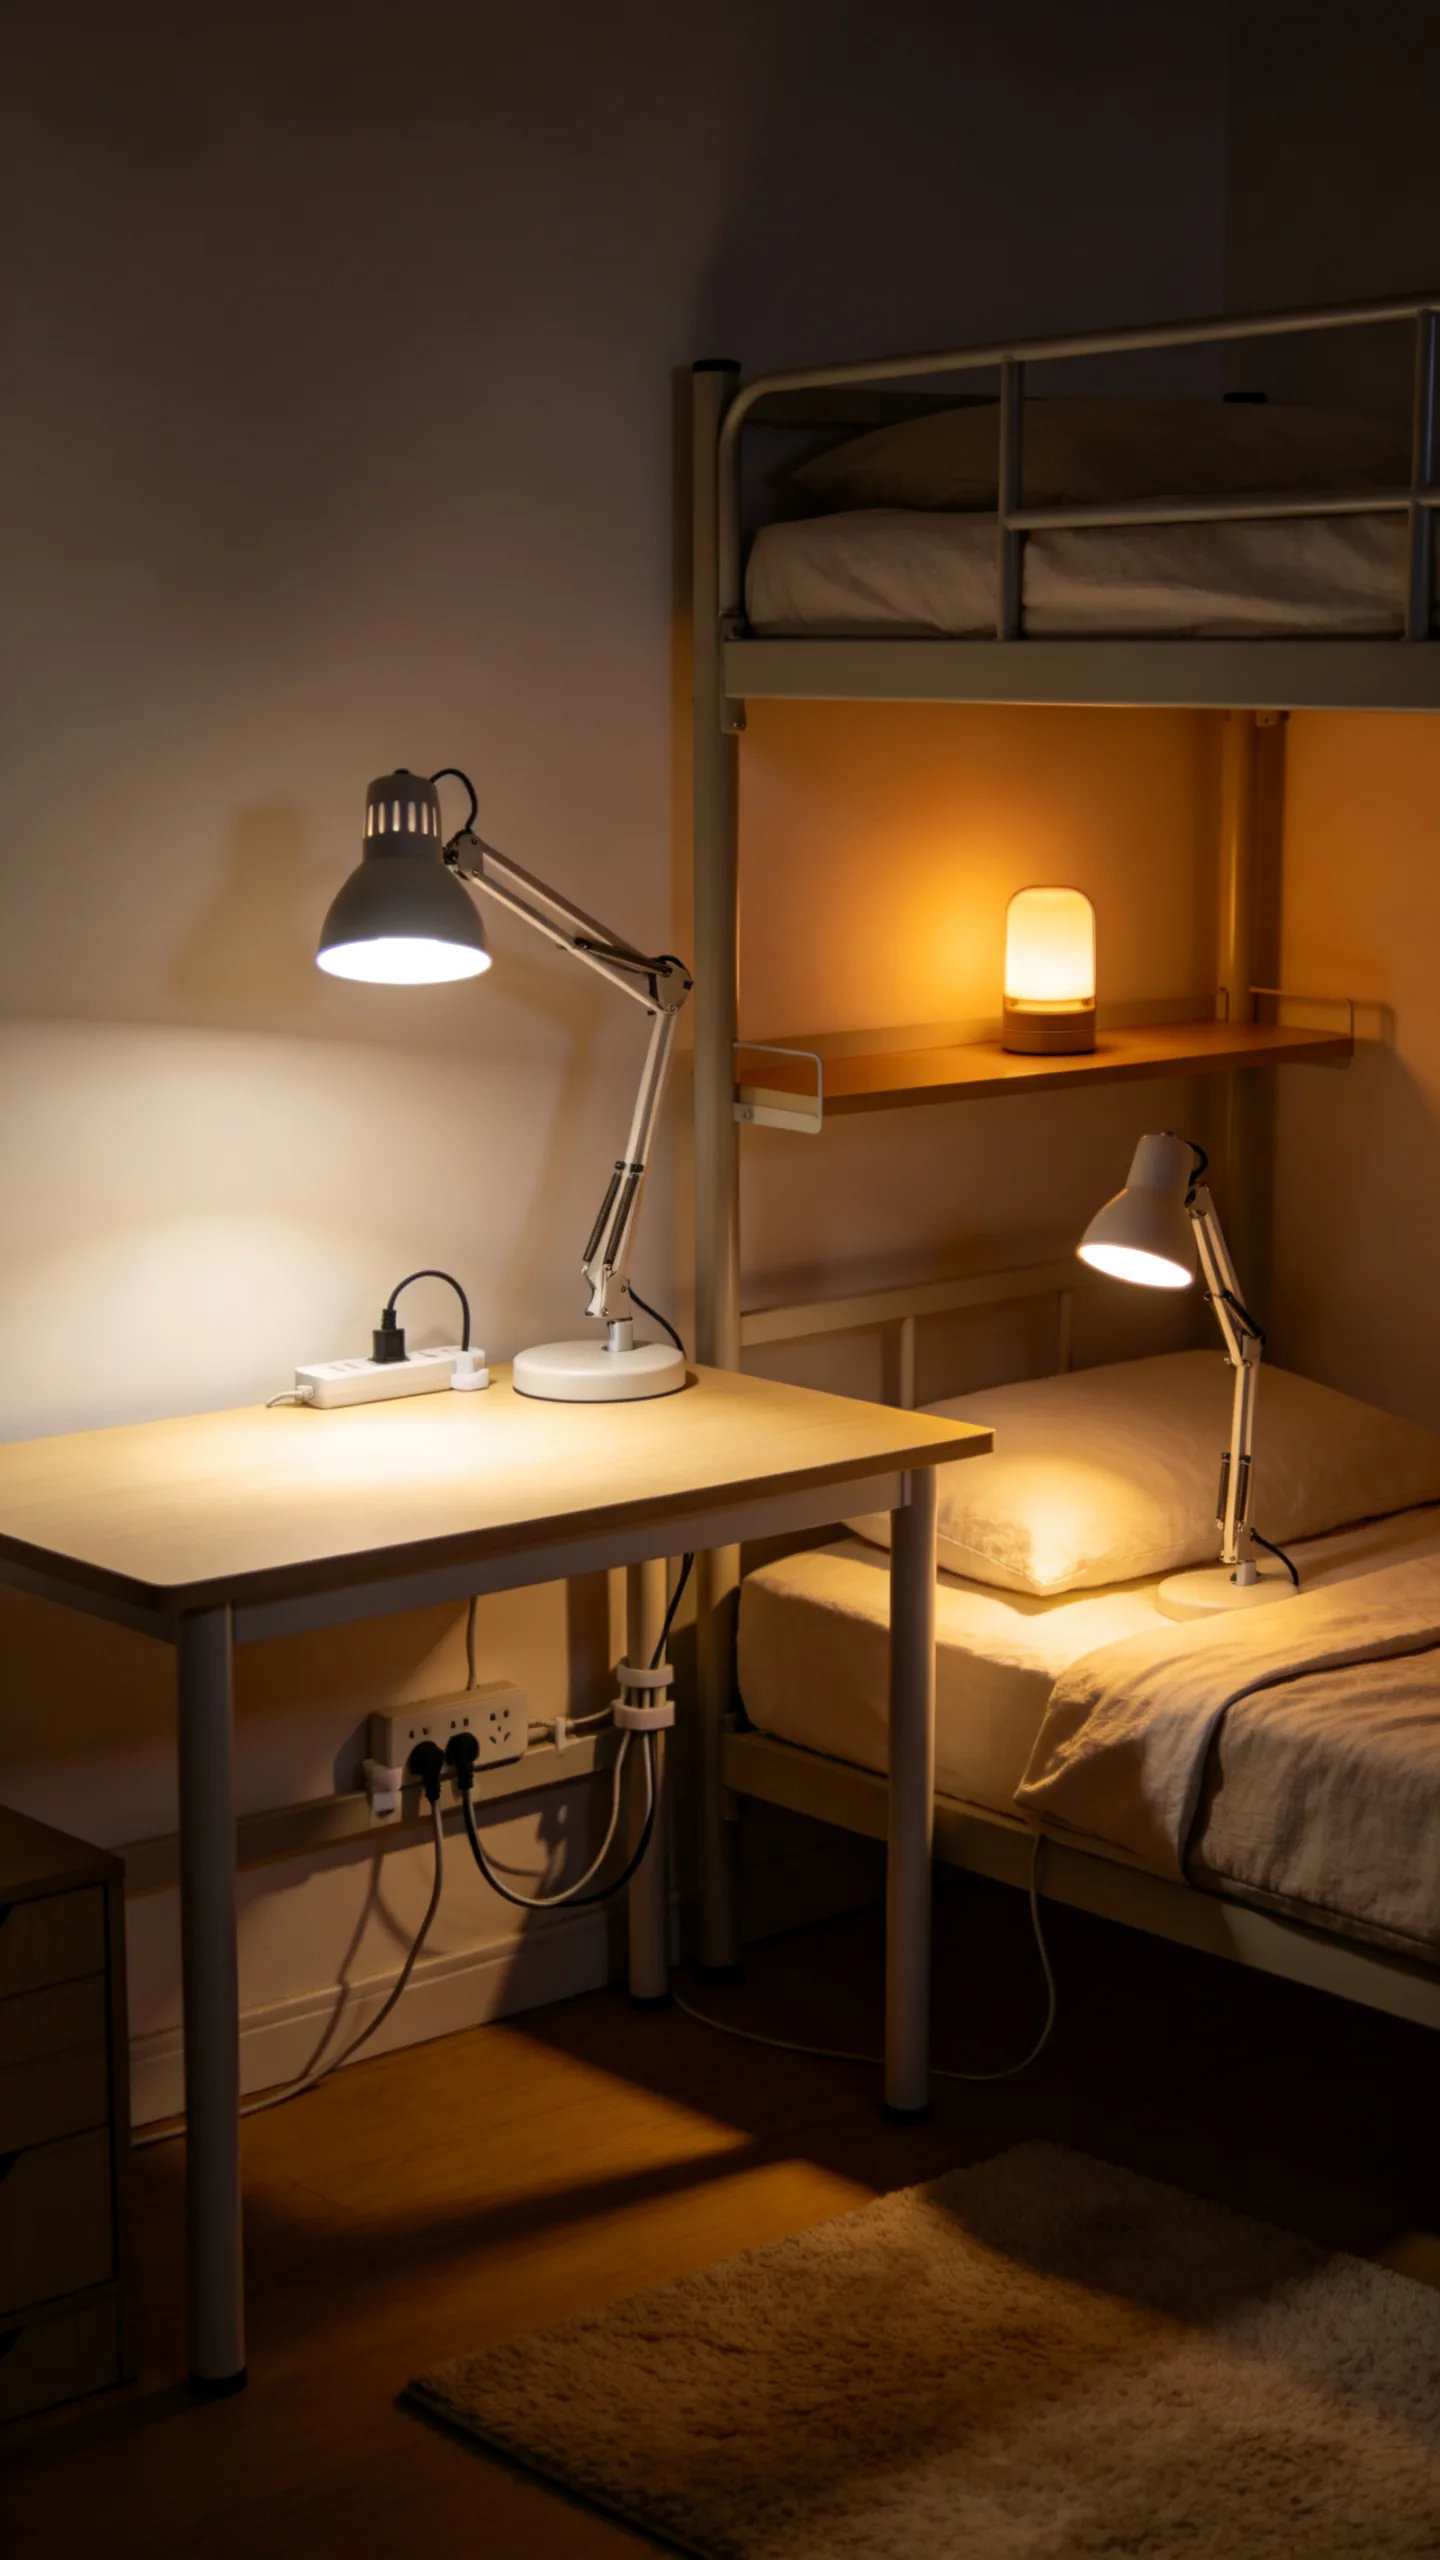
Use several small light sources instead of relying only on a bright ceiling fixture. A focused desk lamp supports studying, a clip-on lamp provides light beside the bed, and an approved warm-glow accent light creates a relaxed atmosphere at night. Bulbs in a warm white tone generally feel softer than cool, blue-toned light.
Manage cords with removable cable clips and keep power strips visible rather than buried under bedding or rugs. Choose campus-approved electrical products and avoid overloading outlets. A practical lighting plan makes each zone easier to use while giving the dorm a cozy, layered appearance after dark.

From the editors
Decor Compass Editorial Team
We turn practical home research into clear, useful room-by-room ideas.